
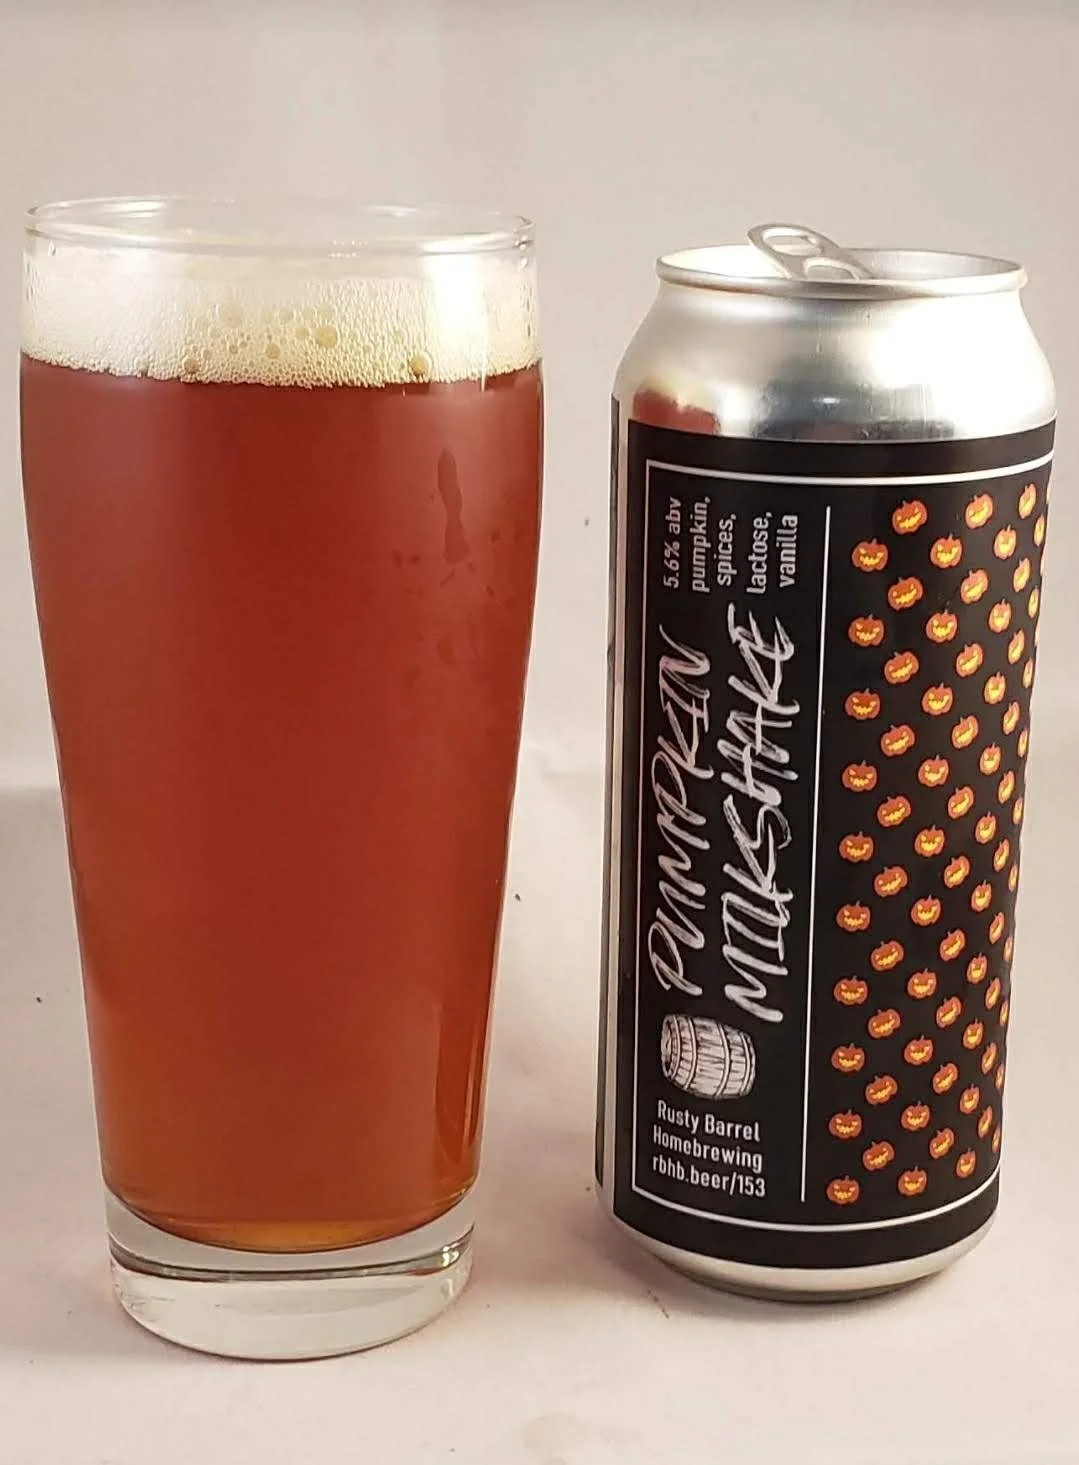
Pumpkin Meets Milkshake
Combining two divisive styles into one fantastic|horrible fall brew.

There are scores of brewers surely rolling their eyes at the title of this blog post, likely already on their way to closing the browser tab. Similar to pineapple on pizza—or even the kids-in-breweries debate—the craft beer and brewing community has long been split on whether pumpkin beers are worth a damn. Some brewing purists feel pumpkin simply doesn’t belong in beer. Others believe pumpkin beers just taste awful. And to add fuel to the fire, although a pumpkin beer is ideally enjoyed in the fall months (October–November, in my opinion), commercial breweries often release them in the middle of summer. Running across this fall style on your 4th of July beer run can be off-putting.

Slamming a delicious, homebrewed pumpkin beer while you gut your pumpkin the night before Halloween…is a vibe.
And then there are milkshake IPAs. I’d be willing to bet those who are annoyed by pumpkin beers are also annoyed by milkshake IPAs.
If you’re in your 20s, you’re probably thinking, What in the world is a milkshake IPA? But for those of us who’ve been around for a while, you might remember them as a brief fad around 2015. And for my longtime friends and followers, you’ll recall I had 15 minutes of fame tied to milkshake IPAs (to be elaborated on in a future blog post).
A milkshake IPA is essentially a hazy IPA that, with the additions of lactose (an unfermentable milk sugar), vanilla bean, and usually some kind of fruit, gives the impression of a fruited milkshake. These beers are already fluffy in body thanks to wheat- and oat-heavy grain bills. Vanilla bean is the ultimate flavor enhancer, and along with lactose—which adds back sweetness that fermentation tends to strip from fruit—it combines to create a fruity, sweet, thick dessert-like drinking experience. The first milkshake IPA I ever tried was a strawberry version brewed by Tired Hands in Philly, who are credited with creating the style. Soon after, I created my own batch, and over the years I’ve brewed variants with mango, coconut, peach, blueberry, and others.
For years, nearly every pumpkin beer I tried—commercial or homebrewed—tasted mainly of pumpkin spice (which is a combinaton of cinnamon, nutmeg, and ginger). Some had a little sweetness, some too much, but most left me craving more body, sweetness, and overall dessert character. Almost every pumpkin beer claims to be “pumpkin pie in a glass,” but to me, many miss the mark.
So for this beer, knowing the milkshake trick can dessert-ify a beer in a jiffy, I decided to combine the two concepts. My approach was to:
Use the base grain bill from one of my milkshake IPA recipes
Add specialty grains for color and fall/graham-cracker-crust flavors
Use pumpkin flesh and pumpkin pie spice instead of fruit
Deploy the milkshake IPA standards—lactose and vanilla bean—to fill out the body, sweetness, and dessert essence
It works.
If you’re a fan of pumpkin beers, pumpkin pie, milkshake IPAs, or any combination, you’ll want to give this a try.
If you hate all of the above, well, thanks for reading this far. Before you go, here are some additional pumpkin brewing ideas that will make you even more furious:
Some have been known to use a pumpkin as a fermenter.
Some have been known to use a pumpkin as a keg.
Some have been known to use a pumpkin as a mash tun.
(Side note: the last one above, IMO is the most legitimate of the three. I’ve tasted a beer from homebrewer Robby Narquis, aka @chainsawbrewing on IG, that used a pumpkin as a mash tun, and it was fantastic.)
For the pumpkin, you’ll want to use it in the mash. It gives the beer some color, and the starches convert to fermentable sugars. But honestly, using actual pumpkin in this recipe is mostly for bragging rights—it’s not strictly necessary. It always gets me when people say, “I can’t taste the pumpkin.” Well, what does pumpkin taste like? I’ve eaten a spoonful of raw pumpkin straight from the can, and it doesn’t taste like much of anything. It’s a little mealy and earthy, I suppose, which can come through faintly in the final beer—similar to pumpkin pie. But I digress.
All that said, I like to use canned pumpkin for simplicity, since the flavor and fermentable contribution are minimal (nevermind that canned pumpkin is not actually pumpkin). Alternatively, you could slice up a couple of sugar pumpkins (don’t use carving pumpkins), roast them in the oven with brown sugar for caramelized flavors, and toss them into the mash.
Recipe
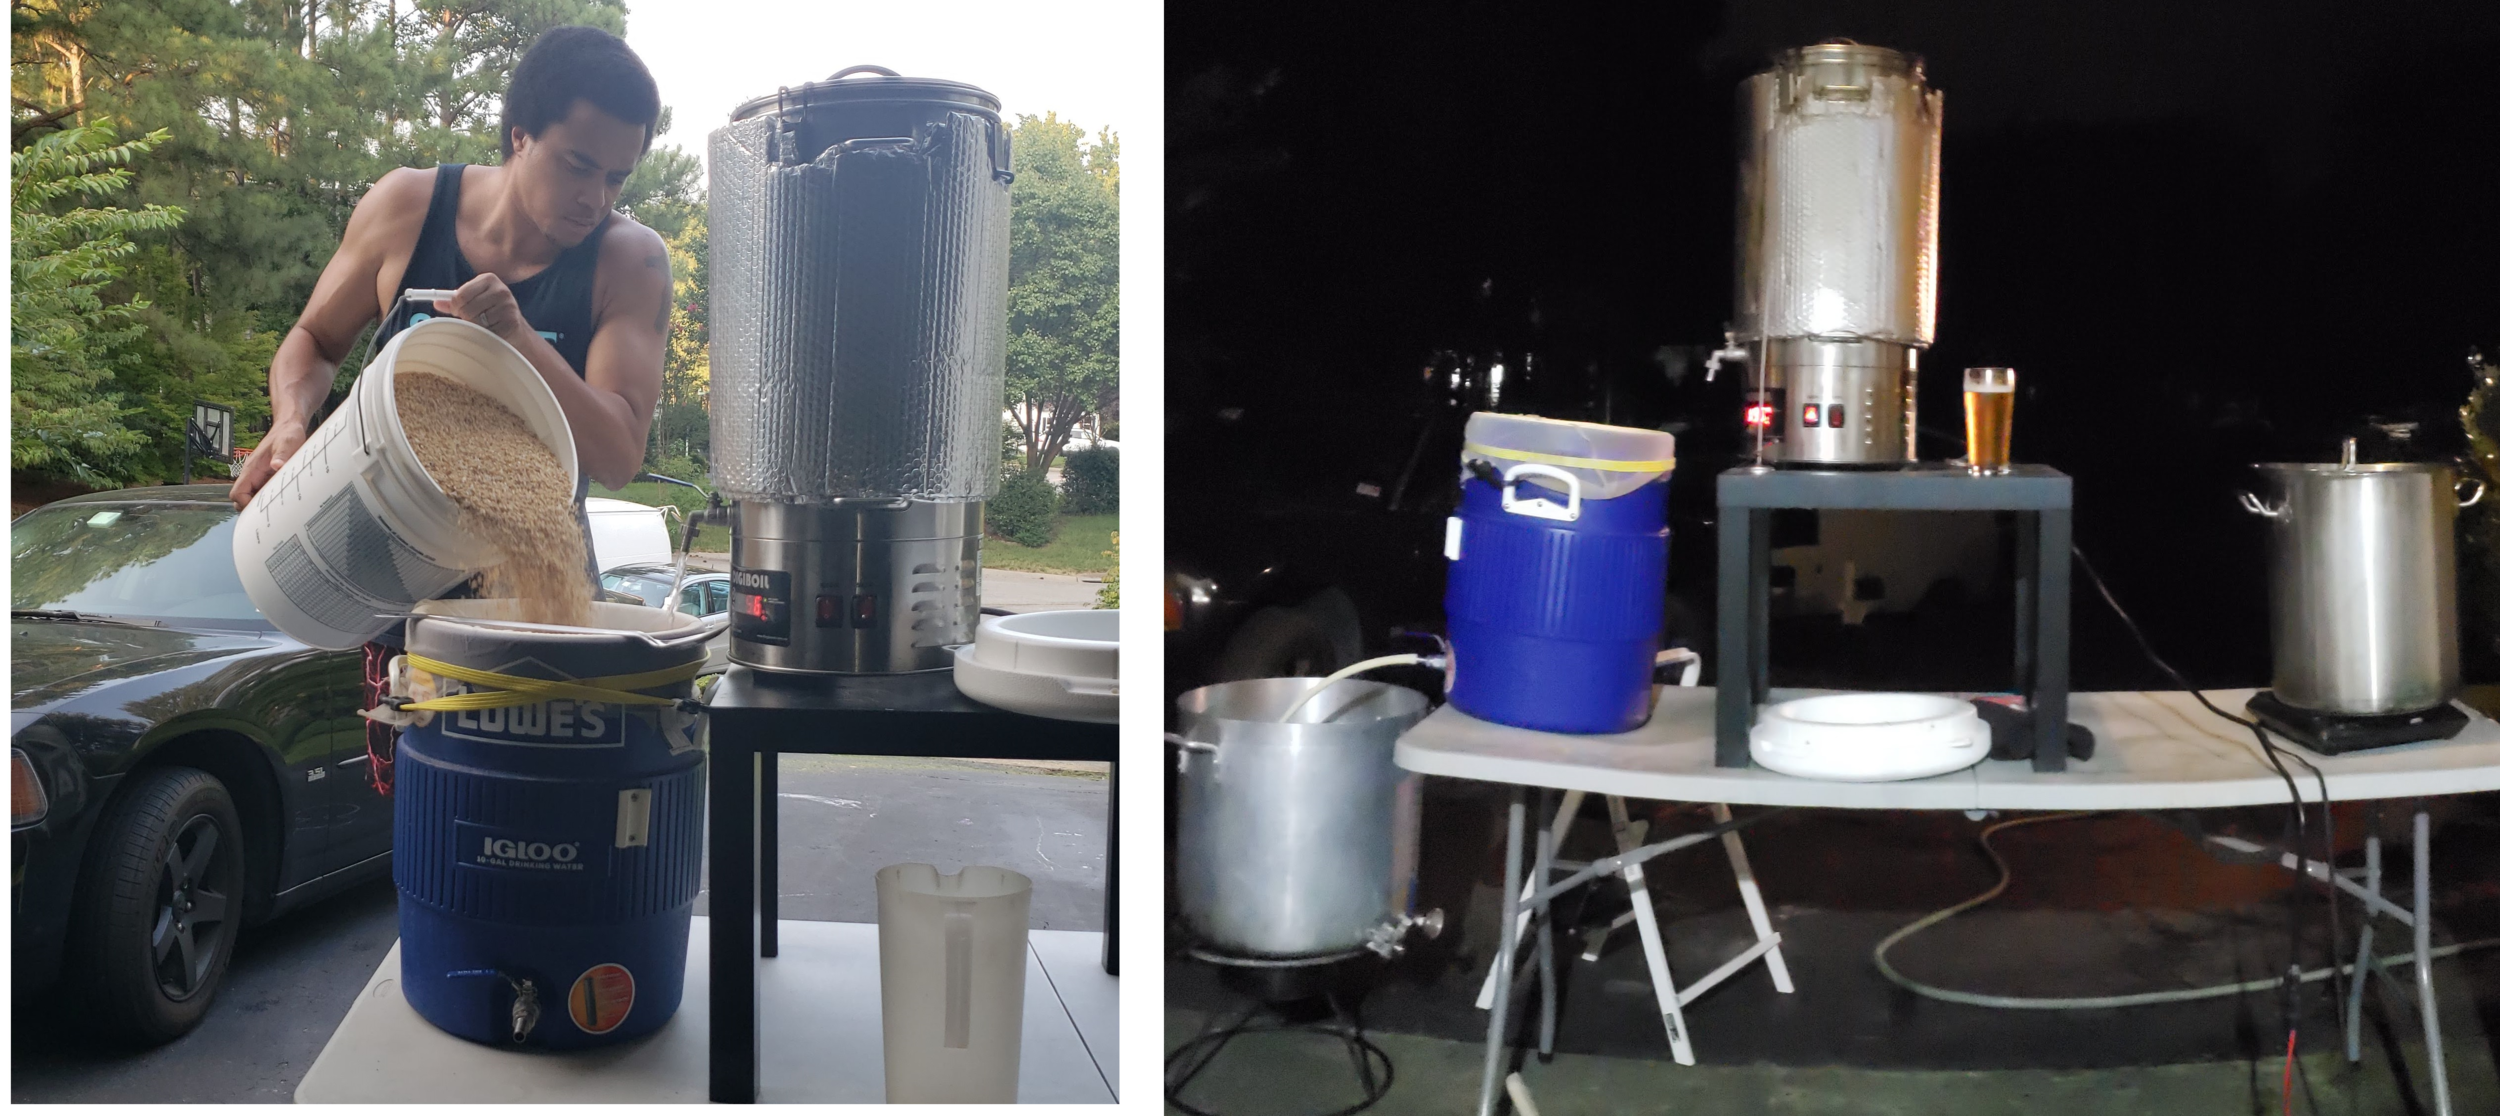
High Gravity Brewing at Home

A few big beers I’ve brewed over the years.
Oh, the joy of sipping a thick, robust stout. Or the warm, caramel complexity of an English barleywine. Or the sweet malty fruity aromas and flavors of a Belgian quad.
I’d avoided trying to brew big beers for a long time because of some of the horror stories I’d heard about brew days gone wrong – ending up with 6% barleywine, or aiming for 6 gallons and only getting 3, or the classic overstuffed and over-stuck mash tuns that refuse to cooperate.
Eventually I decided to take a swing - I’d read a little bit about high gravity brewing at home, but probably not enough. I am personally more of a hands-on, learn-my-lesson-the-hard-way type of brewer. I’m of the opinion that learning something from your own experience (and mistakes) gives you a much deeper and meaningful understanding of the task at hand, be it brewing or otherwise. The following is a a history of my high gravity brew attempts and what I’ve learned along the way.
First Stabs.
I can’t say too much about my first few attempts at big beer batches. I do remember vaguely that they seemed to come out with some combination of being thin bodied, uninspiring, low volume, and low gravity - never really more than 7 or 8% abv.
In recent times, I set out to really figure out the limits of my system and what it would take to brew a 5 gallon all-grain batch of 10% abv imperial stout or barleywine. I did not want to lean on any tricks or extracts – just wanted a baseline to build and improve upon, even if it meant -- worst case -- sacrificing a batch 😱.
Sometime in 2021, without much of a plan, I attempted an imperial stout. I simply packed my GrainFather G40 to the max (28 lbs of grain!), and pretty much just crossed my fingers and continued with my standard procedure. I was apalled to learn that my minimal preparation and half-assed effort did not pan out - instead of the potential 12%er that was printed on BrewersFriend recipe printout, I was looking at, at best, a 9% stout (some stout bois would call this a porter!). It was hard for me to accept the idea that for a batch that I had considerably more than double the amount of grain as, say, a 6% IPA, I was only getting 3% higher in abv.
Lesson 1 : Mash efficiency. The first major lesson I learned about brewing big beers is that mash efficiency starts to plummet as you go up in gravity. This is caused by a number of reasons, but in general, it helps to know this going into the effort. So, I stupidly did not even consider adjusting my standard mash efficiency for this brew. I typically get about 60-65% for most beers, sometimes higher for smaller beers. I consulted with award winning homebrewer and big beer guru William Spiesberger of James River Homebrew Club in Richmond, VA. He gave plenty of tips and advice, but what I remember most was that he mentioned that he goes into a big beer prepared to only get 50% efficiency. That was comforting because mine was in the 40s 😭
Lesson 2 : Mash Thickness. But knowing efficiency will suffer on big beer brew day does not address why. The next big problem with my stout brew was mash thickness (also sometimes referred to as water-to-grist or liquor-to-grist ratio). Although my G40 is quite big in general, the mash tun volume is actually not as spacious as I’d thought (technical note: the G40 is officially listed as having 11 gallons mash capacity and should support up to 28 lbs. Which is probably why I even attempted this in the first place. But anecdotally, this did not work out well for me). I remember the mash being really, super thick and almost dry in spots even after I stirred it thoroughly and had the recirculation going. On the homebrew scale, mash thickness ratio is tracked by quarts (water) : pounds (grain). Normally you’d want this ratio to be something like 1.25:1 or even better 1.5:1. For my brew, this was a flat 1:1. I’ve read that this is technically acceptable on the low end, but I will definitely not do it again.
Lesson 3 : Have extract on hand (and the correct kind). Depending on what your priorities for the batch are, you may want to have some (…or a lot) of malt extract on hand. If you are hell bent on your beer turning out above a certain abv, and/or want to be sure you get a full 5 gallon volume, you can supplement with malt extract towards the end of your brew day if you come out light. Stouts are nice because color is not so much of an issue. For barleywines or anything lighter, you will want to make sure the extract you use will only add gravity and no unintended colors or flavors (try Pilsen or light Pilsen if you can find it). One time I was brewing a NEIPA that came out light in original gravity, so I added whatever DME I had in the cabinet. It turned the beer orange.
Lesson/Option 4 : Boil the shit out of your wort* The next time I brewed barleywine, I was more prepared to battle low efficiency. I made adjustments to my water/grist ratio and also scaled my recipe up slightly for a bigger grain bill. But this time I set up my G40 to boil for 3 hours during family dinner and kid bedtime (electric brewing can be great for this kind of thing). The G40 and many electric systems these days have a 240v power source, which is great because you can sparge and collect a large volume of wort, then utilize the strength of the power source to boil off significant amount of volume to concentrate your wort. *This also comes with Maillard reactions (…caramelization) though, so be mindful. Some of this is expected in a stout or barleywine but there is a point where you can overdo it, scorch your wort, or produce astringent flavors.
This beer came out pretty damn good. It was a confirmed 10% abv and won a gold medal in a local homebrew competition.
The next year I brewed an imperial stout with this same procedure, but this time it was on my 115v Digiboil. Knowing it is less powerful than my G40 and would boil off less volume, I collected less wort to begin with, and combined my 3-hour boil time with my DME move (Option #3 above). When it finished, I confirmed it was a full 10.8% abv before sending into a barrel for 6 months. It came out fantastic. I think I am too greedy to send any bottles to competition.
Lesson / Option 5 : Collab with a buddy. One of the main issues with high gravity brewing at home is your asking you’re system to do something bigger and grander than it normally does. One way I tried to mitigate was by inviting a homebrew buddy over for a collab. Using two mash tuns instead of one, you have more mash volume and can combat water/grist ratio a little better. We lautered both mash tuns into a single boil. We chose not to sparge but rather to start with a bigger volume and take a single run from the mash tuns. For the boil, we used a single boil, but you could also consider splitting the wort into two boilers, which each would boil off more volume in the same amount of time than you would in a single kettle. When our Belgian Quad was finished, it was confirmed 10%, we aged it on rum soaked oak cubes for a couple months before canning the batch and splitting up the cans.
Lesson / Option 5 : Double Mash Personal research is great, but as a homebrewer it helps to build up a rolodex of brewing buddies, pro and amateur, that you can turn to for advice. Luckily I have a buddy who has recently gone pro, but still is quite connected and familiar with the homebrew scale. Darryl Puller is the head brewmaster with the CapSoul Brewing Collective, who I consider bonified master of brewing - particularly with regard to big beers (I like to refer to him as the “Stout King of Richmond” but the name has not caught on yet). Anyway, a while back he schooled me on his double mash technique. He fills his mash tun for a standard mash, lauter and sparge. This first mash produces only half of his eventual wort, so he begins boiling it while he cleans out the mash tun and resets it for a second mash. In this way you have two appropriately viscous mashes one after the other for max efficiency, and the first half of the wort gets a bit concentrated while the second mash is doing its thing.
Lesson / Option 6 : Reiterated mash. I’d heard of a perplexing idea of a “reiterated mash” from my my homebrew buddy Rob of @pixelperfectbrewing on Instagram. He said he added malt extract to his strike water, thus giving his batch a head start on gravity before even getting to the mash. This may effectively be the same as adding extract at the end, but could the same idea could be applied to all-grain…that is, can you produce bigger wort by using wort as strike water? Can you mash once, then use that wort as your strike water in another mash? Once consulting the web, it turns out, I was not the first to think of this.
I decided to give it a try. On paper this will obviously double the mash time, but 3-hour boils take a long time too.
A couple considerations – for mash #1, you will need to aim for more volume than you normally would since your wort from mash #1 will be your strike water for mash #2. This can be tricky to figure out where to start, considering the grain absorption losses from multiple mashes - it helps to work backwards. For my system, I knew to end up with 6.5 gallons of final wort going into boil kettle, I would need to start mash #2 with 8 gallons of wort-strike-water. That meant mash #1 would need to produce 8 gallons of wort, thus, I would need approximately 12 gallons of clean strike water going into mash #1. These numbers can change a little depending on whether you plan to sparge one or both mashes. I sparged mash #1 but only lautered mash #2.
In the name of having a somewhat controlled experiment (and since I’d spent all that extra time fooling with multiple back-to-back mashes) I decided no matter the result, I would not boil for my usual 3 hours, I ended up only boiling 75 minutes.
In the end, I had mixed emotions about the experiment, because the reiterated mash definitely did work, but it was only slightly better than my standard single mash + 3-hour boil. Next time, I could consider doing the reiterated mash and the 3-hour boil. It would just make a really long brew day.
At the time of this writing, I do not have any taste test results from this reiterated mash beer. It was an English barleywine that I threw into the barrel a couple weeks ago. I will look to rack it in 6 months or so and will update this article when its complete.
Conclusion. There are a lot of tricks and techniques to producing high gravity wort. I’ve tried a lot of them, and I’m sure there are more. At this point I’m happy that I have a couple plans that will produce top notch big beers, but I am still interested in exploring other twists that may improve efficiency and/or cut down time spent on brew day. What other techniques have you tried? Let me know in the comments.
Cold IPA - Yet another rundown
(I recognize that there are a lot of rundowns and writeups out there about Cold IPA already, but here is mine. Hopefully adding another perspective or some insights not covered elsewhere.)
The world of craft beer is full of innovators, artists and creative minds constantly experimenting with beer, pushing its limits farther and farther (are there limits anymore?) Particularly in the IPA genre, it being the country's most popular craft beer category, and especially after New England / hazy IPA took the country by storm, brewers are continually trying to discover or invent the next viral sub-genre of IPA.
Is cold IPA it? I don’t think its going to take the country by storm the way that hazy IPA did, but it is definitely an interesting new addition to the category, and much more interesting that other recent twists (I’m looking at you, brut IPA).

First of all, what is it? (Note: I’ve intentionally chosen to omit the style history / origin story from this post. If interested, I’m sure it won't be hard for you to find). Although the name has a crisp, refreshing ring to it, it is a bit technically inaccurate. Cold IPA (India Pale Ale) is actually a lager. It's “cold” because, being a lager and all, it ferments at a colder temperature than an IPA would. But, from another point of view, brewers typically ferment this cold-ipa-thats-actually-a-lager at a warmer temperature than they would typically for a standard lager (more on this later). So, it could more accurately be called a “Warm IPL (India Pale Lager)”. Doesn't sound so refreshing anymore, does it?
So, what's the difference between cold IPA and IPL, you ask. What is an IPL anyway? Before the haze craze of the last few years, IPL emerged as yet another attempt to create a new class of IPA, building off of the classic (what we now call) “west coast” IPA. West coast IPA was notorious for being “hoppy” but more particularly, bitter, dank, piney, and dry. This classic IPA is typically brewed with clean fermenting ale yeast strains, leaving a clean canvas for the hops to shine in the finished beer. In that vein, brewers started using an even cleaner-than-clean-ale yeast selection - lager yeast.
The results and feedback varied. I personally was never blown away by an IPL. And, as a beginning homebrewer, I never had any interest in trying to brew one - seeing as lager yeast takes longer to ferment, and I did not have cold fermenting equipment at the time. I remember trying several commercial examples, but ultimately I pretty much dismissed IPL entirely, and it seems that most other hop heads did as well, because you rarely see any of this style in the market today.
Fast forward to today. After the last 5-8 years of “haze craze”, including many variants (looking at you, milkshake IPA, TIPA, QUIPA, etc.) IPA lovers' taste buds are coming full circle and gravitating towards the classics. More and more breweries are having success bringing back the “old school” west coast IPA to their lineups (at least here on the east coast. On the west coast, maybe they never went anywhere…). Cold IPA represents a modern twist.
“Yea yea yea, get to the point already - what the hell is in it?” Such a pushy reader you are! Cold IPA, similar to IPL, takes another swing at laying a clean foundation for hops to shine. To do that, a cold IPA typically replaces a portion of the grain bill with corn or rice. “You mean that stuff that they put in Bud Light???” Uh, yes sir or ma’am. Although corn and rice are sometimes seen as cheap additives to beer, they certainly have their place in well-made, tasty, crafty brews. By replacing base malt with corn or rice (or even sugar), you can maintain your same abv, but lighten the body, and dry out the beer. This gives your hops a bigger stage to do their thing.
“But what about that part about ‘fermenting lager yeast at warm temperatures’? I thought you were never supposed to do that?” You're not, until now, I guess :-) Brewers have found that by fermenting (certain) lager yeasts at higher temperatures, they are able to still achieve a clean, crisp body associated with lagers, but also drive attenuation resulting in a lower final gravity. This, coupled with the adjuncts used in the grist, make a thinner, drier beer in which the hops can really pack a punch.
Why did it take us so long to get here? If you think about why we’ve loved IPAs - we loved west coast IPAs because they were so damn hoppy, albeit sometimes squintingly bitter. We’ve loved hazy IPAs because they are even more hoppy than the westies, but without the bitterness. That soft, smooth, creamy, fluffy body coupled with the backloaded hop schedule gives hazy IPAs a thick, juicy, fruity profile that can almost never be “too hoppy”. But, to get to that level of a hoppy profile, you have to use boat loads of hops to get past all the wheat and oats and residual sweetness that normally serves as the base for a hazy IPA. (This is part of the basis behind innovations such as cryo hops - before/without cryo, brewers have to use so much hop material to get their desired level of hop flavor, that undesireable grassy, vegetal flavors were starting to creep into their brews.)
Enter cold IPA. Although some (including the inventor) describe it as “wester than west”, the bitterness level is certainly up to you. It can be hoppier without being more bitter - if you so choose. It may be dank and piney…or fruity and tropical if you so choose. Since most brewers are used to leaving out nearly all bitterness in their IPAs nowadays, that is what I chose to do in mine. And without all the hazy base, I was able to pack a more potent hoppy punch, utilizing less hops than I normally would for a hazy. And the result is fantastic.
My first swing at a cold IPA is immediately contending for one of the best IPAs I've ever brewed.
How to brew it.
(Full recipe at the bottom of this page)
Grain
Use pilsner malt as your base instead of standard 2-row base malt.
Go for about 20% adjunct. I used flaked corn here but rice should do as well. I’ve been known to use corn sugar or straight up table sugar in a west coast IPA, which you can do in a pinch, but this can allow a boozy ethanol feeling to creep into the brew.
Hops
You can obviously use whatever you want. I’d like to experiment using strictly west coast style hops (cascade, centennial, columbus, chinook, etc), versus using strictly NEIPA style hops (citra, mosaic, galaxy, etc.)
For this brew I decided to keep it simple, and mix two well known, flavorful hops, one from the west coast tradition and one from the new school - centennial & mosaic
For schedule, again, you can borrow a schedule from a west coast recipe or from a hazy. I went with more of a hazy style. I split my hops evenly into 3 additions - a 10 min boil addition, a 20 min whirlpool, and a 3-5 day dry hop.
Yeast
I can't recommend too much variation here. Use Saflager 34/70 (Weihenstephan strain) or equivalent, and ferment at 65 degrees. This strain yeast does just fine at this temperature, will give you the flavor and appearance you are looking for, and will ferment out as fast as an ale yeast. This is the top end of the temperature range for this yeast. Other lager strains may not perform so well at this temp.
Water
Once again, you can experiment with borrowing a water profile from either a west coast (which will produce a drier, sharper, more bitter beer) or a hazy (which will produce a softer, less bitter, fruitier beer).
I chose the west coast style - 2:1 sulfate to chloride ratio. For hazy style, reverse it.
Tasting Notes
(Full recipe at the bottom of this page)
I am not going to go full BJCP here but the short story is that the beer was bursting with flavor. Everything about the description of the style appears to have come true - the beer came out with a light, clean and crisp body. The aroma jumps from the glass, similar to or even more so than any hazy IPA I’ve ever brewed. The hop flavor was intense, but without too much bitterness or even hop burn. The mosaic hops dominate but the centennial made their presence felt, playing backup in a sense. In this recipe I used mosaic and centennial 50/50, next time I might try altering the ratio towards the centennial, to see if I can get more of a balance between the two (and centennial are cheaper than mosaic! lol)
Future & Next Steps
What does the future hold for cold IPA? Will it be forgotten in a few years, like IPL, black IPA, brut IPA, and milkshake IPA? My guess is, probably. But, I loved mine, and will continue brewing and experimenting with the style.
In the name of clean fermentation profile and pushing attenuation, I wonder if a cold IPA could be brewed to same effectiveness using a yeast like Omega’s Lutra kviek strain. For my lagers, I tend to go for real lager yeast because Lutra can almost come out too clean - seems to be missing some of those intangible, subtle lager yeast flavors. But for cold IPA, since you aren’t necessarily looking for those lager flavors, Lutra may be a good candidate. On paper, it sounds like it could produce the same beer, but in a quarter of the fermentation time.
Recipe
Reflecting on Entering my 10th Year of Homebrewing
As we enter a new year, it occurs to me that I am entering my 10th year of homebrewing. From the first sip of the first bottle of my first batch nearly 10 years ago, the hobby has consumed me.
I thought it might be interesting to show a couple photos and jot down a brief summary of each year of my brewing history. This exercise has shown me the various ways I’ve been able to improve my beer and brewing techniques little by little over the years. These little adjustments, compounded, have really changed the quality of my beer in a big way, and improved my understanding of the brewing process.
2012


My first homebrew batch.
My wife, seeing my interest in craft beer, suggested I try to brew a homebrew kit. Reminding me of my college comrades' disgusting attempt at what I now know was a Mr. Beer kit, I promptly dismissed the idea. She bought me a kit for my birthday anyway. I was relieved to discover that it was not that same plastic barrel-looking kit I’d seen in college, which I assumed was the only homebrewing kit that existed. (and BTW, I now know that Mr. Beer kits are a completely respectable way to start homebrewing. Unless you are my college buddies. Ugh.) Instead, my first kit turned out to be a really delightful 1 gallon stove top all grain kit by Brooklyn Brewshop, made specifically for apartment brewers like me (at the time). My first batch was a jalapeno saison which came out nice. My second batch was a chocolate maple porter which was amazing - upon tasting the first bottle, I immediately walked down to the local Books-A-Million (do they still have those? Remember book stores?) and bought my first copy of The Complete Joy of Homebrewing by Charlie Papazian as well as a my first copy of Brew Your Own magazine. Shortly after I signed up for a subscription to the mag which I still have today.
Best Brew : Chocolate Maple Porter
Worst Brew : none!
Equipment : 1 gallon stovetop kit
Awards / Accomplishments : Self pat on the back
2013
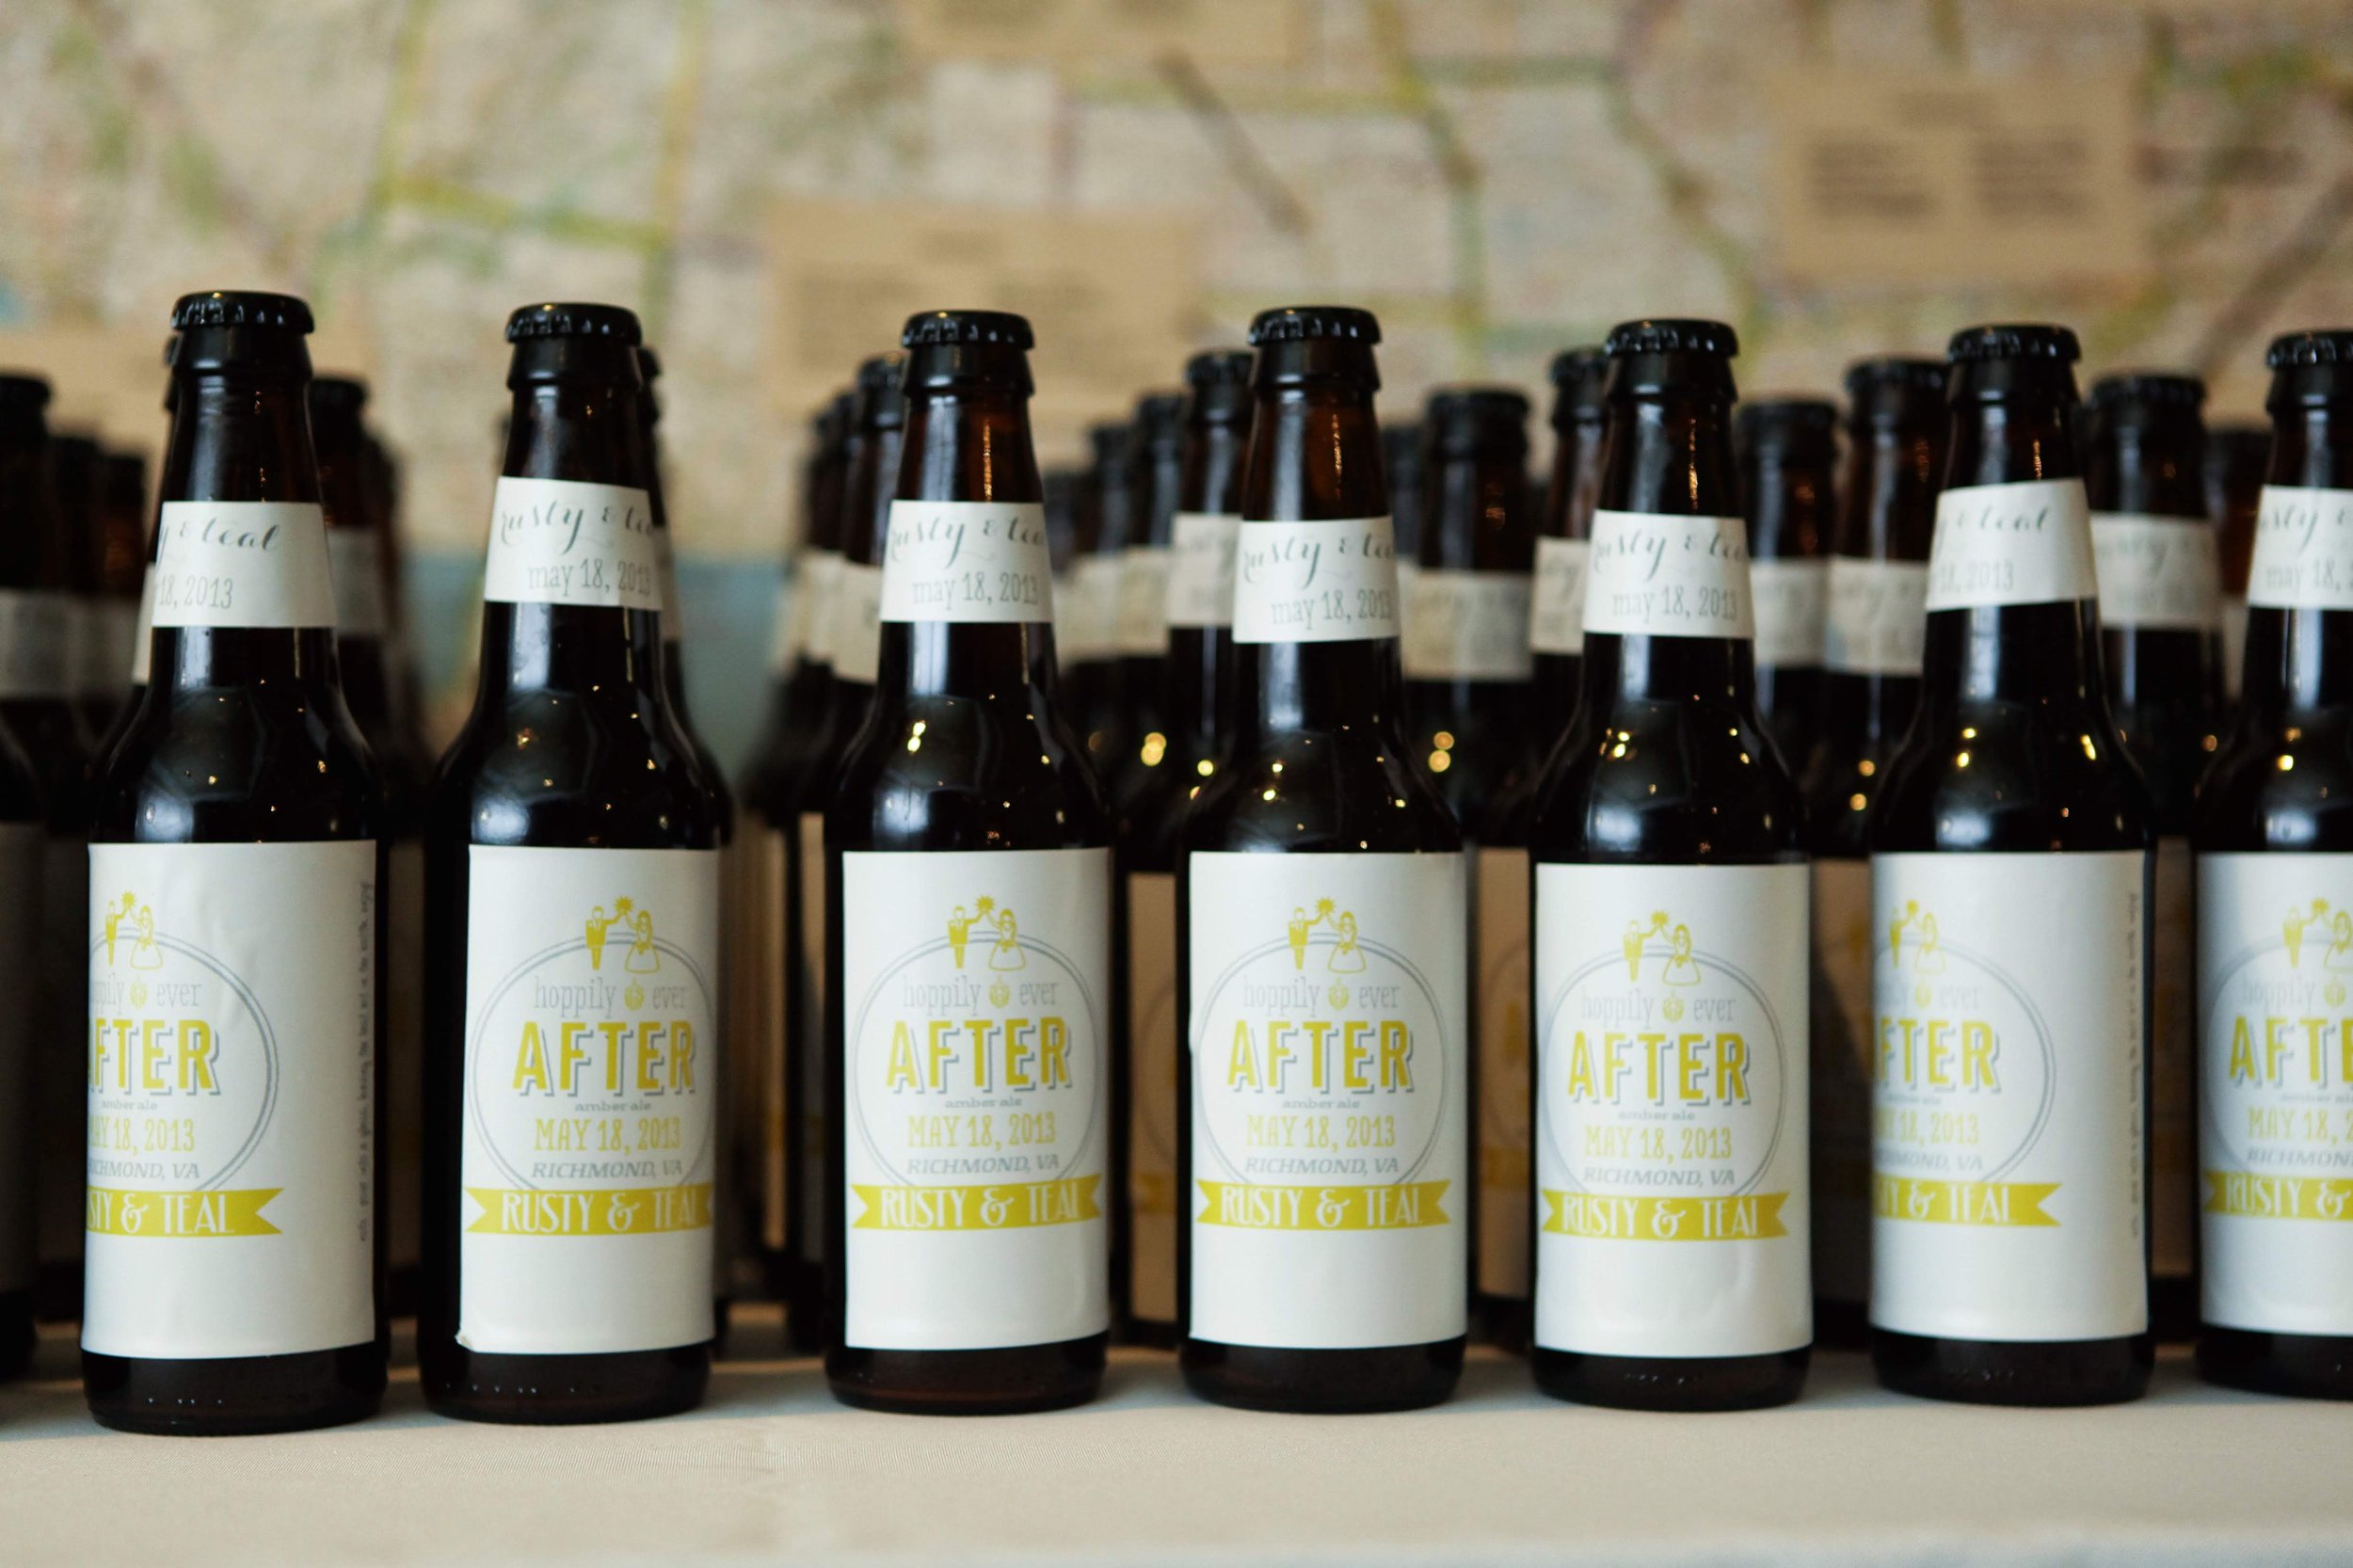
It didn't take me long to discover NorthernBrewer.com, which in addition to being an online homebrew store, available to browse and brainstorm at the leisure of your cubicle job while you were supposed to be doing something else, it also contains a wealth of homebrewing articles, tutorials, and forums, much of which is catered to beginner homebrewers. It also didn't take me long to discover and understand the importance of supporting my local homebrew shop. Quickly I realized 1 gallon batches could be gone in a weekend, and make the move to scale up to 5 gallon extract kits which I could do on my apartment electric stove. Obsession intensified. I was late for my wedding rehearsal dinner because of some delays in my black IPA brew day I was trying to get done before going away for the wedding and honeymoon :-) Luckily my fiance wasn’t too mad and went through with marrying me. (Times like this I like to remind her that I didn't want to start homebrewing but it was she that forced me into it, and thus any brewing related frustration is actually her fault). Alas, for the wedding, I brewed 10 gallons each of a hoppy amber ale and raspberry wheat out of the kitchen of our 1BR apartment to give out as party favors to our guests.
Best Brew : Red White & Brew Pale Ale
Worst Brew : Pumpkin Wheat (drain pour)
Equipment : Stove top 5 gallon pot, plastic fermentors
Awards Accomplishments : Brewed 20 gallons for my wedding
2014
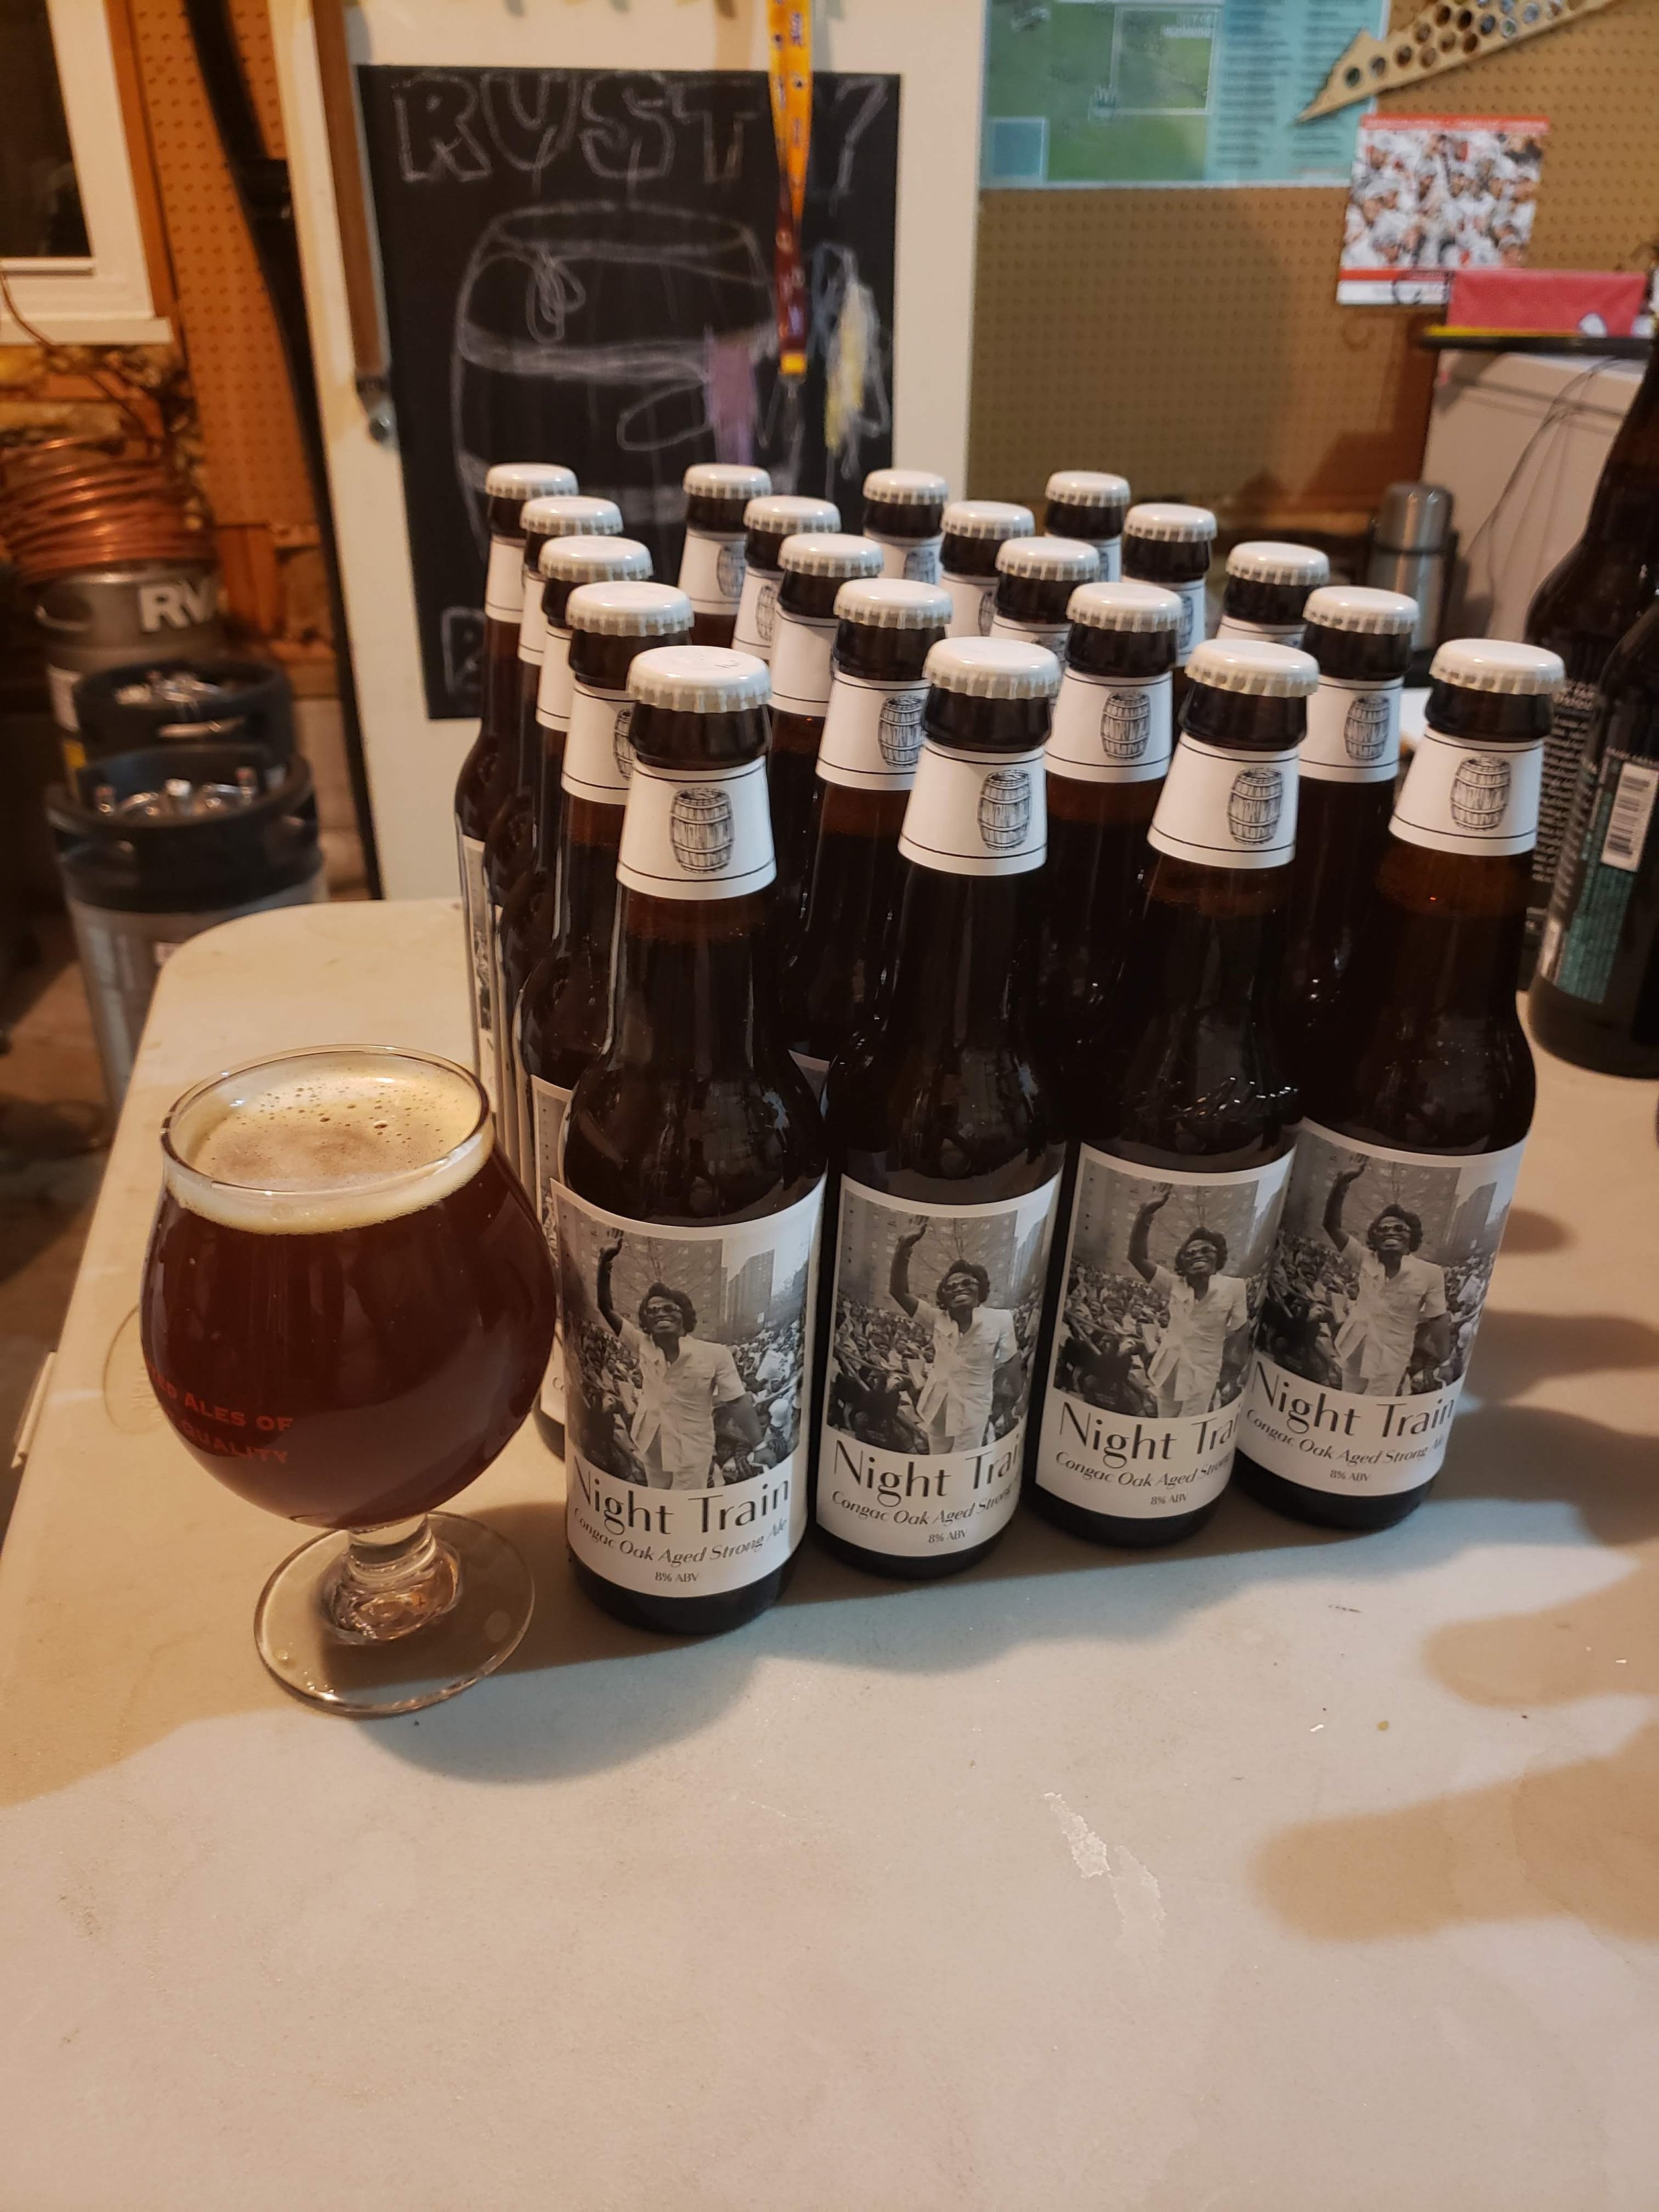
Based in those Brooklyn Brewshop 1 gallon all grain kits, I was dissatisfied with extract brewing and, without the proper equipment to do so, I began ordering and brewing 5 gallon all grain kits (still on the apartment electric stove, using multiple pots to hold and boil all the total wort required) At this point I was able to branch out and started brewing recipes from magazines and online, as well as experimenting with creating my own recipes. Started spending time on label design and sharing my brews more with fam and friends. I secretly brewed two cases of winter ale with company mascot themed labels and brought them into the office Christmas party. My first share with a large group and it went well. Homebrew starts to become a majority of the beer I drink. My apartment bedroom closet is filled more with empty bottle storage or conditioning bottles, than clothes. My fridge is filled more with homebrews I’m protecting from over-carbonation, than food. My poor wife decides to continue staying married to me. Because, it's all her fault.
Best Brew : “Night Train” Cognac oak American strong ale
Worst Brew : Pumpkin Dubbel (off flavors and undercarbed, but wife liked it anyway)
Equipment upgrades: custom made lauter tun for all grain brewing; counterflow wort chiller.
2015
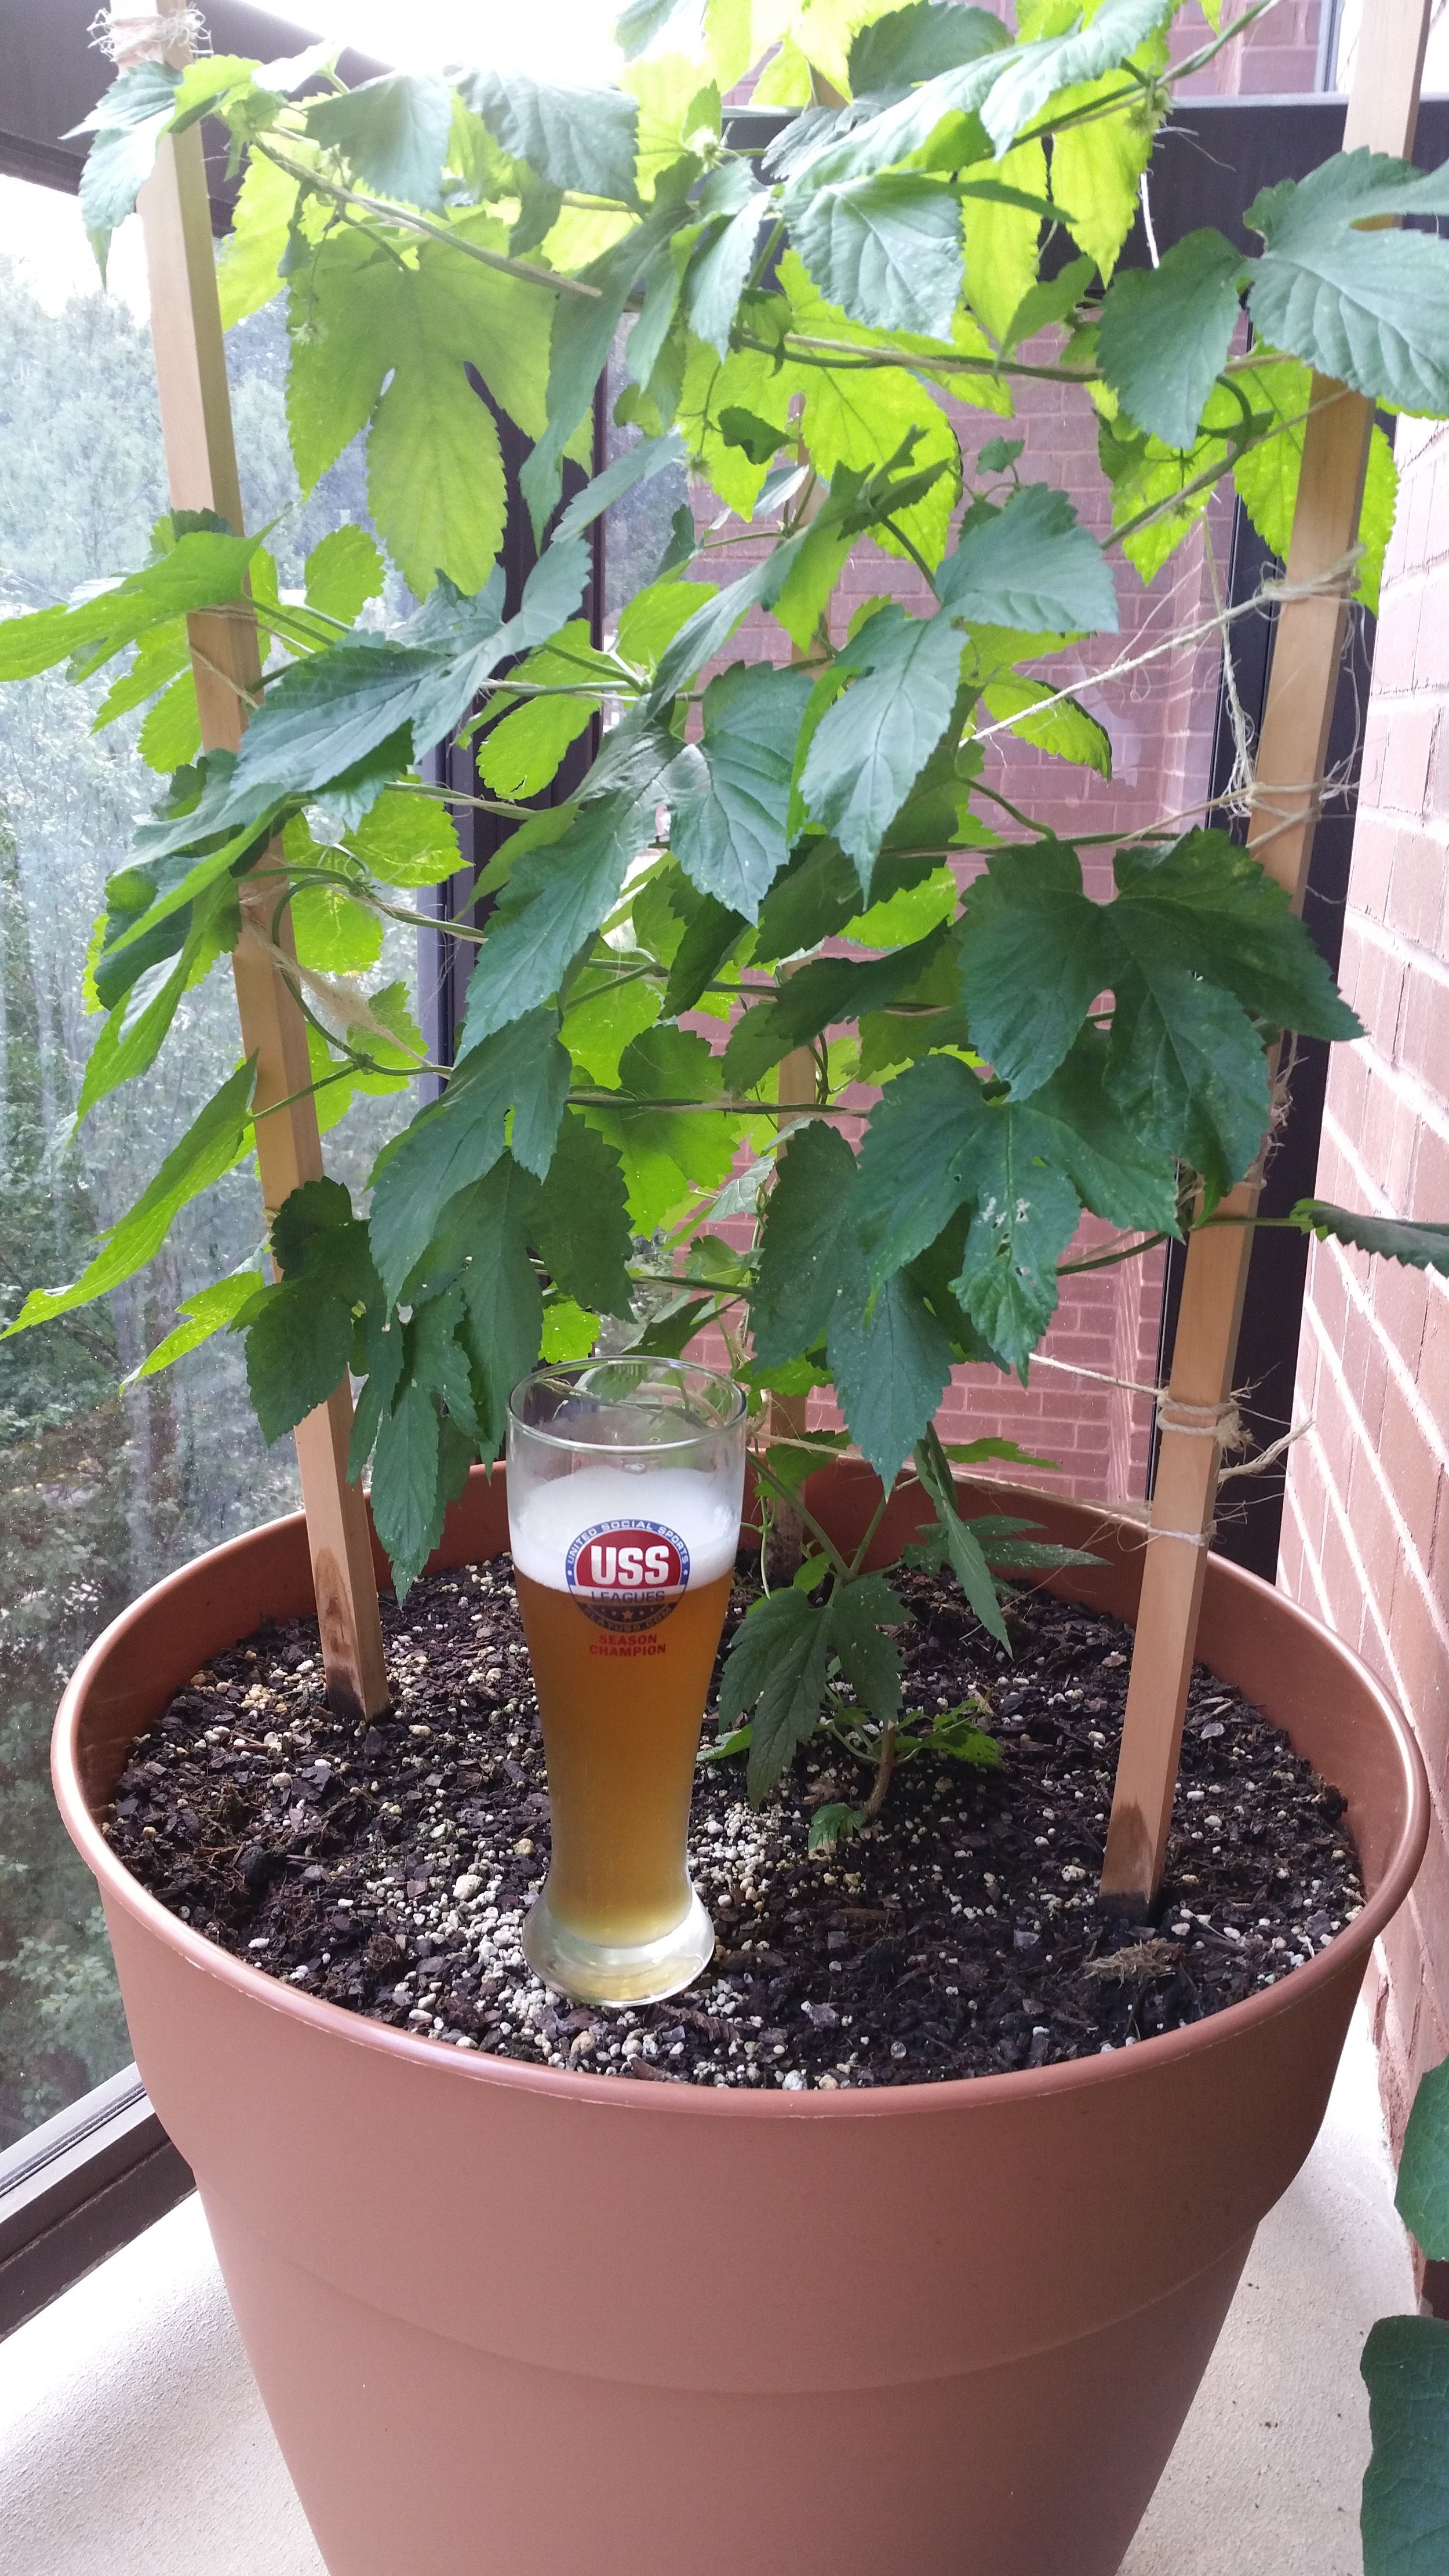
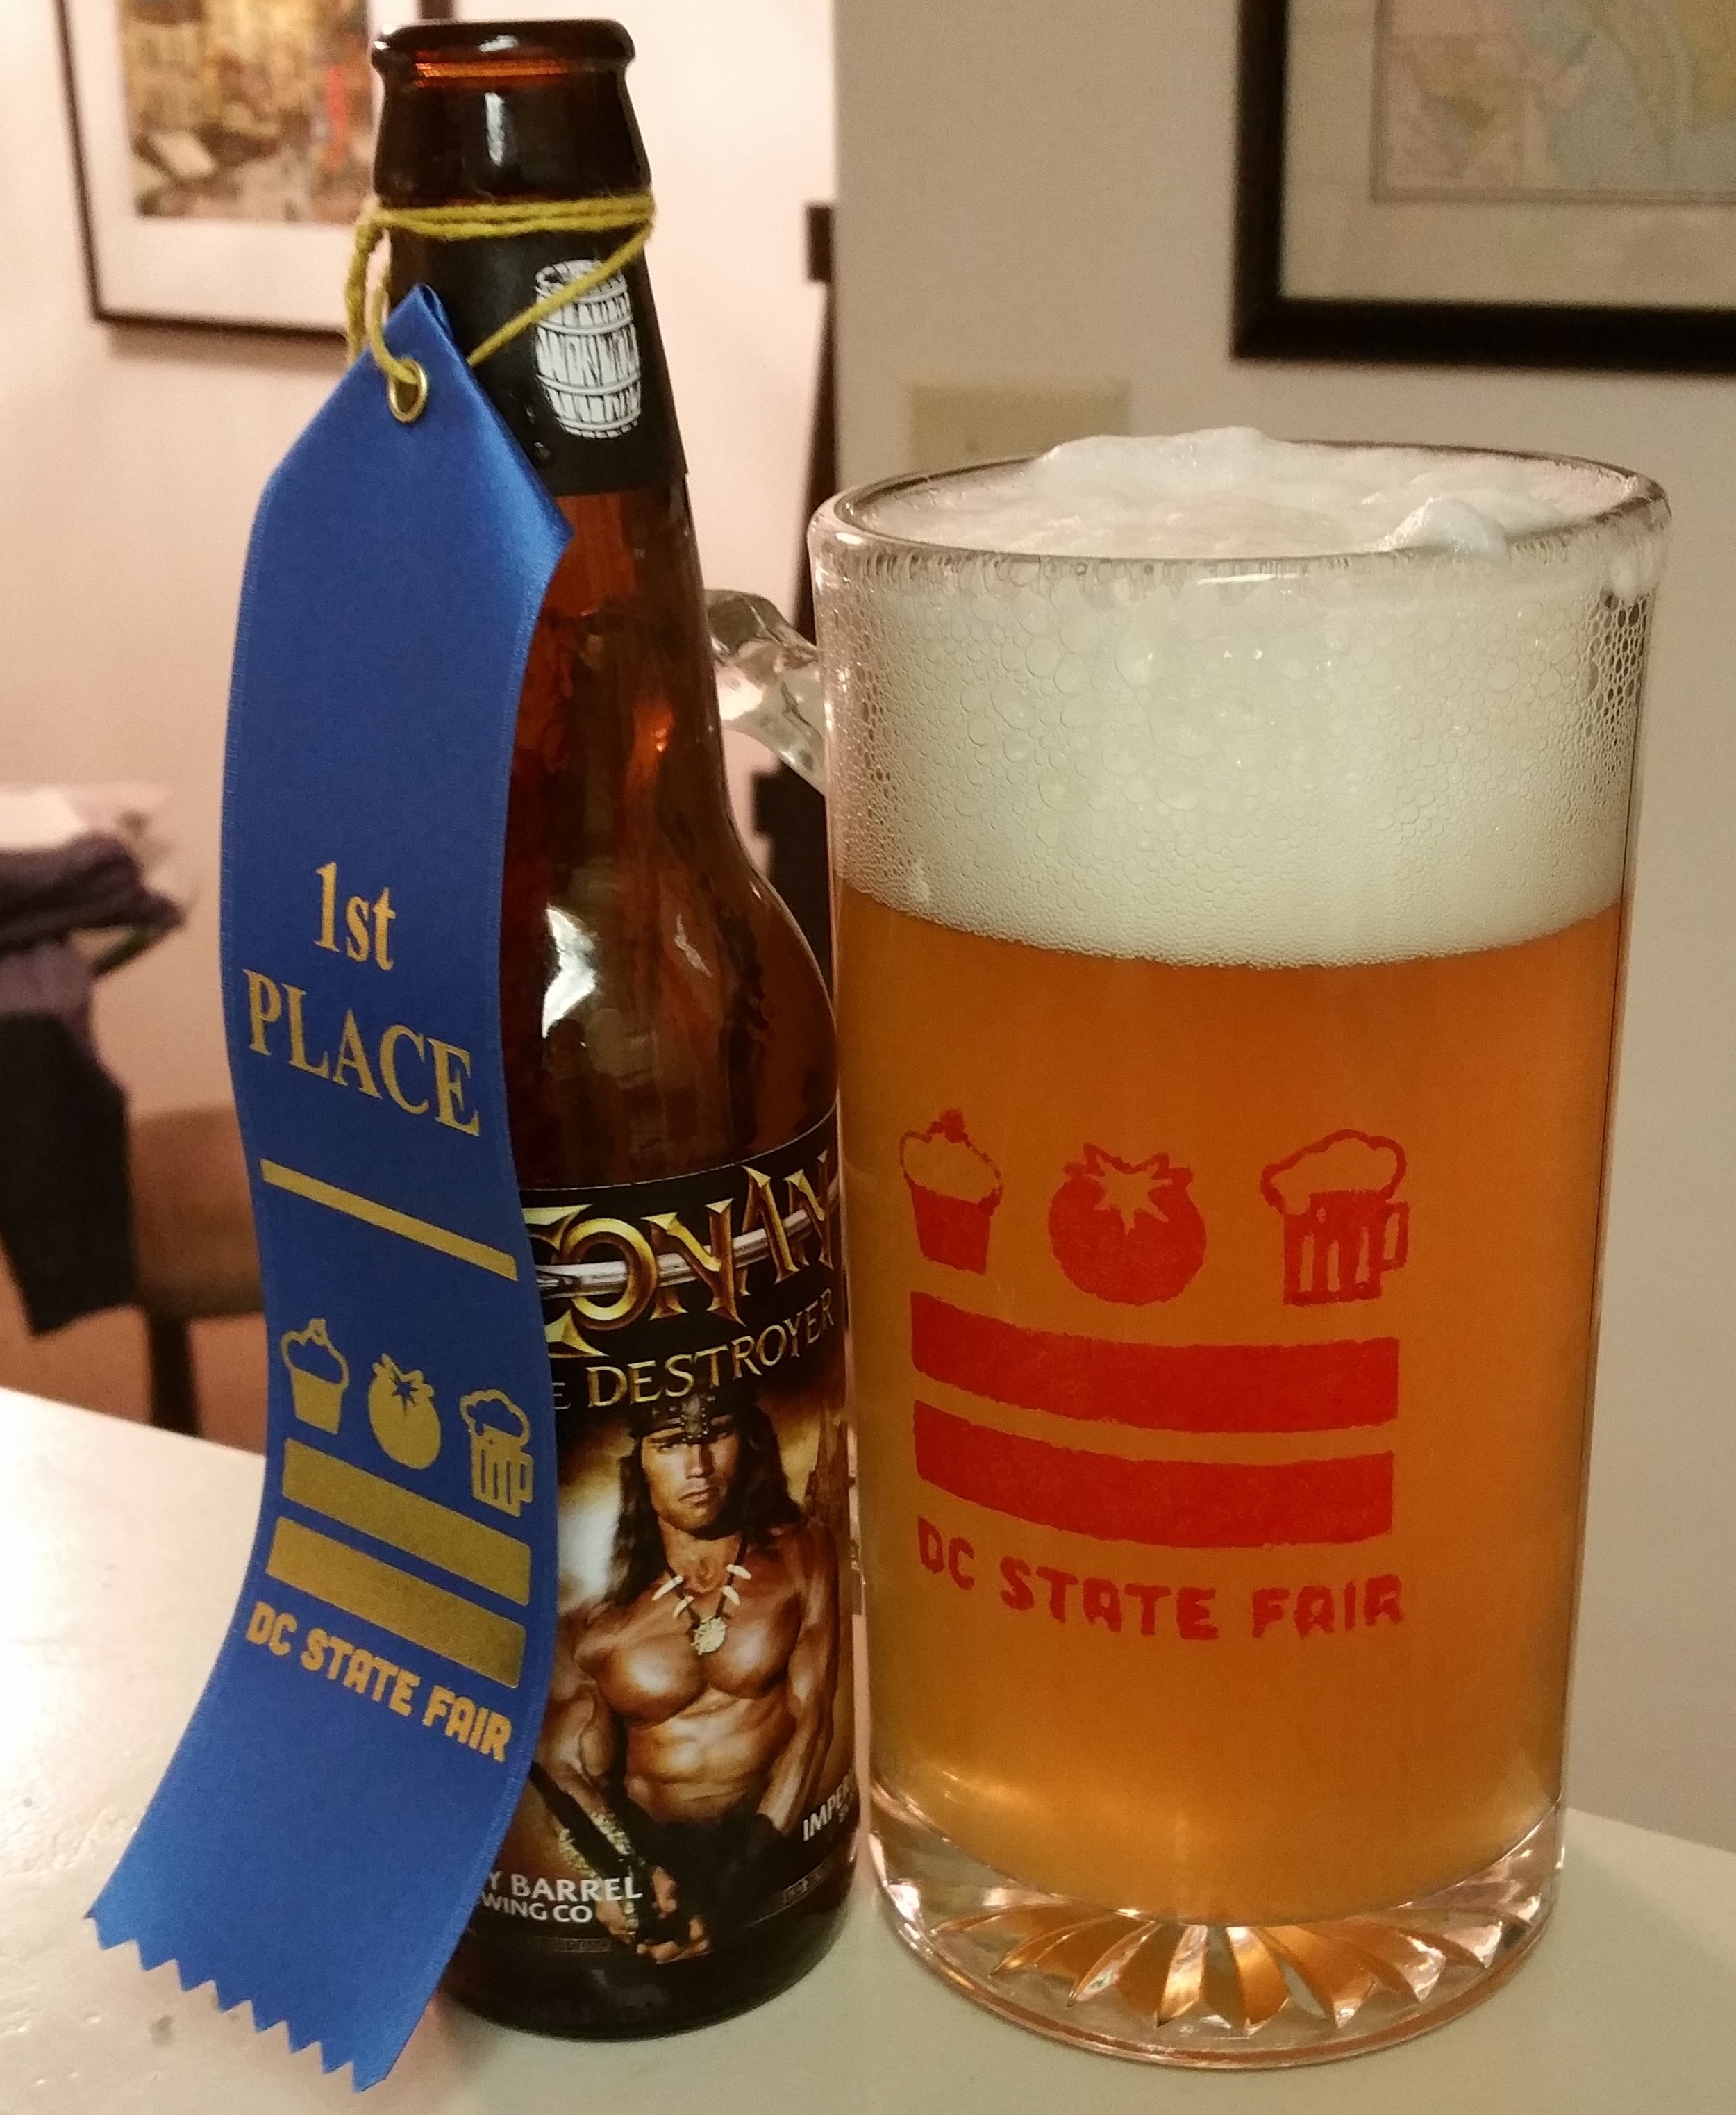
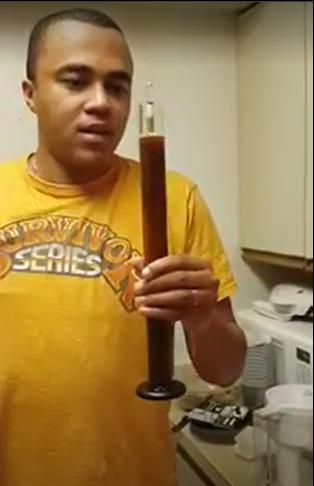
Homebrew is now clearly a majority of the beer I consume. I am brewing more than I can drink myself. Mainly I brewed basic stuff - pale ales, wheat beers, porters, amber ales - for my daily sippers. Started experimenting with yeast recycling, attempting to clone commercial beers. Through trades and bottle shares, I finally got first sips of some of these “New England IPAs” such as Heady Topper and Sip of Sunshine. Immediately started up the homebrew attempts at the juicy stuff. Won my first award, a 1st place ribbon for best IPA in the D.C. state fair. First traces of my experimental wing of homebrewing as I decided to do stuff like throwing a chocolate birthday cake into the mash for an imperial stout. Nowadays they call that pastry stout. I grew two hop plants, one Centennial and one Cascade, in pots on the balcony of my 8th floor apartment. Brewed first batch of hard cider (wasn't great)
Best Brew : Conan (first new england IPA)
Worst Brew : Hard Cider (became vinegar)
Equipment upgrades: none significant!
Awards / Accomplishments : 1st place IPA category of DC State Fair
2016

My wife, still miraculously married to me, and I decide to make our exodus from the city. After losing in a bidding war on a house on Brewer’s Lane, we moved into a better house with a garage and a sink. Pretty fast I moved up to a more typical propane setup in the driveway. My car had the luxury of being parked in the garage for the first couple nights before I started filling it with stuff like a chest freezer fermentation chamber, workbench, and eventually a custom built 4 tap kegerator made from a stand up freezer. I kegged my first batch a couple days before my birthday which fell on a football Sunday. Except I lost the entire CO2 tank because of a leak. That was the first and not the last time I lost an entire tank (at a critical moment no less). Before the end of the year, I brewed my first lager.
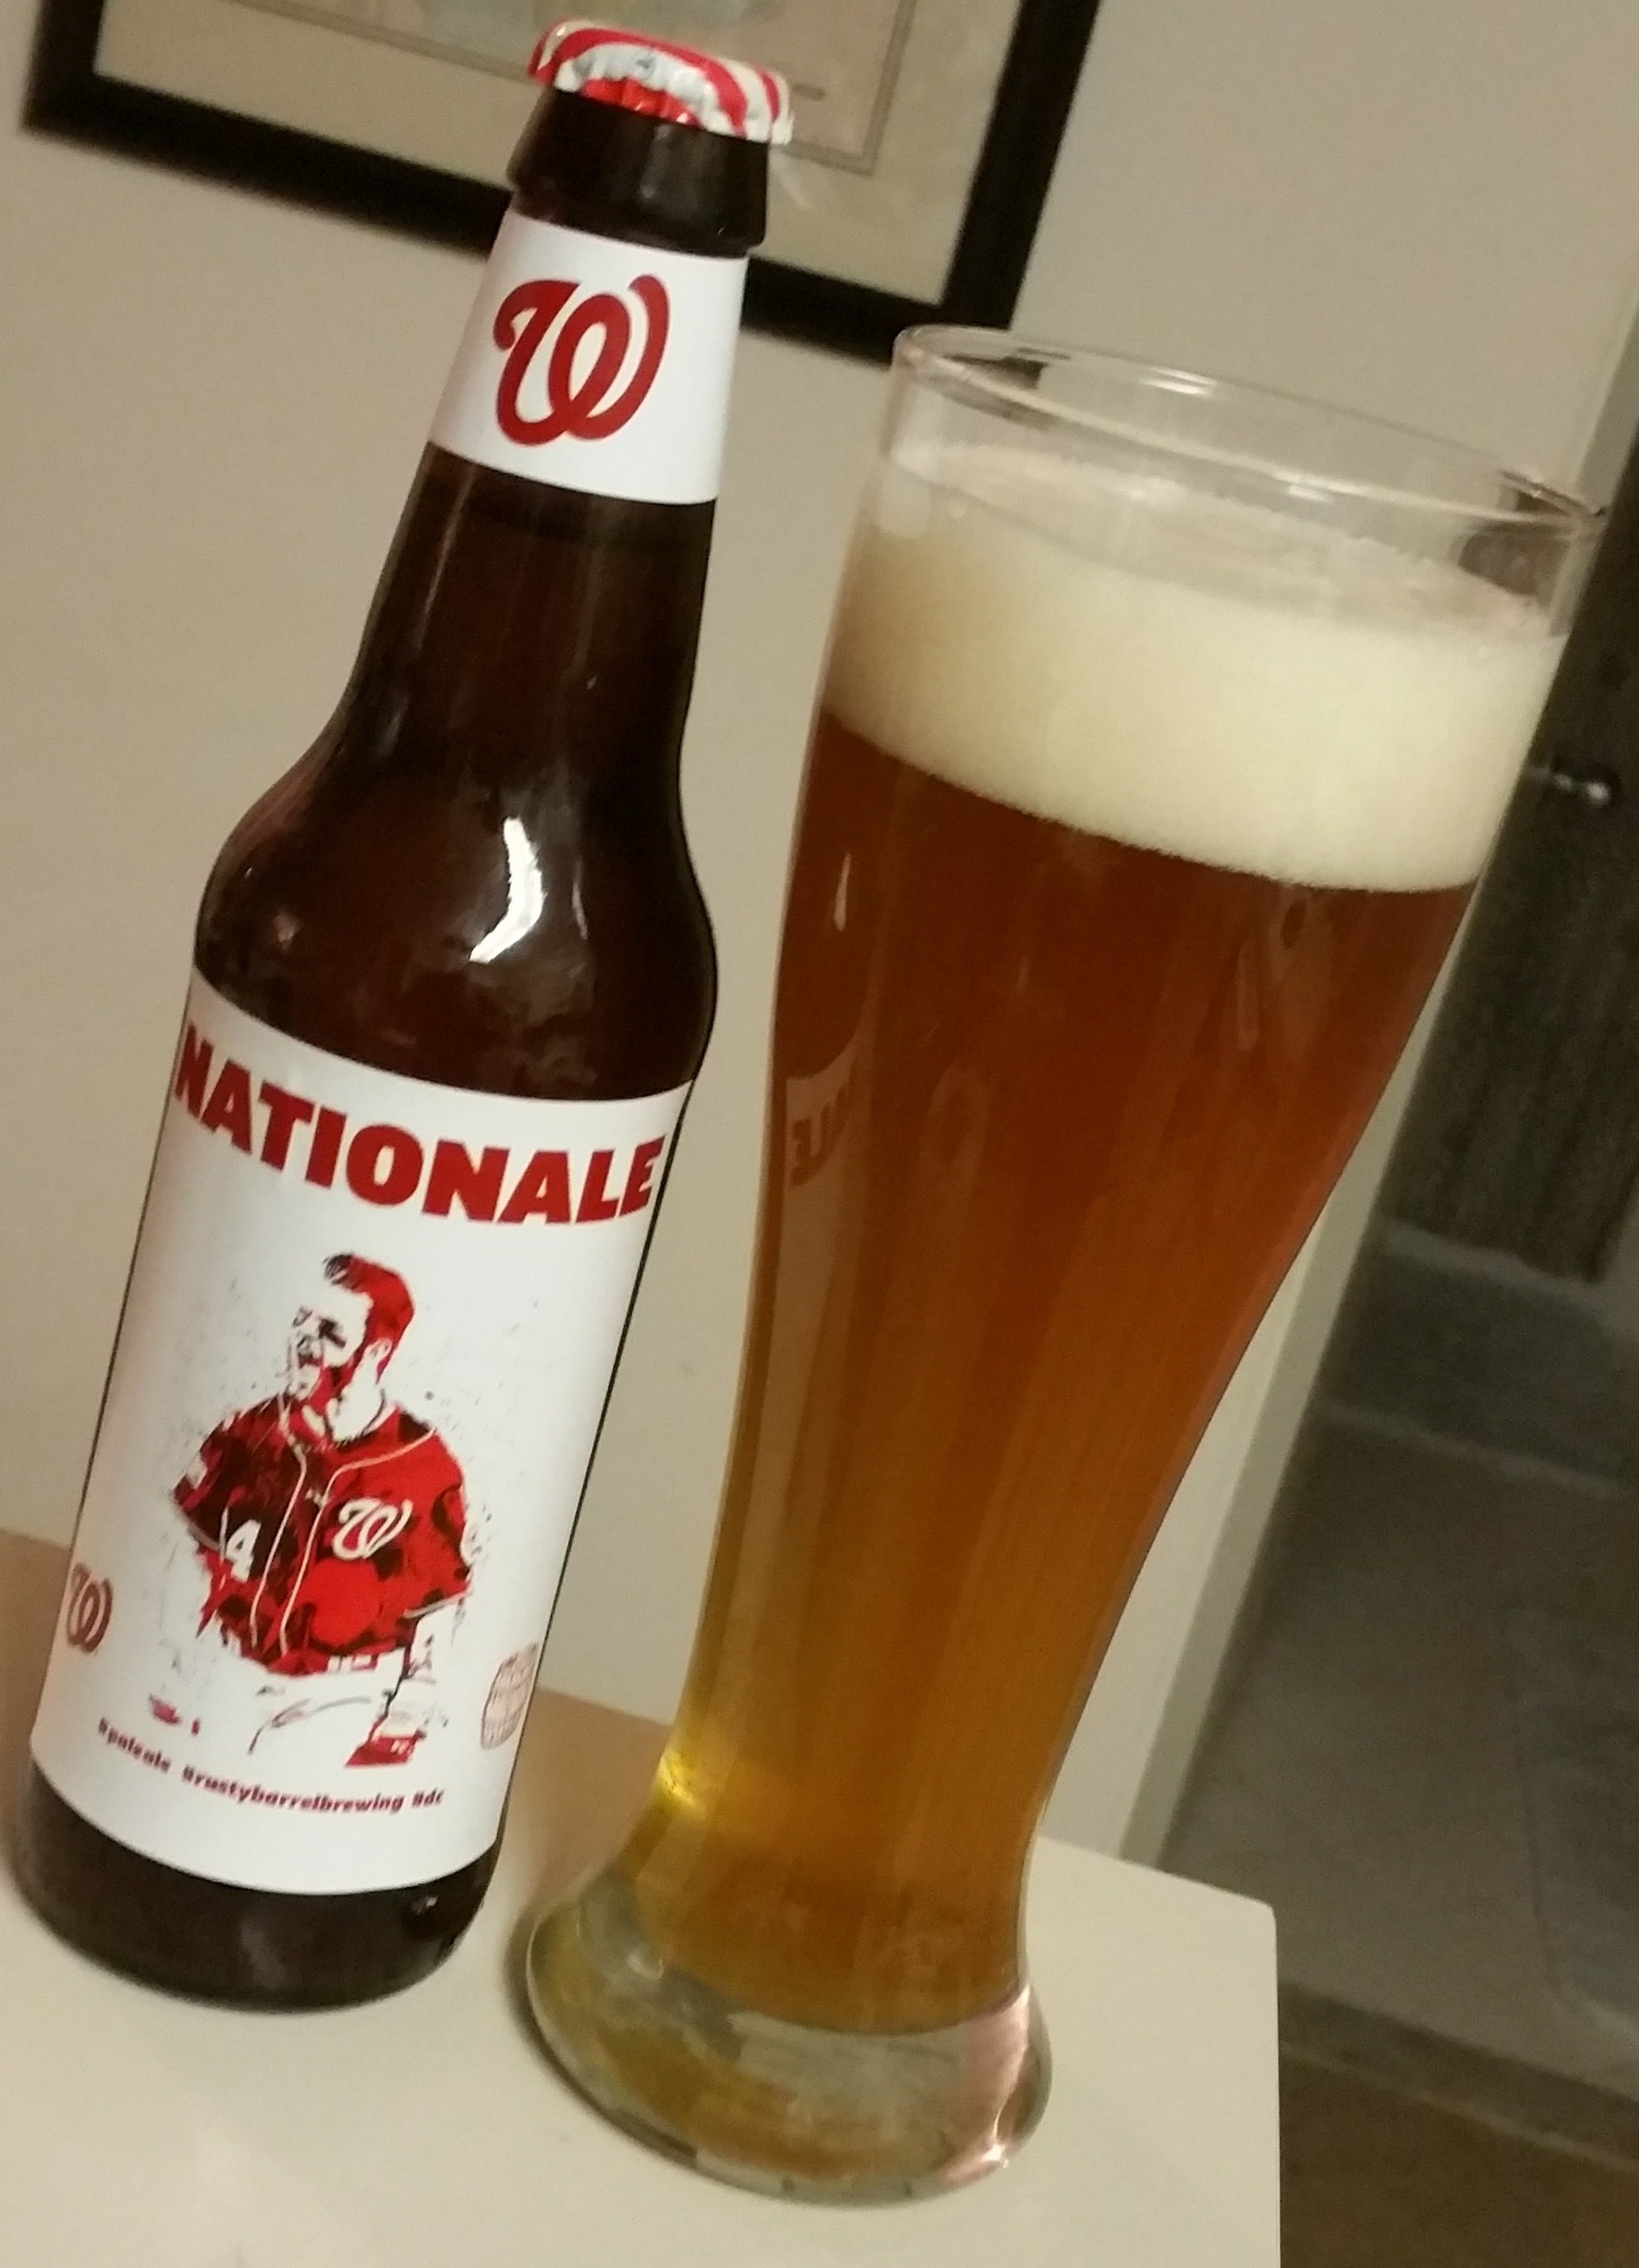
Best Brew : Nationale Pale Ale
Worst Brew : none!
Equipment Upgrades : chest freezer fermentation chamber, kegerator, propane burner
2017
In 2017 I really started diving deeper into creating my own recipes. Experimenting with smash beer and simple recipes to understand ingredients. Also stepped it up a notch in the experimental department. I brewed what I called an Australian raw ale (don’t ask). I started working on beer clarity when appropriate. I started my Instagram account, which was supposed to just be sort of a diary - an outlet for me to openly write and post into, since my poor wife and casual beer friends were tired of hearing me babble about day and night. I never thought anyone would see, read, like or follow. Most times I would log into the account, post my photo and mini blog entry, and then never looked at it again for a week or two until I had something else to post about. Later in the year, I brewed my first batch of red wine (wasn't great)
Best Brew : “All The Rage” hazy DIPA
Worst Brew : New Zealand Raw Pils
Equipment Upgrades : Finally built a real igloo cooler mashtun (had previously been mashing in my kettle and/or plastic bucket with towels for insulation).
Awards / Accomplishments : Local homebrew legend and owner of Final Gravity Brewing Tony Ammendolia told me my Vienna lager “was pretty good”
2018
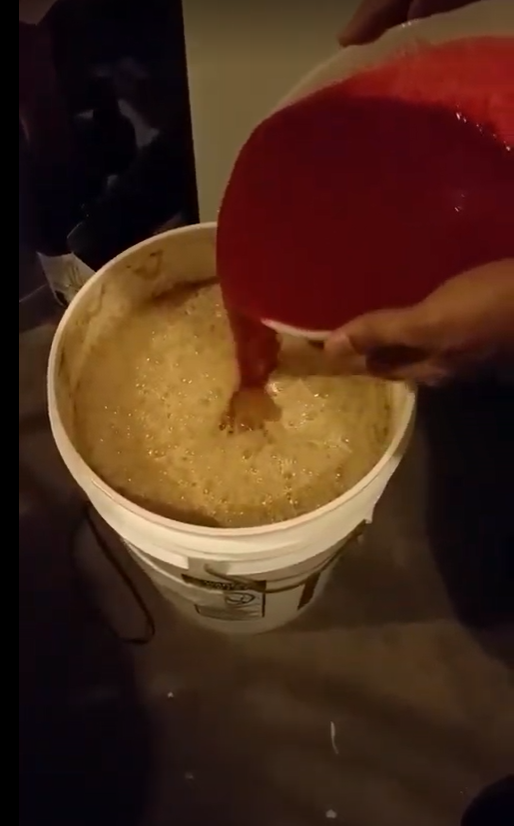
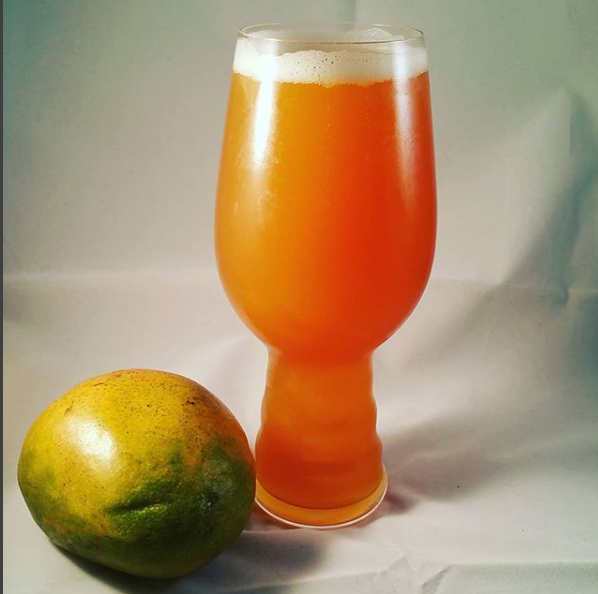
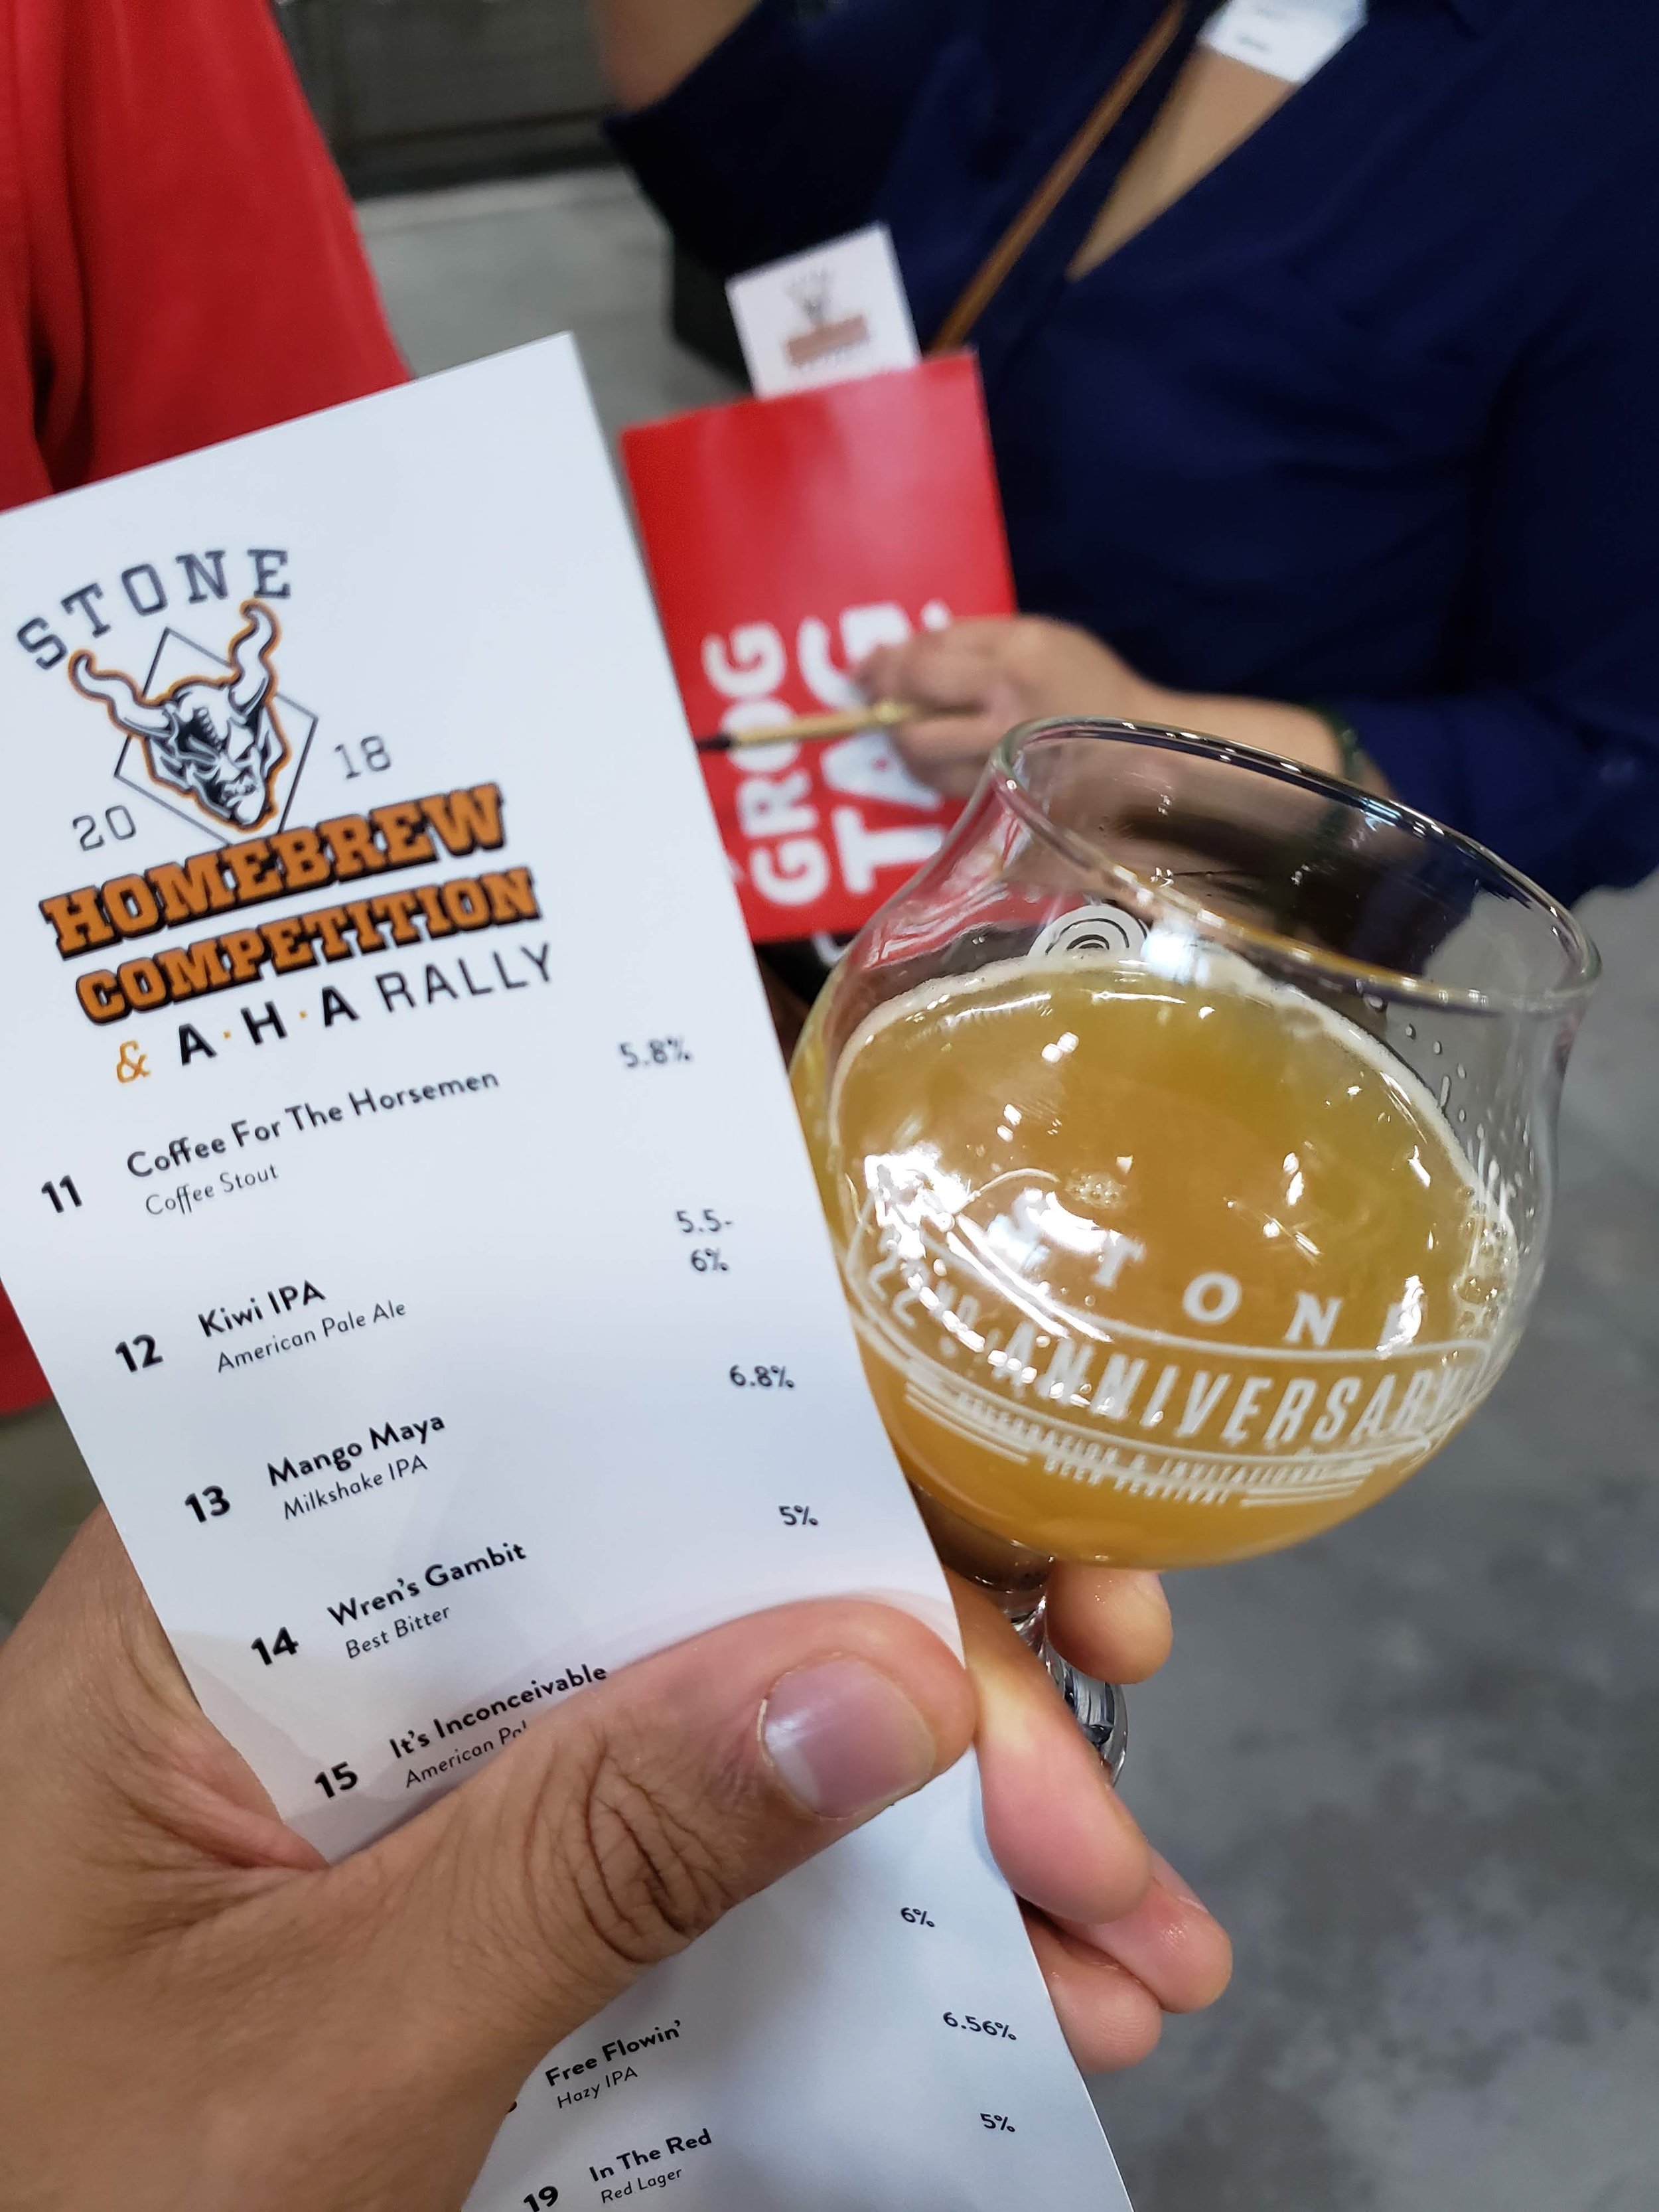
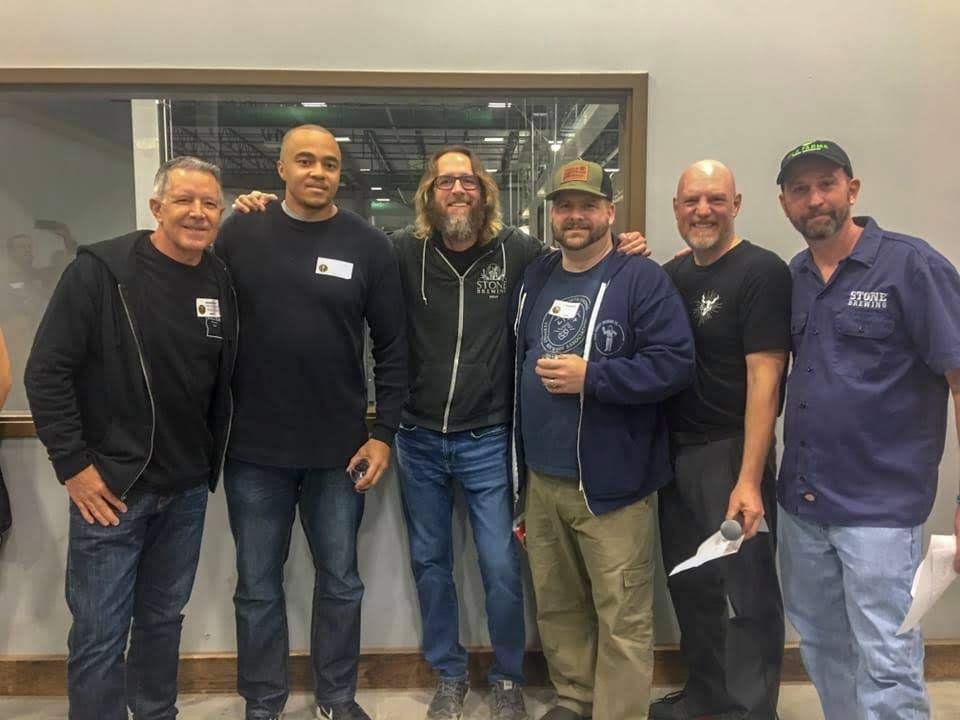
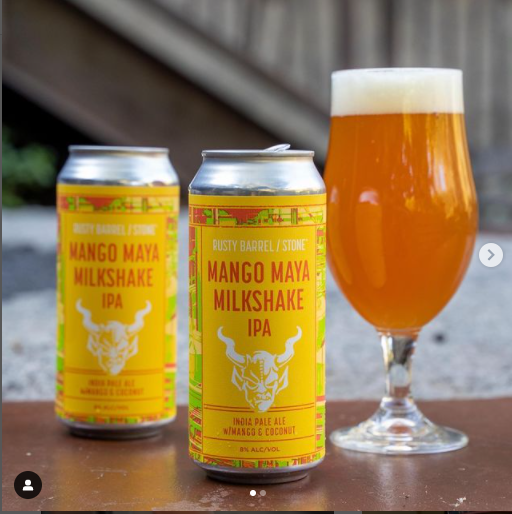
In 2018 I was dialing in my process, and I brewed some nice clean tasty lagers. Also nailed some hoppy hazy IPAs. After tasting a single can of Tired Hands strawberry milkshake IPA over the previous Christmas holiday, 2018 became the year of the milkshake IPA in my homebrewery - strawberry, peach, blueberry, mango coconut. The mango coconut version “Mango Maya”, I brewed for (the adults attending) my daughter’s first birthday party. Clearly the best beer I brewed all year, I rebrewed it and entered it into the Stone Brewing / American Homebrewer’s Association Homebrew Competition, and it won first place. I hung out with Stone founders Greg Koch and Steve Wagner before I knew who they were. I was slated to collaborate with Stone in 2019 to scale up Mango Maya for a national distribution.
Best Brew : “Mango Maya” Milkshake IPA
Worst Brew : Jalapeno Saison - funky off flavors
Equipment Upgrades : more fridges…
Awards / Accomplishments : Won 1st place in the AHA / Stone Homebrewing Competition
2019
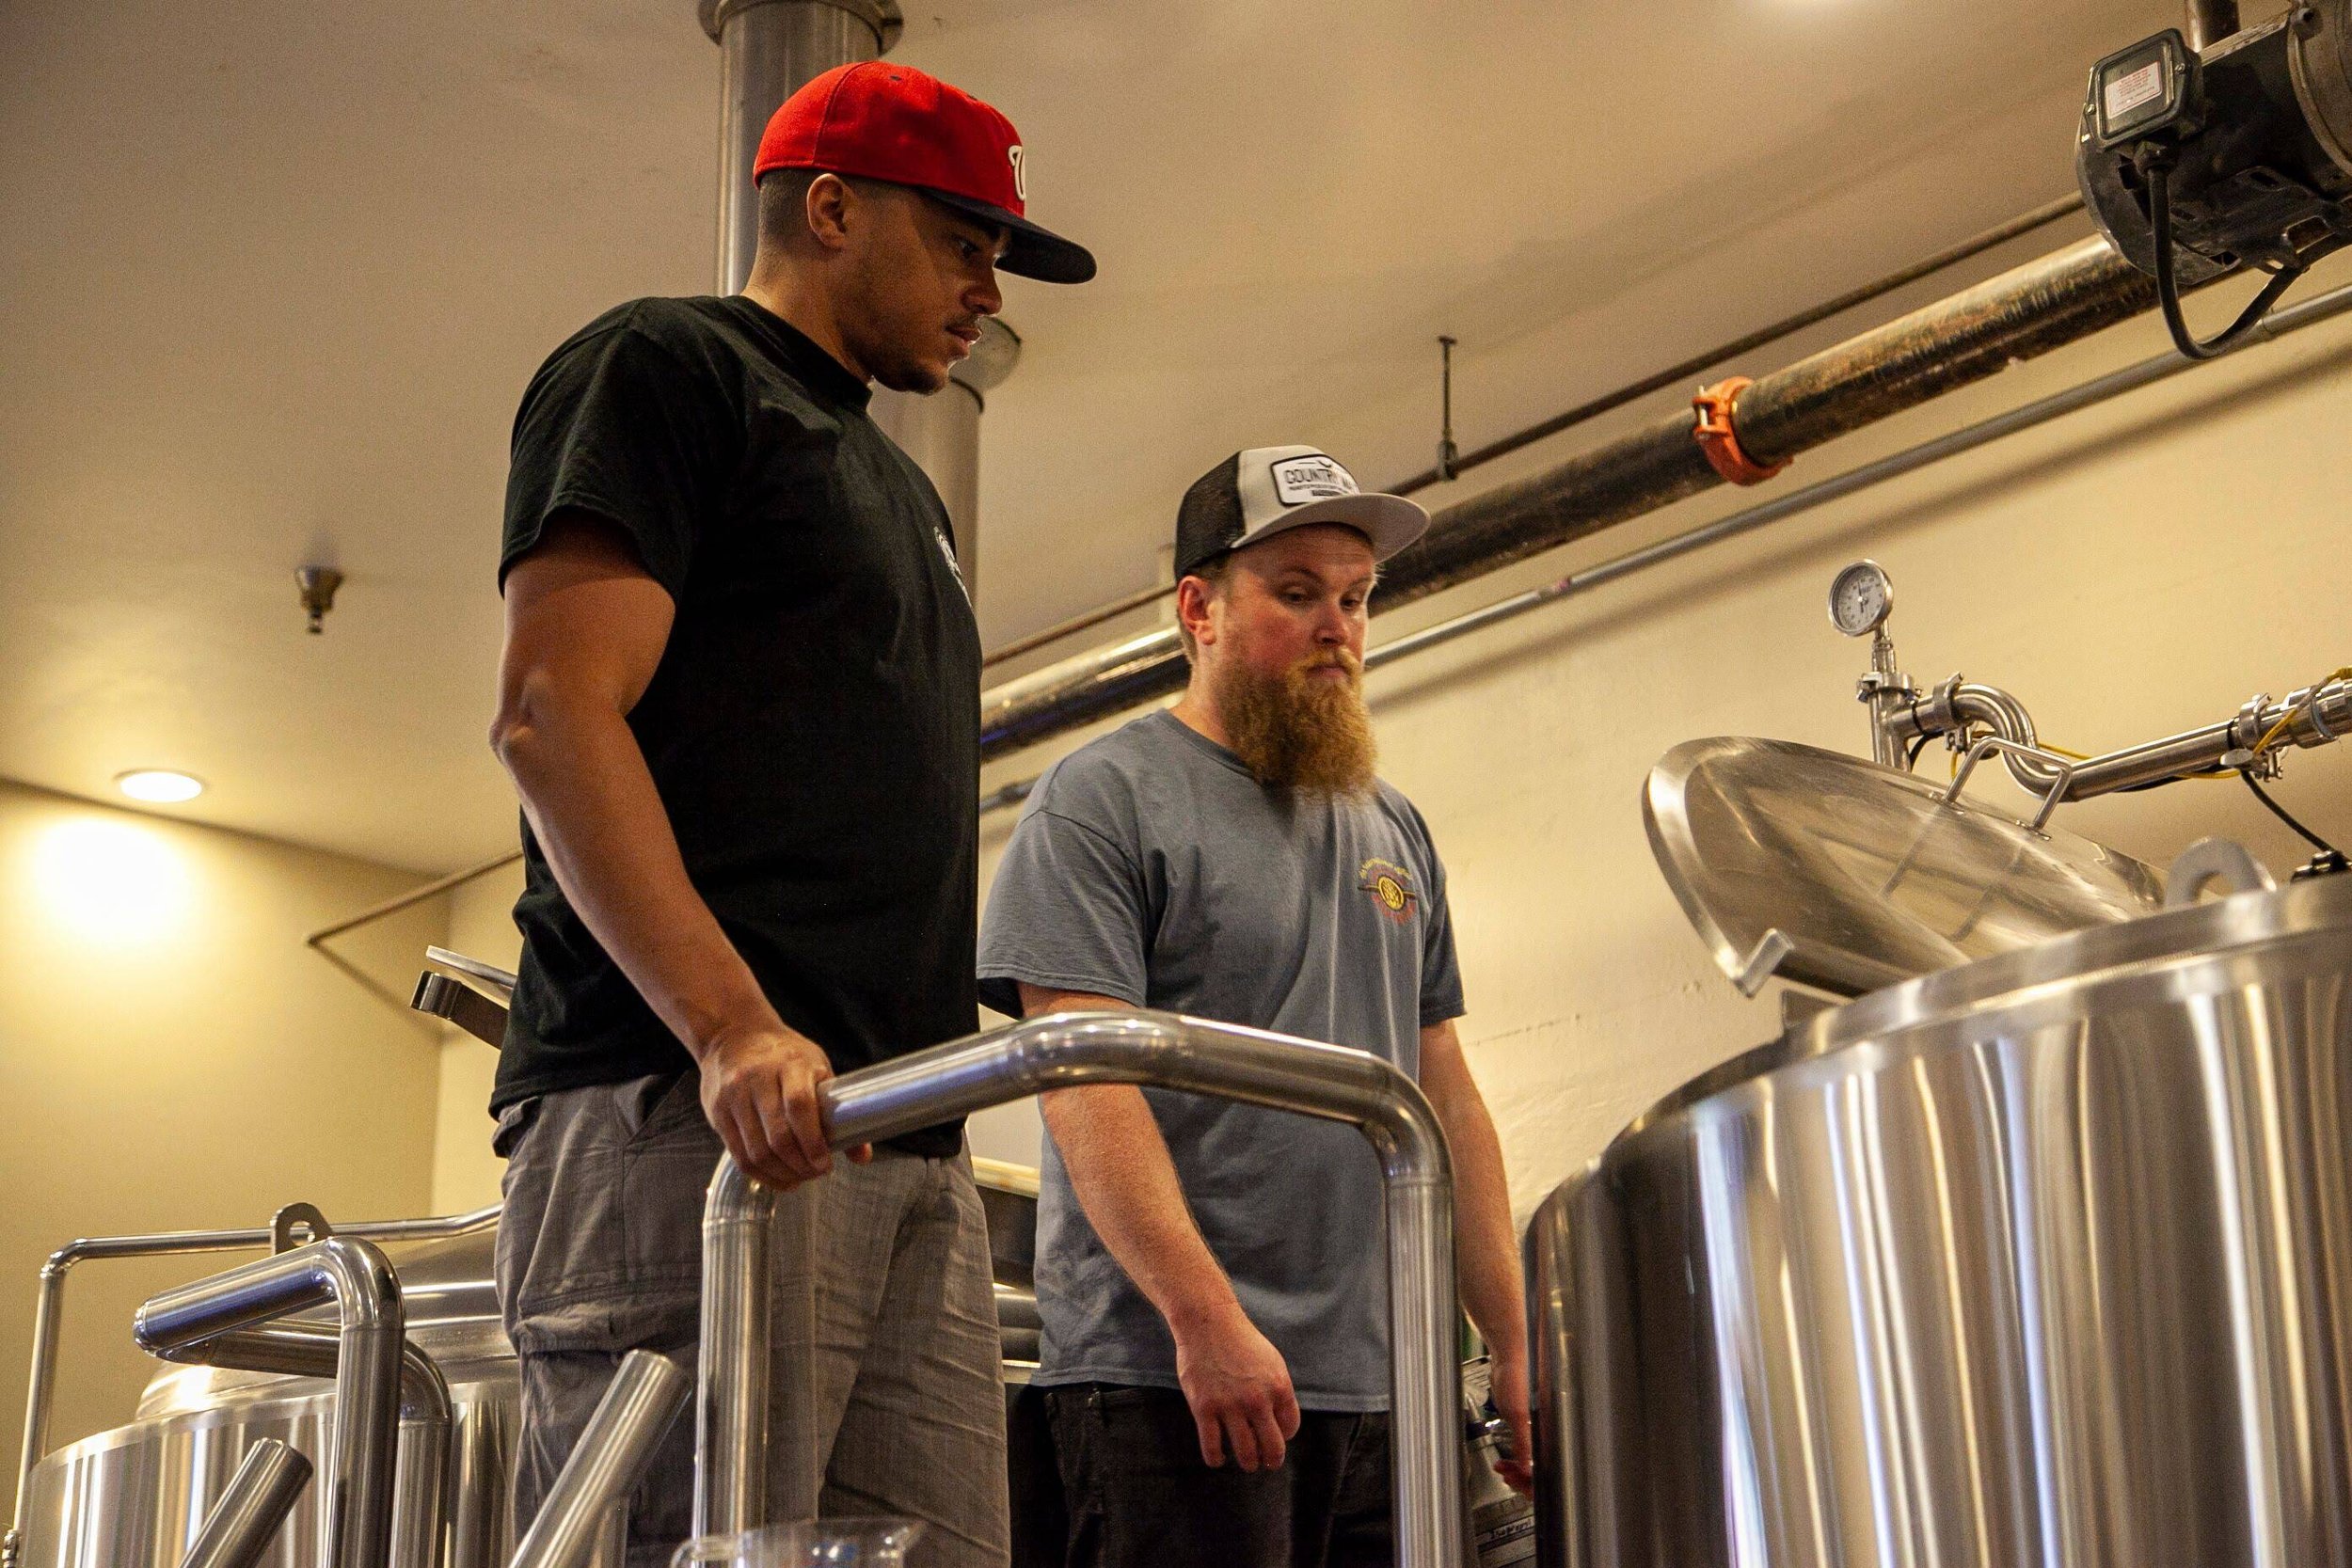
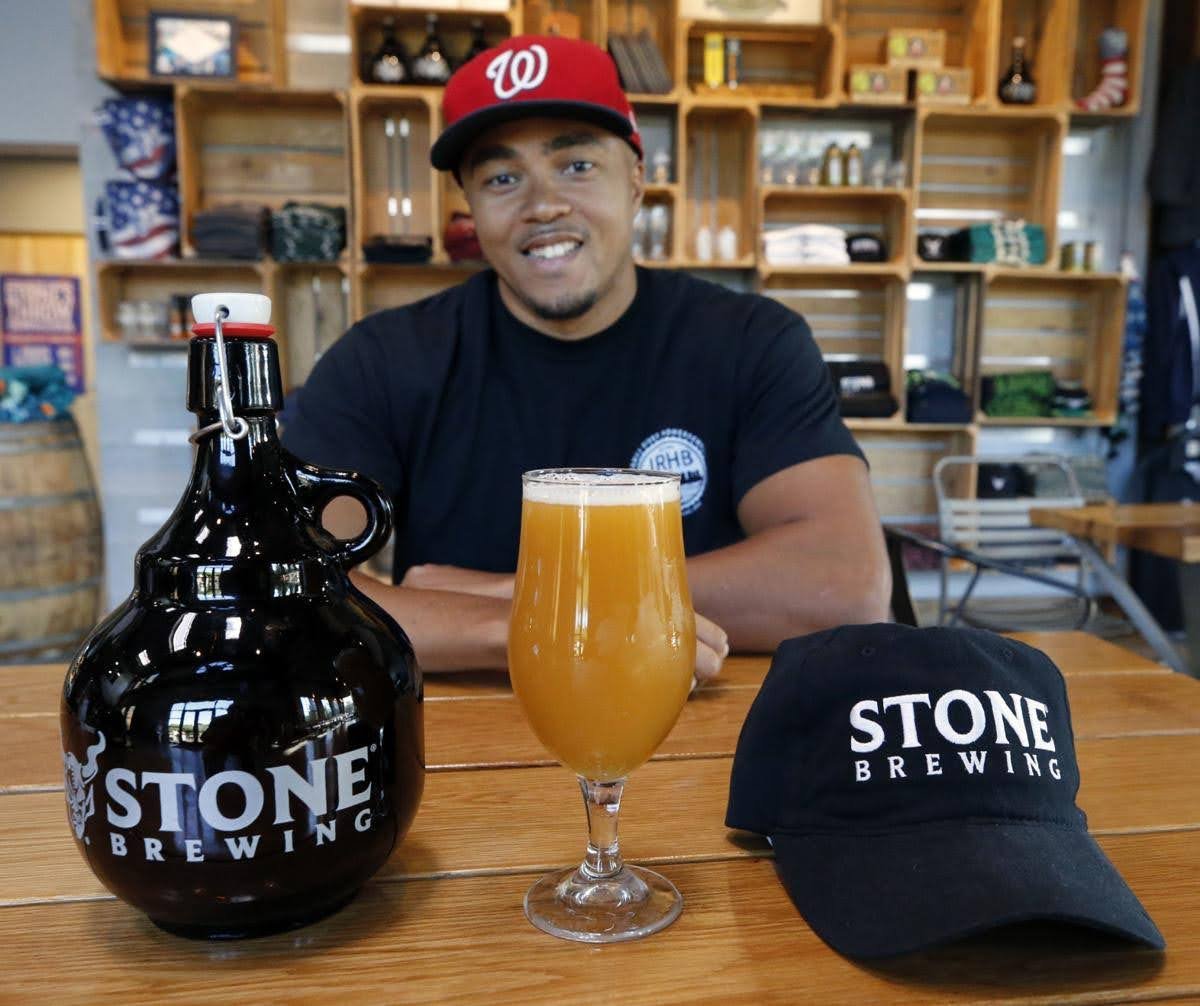
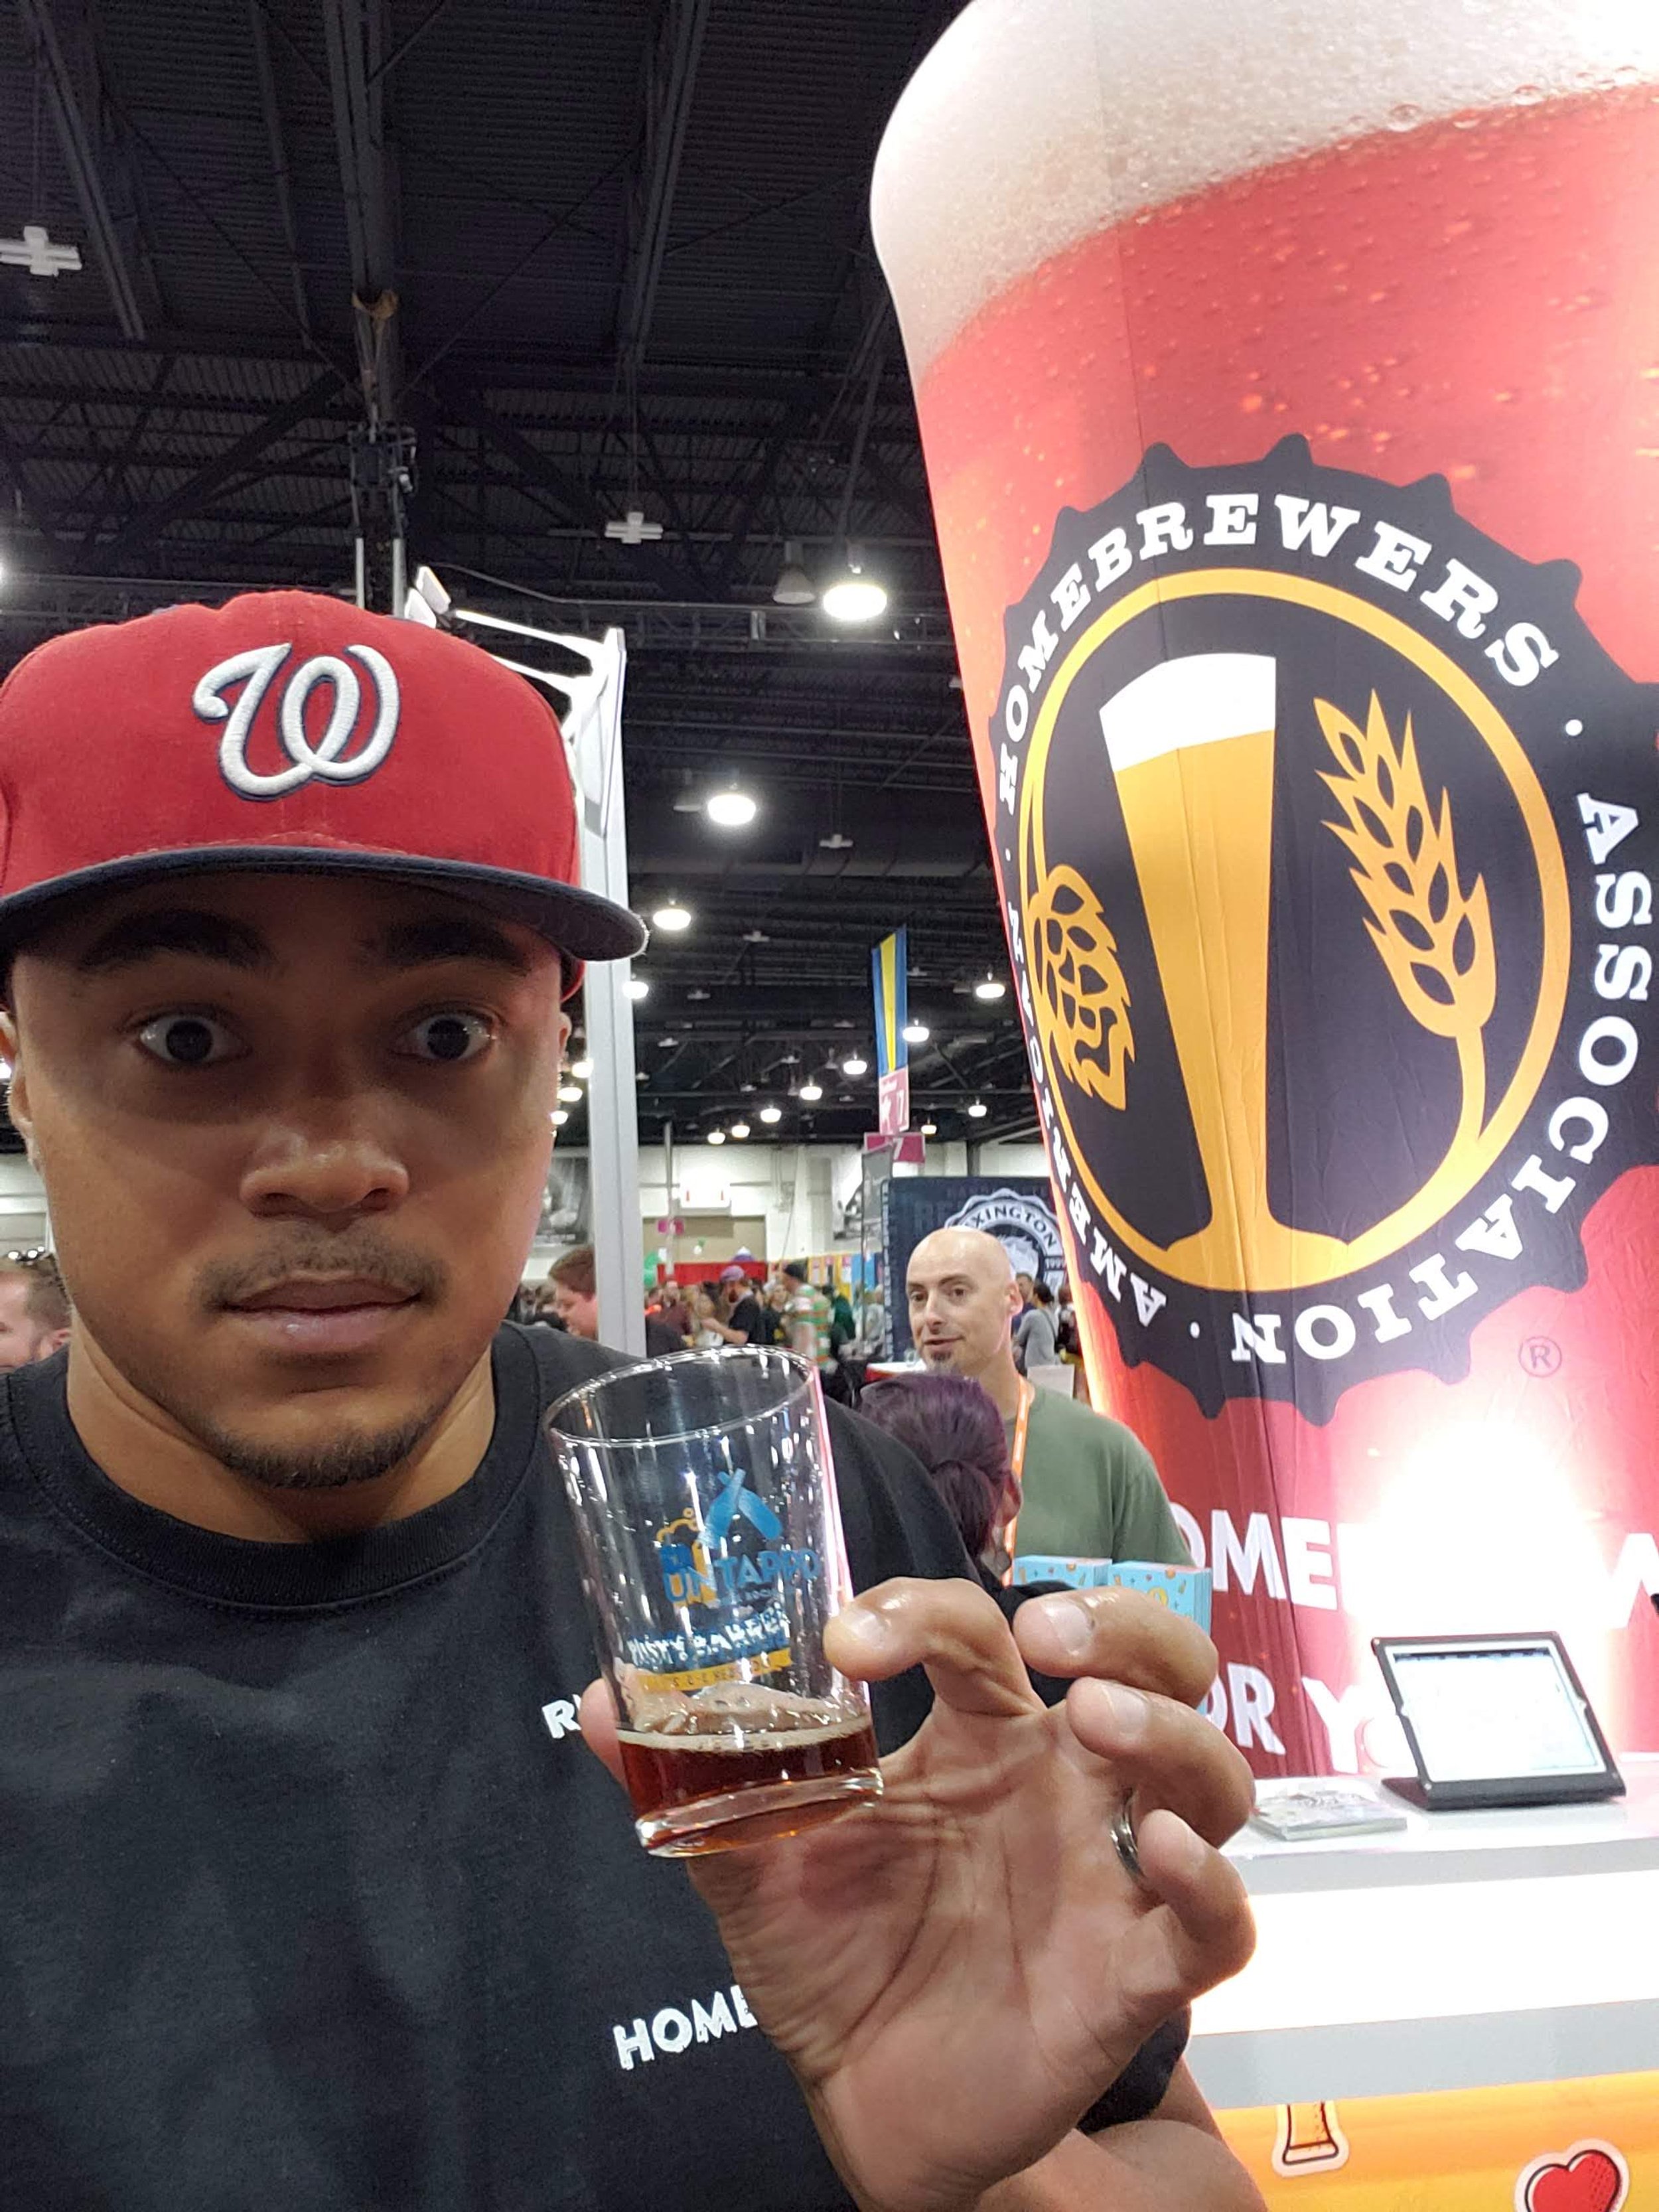
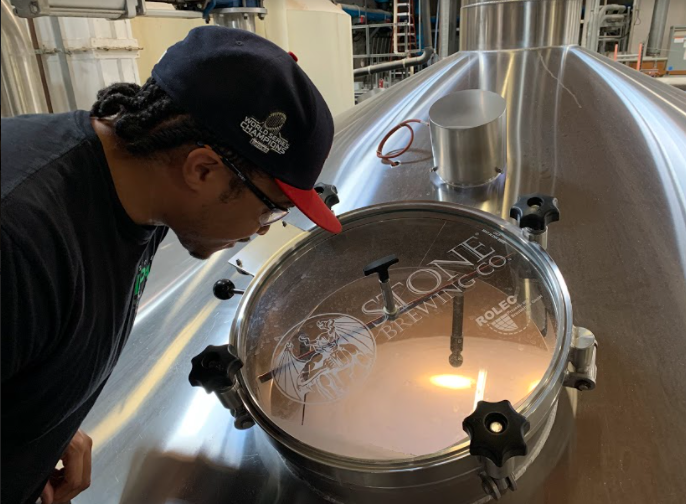
In January I brewed my 100th batch of brew, my first barleywine. Later I made my first attempt at a legit imperial stout. But far and away the theme of 2019 was my collaboration with Stone. Due to some complications in planning, my scale up was scaled back from the national distro plan. I was still ecstatic to be doing anything, so in July I was hosted by Kris Ketcham of Stone Brewing Liberty Station in San Diego where we brewed 30bbls of Mango Maya. In August the beer was released at Stone taprooms on both coasts. In October, I traveled to the Great American Beer Festival in Denver, where Mango Maya was pouring at the Stone booth and was also entered in the Pro-Am competition. It did not place. Strangely, a guy from my homebrew club won silver in that category. We did not know each other were there.
Best Brew : OBX19 - NEIPA
Worst Brew : “Howie Kendrick” festbier - (reused poorly maintained lager yeast, horrible off flavors, possibly DMS, drain poured)
Equipment Upgrades : Blichmann Beer Gun
Awards / Accomplishments : Brewed collabs with Stone; attended GABF; Gold medal for marzen in NOVA Classic; Silver medal for Belgian Tripel
2020
The year no one wants to talk about. I was and am still thankful I had a hobby I could participate in alone at home, and that the homebrew shop remained open during the pandemic. It may sound strange to say, but there were aspects of the pandemic that I enjoyed. Being at home all the time with nothing to do meant I brewed a lot more. Working from home meant I could get creative with brewing on weeknights by starting my water and mash during the work day. Participated in dry January for the first time and brewed my first non-alcoholic beer (wasn't great). First partigyle brew day. Upgraded to electric brewing using a cheap Digiboil kettle running on standard 115v power. Made my first foray into water chemistry, which really changed my west coast ipas and lagers in a big way. I started my YouTube channel and, after putting it off for 5 years, finally built a website. I brewed a really good festbier and marzen that won me hardware in local competitions, and became two of my favorite beers that I brew. I filmed myself brewing my award winning mango coconut milkshake ipa, and messed up the batch (episode never saw the light of day). Collaborated with local artists.
Best Brew : RB Oktober Festbier
Worst Brew : Munich / Bravo SMaSH beer (metallic off flavors, drain pour); Mango Maya (accidentally used “American noble” low AA and flavor reduced version of citra hops)
Equipment Upgrades : Digiboil electric kettle, Oktober Can seamer
Awards / Accomplishments : Gold medal for Festbier and Silver for Marzen in Dominion Cup
2021
Came back to some old recipes to rebrew and refine. Continued some successes with fruity beers, hazies, and lagers. Blueberry hazy IPA with mosaic hops was one of my favorites. More experiments with beets, pizza yeast, potatoes, corn grits, egg nog, etc. In the garage I was lucky enough to receive some new equipment on sponsorship, upgrading from my Digiboil and plastic bucket to a Grainfather G40 along with stainless steel conicals and a glycol chiller courtesy of BSG. Again I collaborated with another local artist, showcasing a couple beer batches at an art show featuring his art on the can labels. Stone called me back to California to brew a bigger, badder 120 bbl batch of Mango Maya on their big system in Escondido, which became a can release. While in town, I linked up with Kris at Liberty Station again and we brewed a 15bbl batch of my blueberry hazy IPA.
Best Brew : “Blueberry Yum Yum” - hazy ipa w/ mosaic hops & blueberries
Worst Brew : “Bear” imperial ipa brewed with honey (hornindal underattenuated, too sweet to drink, drain pour)
Equipment Upgrades : Grainfather G40, stainless conicals, glycol chiller
Awards / Accomplishments : More collabs with Stone including Mango Maya can release; Gold medal for RB Belgian Single; Bronze medal for Virginia Breakfast Stout
2022 and beyond…
Some years I set a clear list of goals for the year. This year is a little less formal. Some immediate goals are beers I really want to brew : a chocolate blonde ale for (the adults attending) my son’s first birthday party (the beer I brewed for my other child’s first birthday was Mango Maya, which went on to be a major success, so maybe I strike some magic for the 2nd kid as well?)
I also want to take a serious, more educated swing at brewing some thick bodied heavy stouts and barleywine. My wife bought me an oak barrel for Christmas, so I need to fill it with something ASAP.
I have a handful of recipes for classic beers that have come out well in the past few years that I would like to rebrew for my first submission to the National Homebrew Competition. Pilsner, Belgian blonde, Belgian tripel, festbier, marzen, vienna lager, and some others.
Process-wise, I’ve bought the equipment to try closed transfer kegging some hazy IPAs. With the heavy stouts and barleywines in mind, I also finally threw down on a flask and stir plate for yeast starters as well as an oxygenation kit. Yeast should be happy in the garage this year. I also bought a floating dip tube I’m hoping will help me pour clearer lagers and west coast IPAs.
In the bigger picture, I am trying to grow my online presence, mainly my YouTube channel. But also my blog. My primary outlet for years has been my Instagram account, but the nature of the platform lends to my content being essentially lost / irrelevant after a couple of days.
In the bigger bigger picture, I am starting to think about whether I want to continue this path to becoming a homebrew expert and guru. I’d love to build my reputation to the point where I could write articles for homebrew magazines, give talks at conferences, and maybe even write a book.
An alternate path that every homebrewer has dreamt of, is opening a brewery…I’m starting to kick the tires a little harder on this idea. What size? Can I make any serious money? Can I afford it / will I be able to raise funds to do it? Do I know enough about beer (I think so) and brewing (maybe) and the brewing industry (probably not) and running a business (definitely not) to get started? This is not going to be on the roadmap for 2022. But I do want to continue learning bits and pieces of information here and there to figure out if this could be a serious venture in my future.
What are your goals for 2022?

Festbier
RB Oktober Festbier, now on tap 🍂🏈
What in the world is festbier, you ask? Is it just another term for Oktoberfest? Then what is that other beer some refer to as marzen? These were questions that had me puzzled when I first got into craft beer.
Then, in 2016, I was blown away by Sierra Nevada’s annual Oktoberfest release. It was a bit different than most everything else labeled Oktoberfest that I had tried up to that point; it was lighter colored, lighter bodied, and less toasty, but still had delicious malty sweet flavor with a biscuity twist, and a clean and distinct lager finish.

2016 Sierra Nevada Oktoberfest. Photo credit : Sierra Nevada Brewing Company
In all honesty, at that time I paid little attention to the details printed on the bottle for any further information. All I knew was that it was the best Oktoberfest I’d ever tasted and that I regretted not buying up more of it. It was only after I realized that the 2017 and 2018 renditions turned out to not be close to that glorious 2016 version, but rather more similar to most of the other things labeled “Oktoberfest” on the shelves, that I came to that all-too-familiar thought : What was in that 2016 Oktoberfest?! And how can I brew my own?!
The first step was a little research. By 2017 I’d realized that the Sierra Nevada Oktoberfest is not a straight up annual release of the same recipe but rather a new recipe and collaboration with a different traditional German brewery each year. That 2016 version was a collaboration with Mahrs Brau, and the brew they concocted that year was more in line with something called festbier. Say what??
After more digging, I discovered that what we call “Oktoberfest” - here in America - that rich, malty, toasty amber lager we all know and love - refers to the style called marzen (BJCP 6A). This is the beer that was traditionally served at the real Oktoberfest festival in Munich, Germany going back into the 1800s. In recent years, however, a different, lighter beer has become the brew of choice at the festival (so much so that it is, in fact, the only style served at the festival!) This beer is called Oktoberfestbier or festbier (BJCP 4B).
With all this under my belt I attempted my first festbier late into fall 2019. From my journal :
“11/6/2019. Came out bad! Corny sweet. Probably diacetyl. I rushed the fermentation as I was in and out of town. I also used a yeast cake from a previous marzen batch that was just sitting (at cold temp) for about a week. I think this same recipe deserves another chance, brewed with more care.”
A couple months later, I modified my recipe and rebrewed during my first “dry” January in 2020, aiming to have it ready for February 1st. On the night of January 31, 2020, I tapped the keg and was pleasantly surprised that it came out at least drinkable. Progress!

My first beer in a month was my 2nd attempt at festbier. Coincidentally, earlier that day I had my last haircut as of this writing (September 2021).
In the first couple minutes of this Instagram post, I give an update and description of the beer :
I somehow ended up with an unusually high (for me) efficiency so this batch came out at 7.4% abv, which is a bit high for the style. But otherwise the beer was tasty, light colored with a malty light body, even though high on abv.
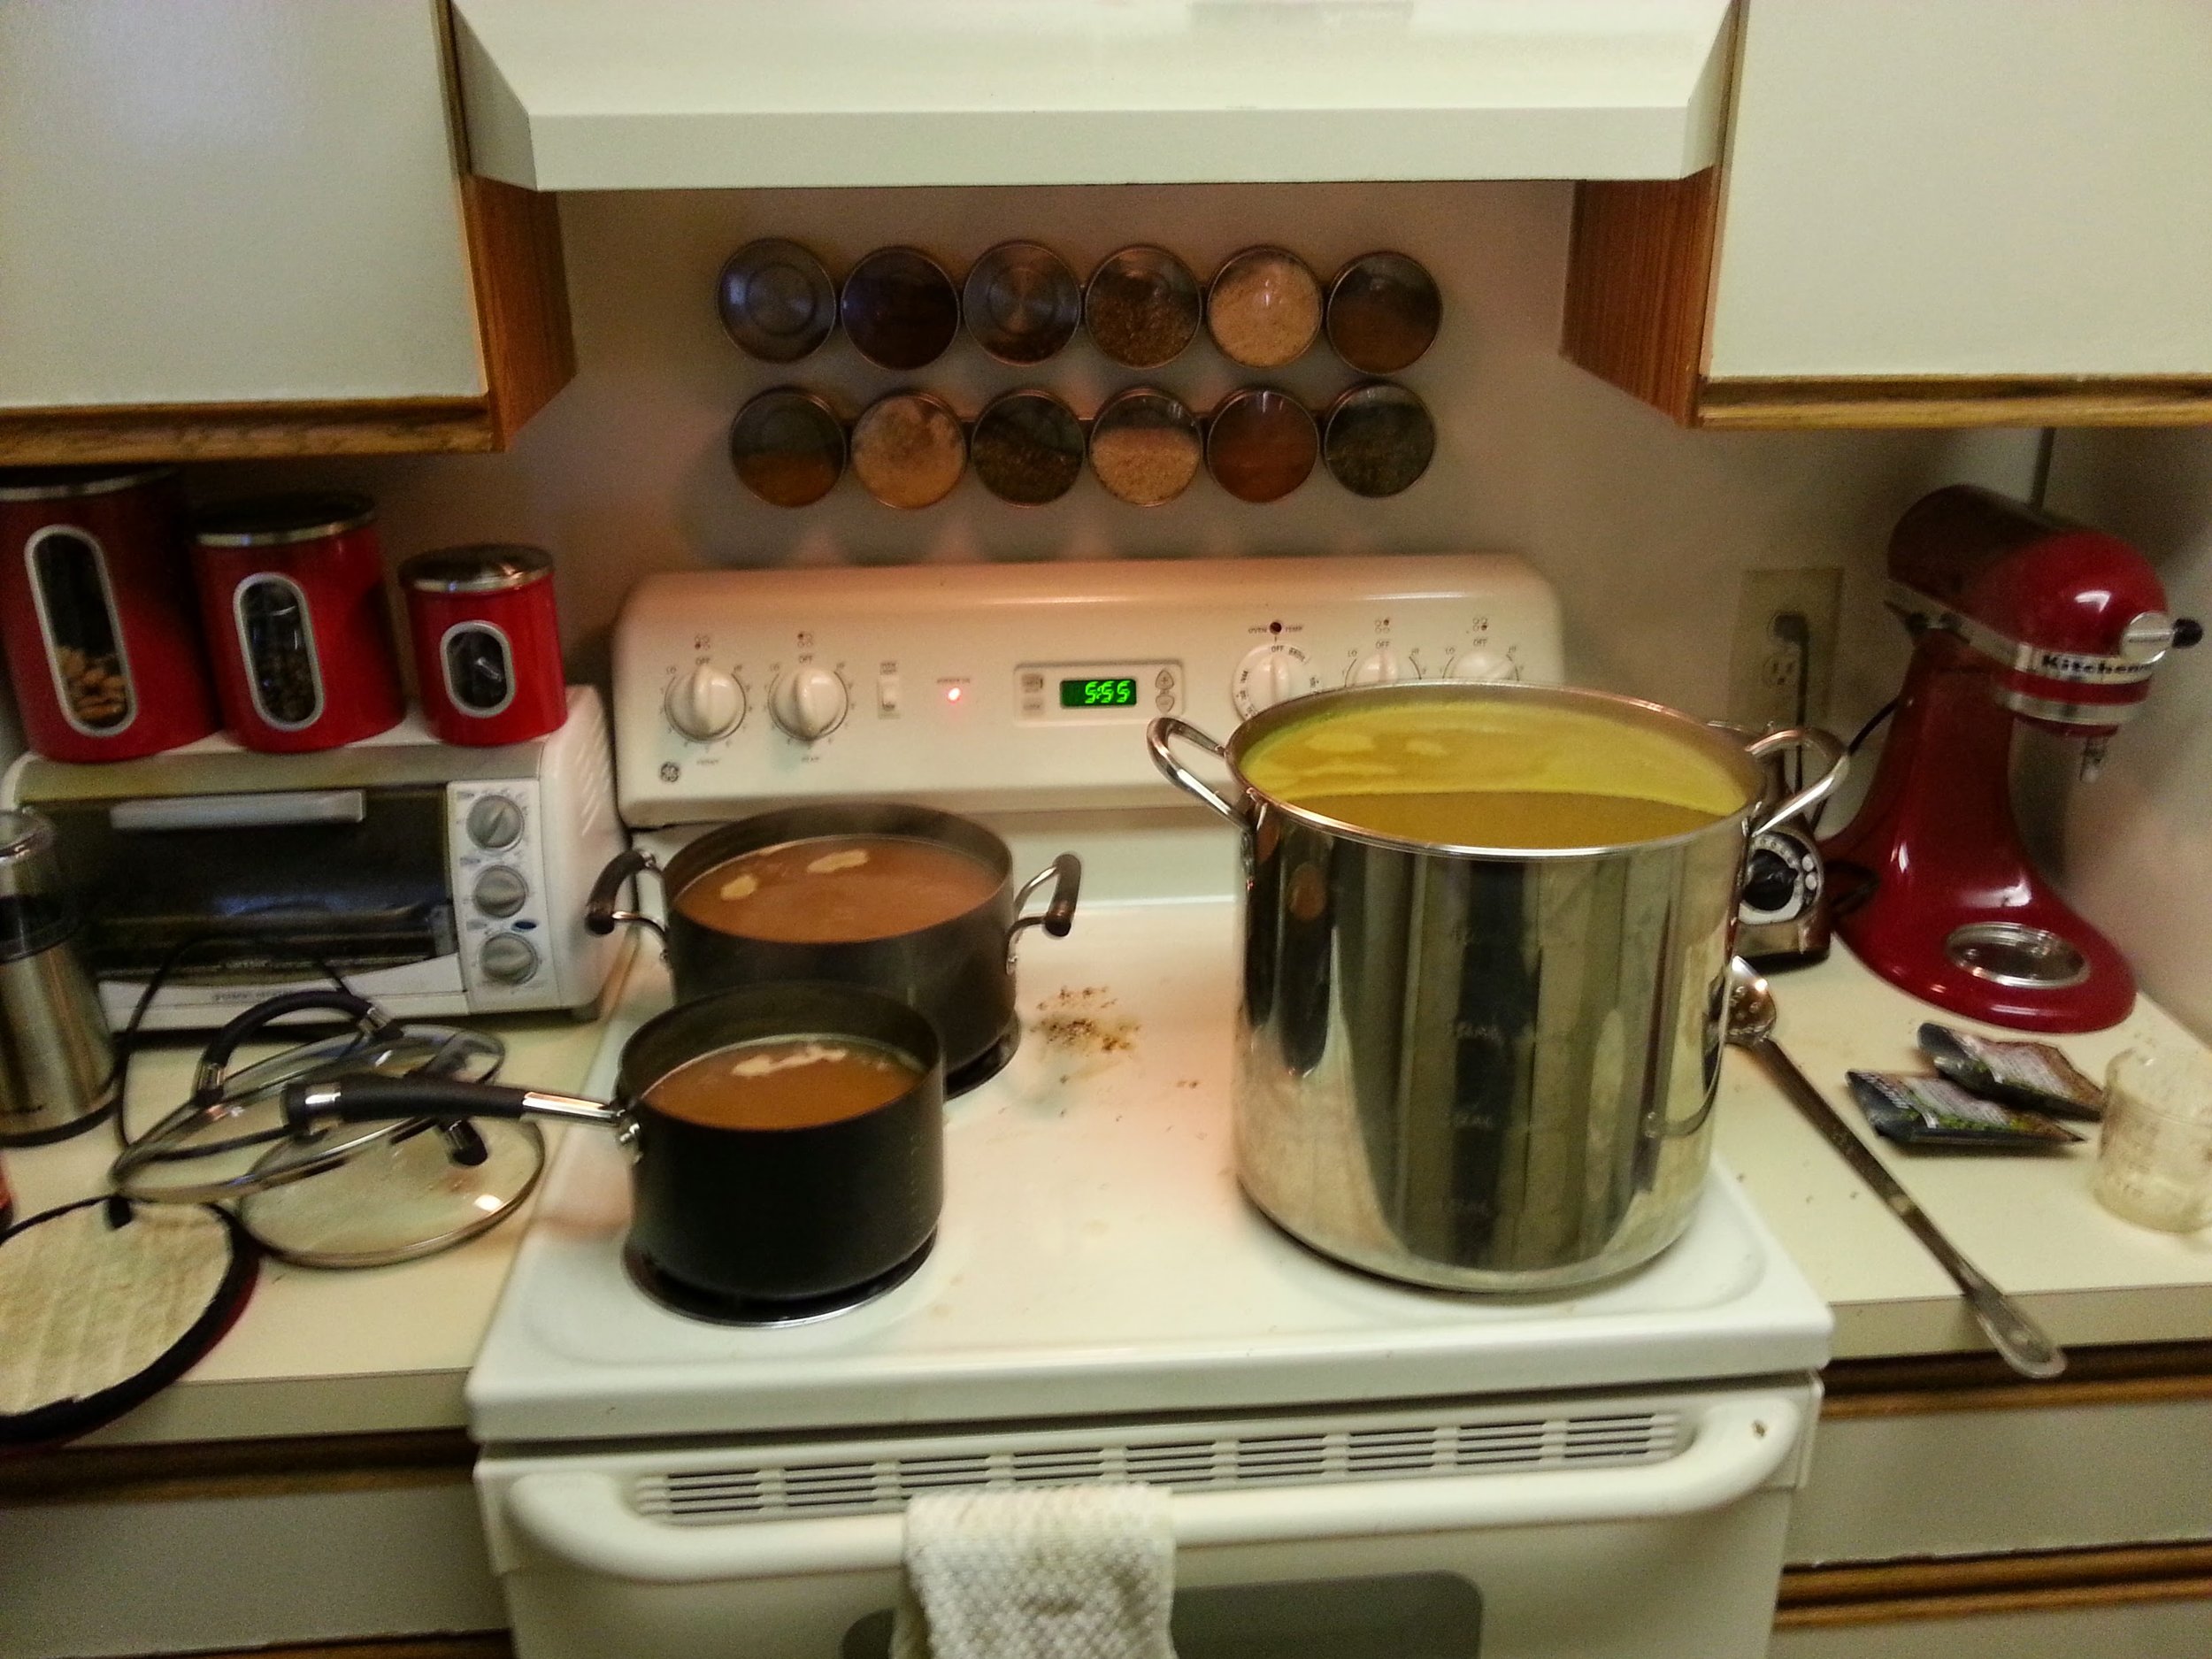
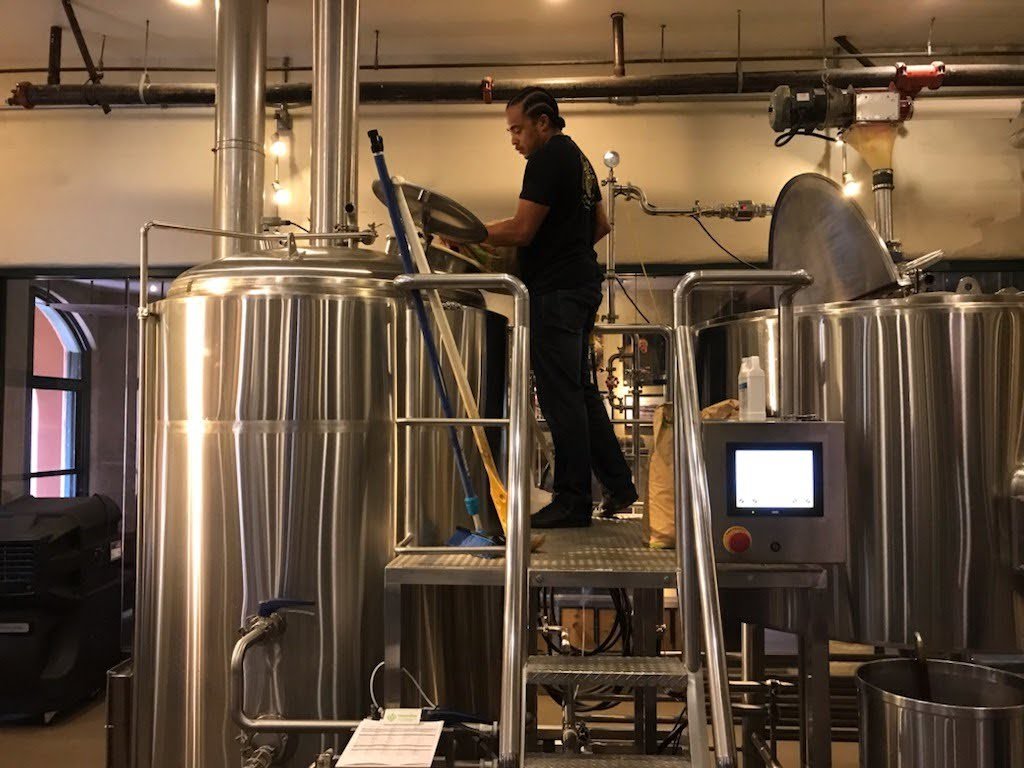
At this point, I felt I was close enough to take a big swing on two Oktoberfest beers for the fall. Towards the end of summer 2020, I brewed 10 gallons of my tweaked festbier recipe, alongside another 10 gallons of my marzen recipe. Brewday:
Both the marzen and festbier turned out great. The festbier was pretty much everything I’d been wanting and working for all this time. I wish I could compare it side by side with that 2016 Sierra Nevada. Alas, I canned up some of the batch to give to friends and fam, and kept the rest on draft in the garage. It went fast.
I did save a couple bottles to send to the 2020 Dominion Cup put on by James River Homebrewers here in Richmond, VA. It won a gold medal in its category. The marzen won silver (the gold medal in that category was a scottish ale which went on to win best of show).
That brings us to 2021. I had no choice but to rebrew the recipe as is, as another 10 gallon batch. So far it hasn’t hit me as being magical as it did last year, and it has not cleared up as much as last year’s batch. It could be a difference in my palate and perception of the beer and style that has changed. Maybe it is still too young. I’m planning to sip the first keg during football season, meanwhile letting that 2nd keg lager and clear out. By late October I will check in on the 2nd keg - the added time should do it some good.
Recipes :
RB Oktober Festbier 2020 Award Winning Recipe
RB Oktoberfest Marzen 2020 Award Winning Recipe
References and Further Reading :
Detailed history and style rundown on Festbier (kegerator.com)
Review of 2016 Sierra Nevada Oktoberfest with Mahrs Brau (kegerator.com)
How to brew your best festbier (beerandbrewing.com)
Homebrew Dads (and Moms!)
Balancing the Homebrew Hobby with Family Life
Your wife has just told you that she is pregnant. Wonderful! Fantastic news! As it starts to sink in, you can’t help but to wonder if your homebrewing days are over. Or maybe you are like me - initially oblivious with regards to the time and energy commitment of having a child. “Oh, I’ll be able to homebrew all day long every Saturday with the bros like I always have! Why wouldn’t I?”
The smarter dads out there quickly recognize that there will need to be some sacrifices and compromises to the homebrew (or any) hobby once your family starts growing. In this blog post, I will discuss some of the key points to balancing your homebrew hobby and family life, along with reviewing some processes, strategies, and techniques for brewing with your newly limited time.
Spousal Support
I think we can all agree that being a father for your family is going to take priority over your homebrewing craft and hobby. That being said, in order to fulfill your fatherly and husbandly duties, you will want to incorporate your homebrew hobby into your family life with as little friction as possible. Communication with your spouse is going to be paramount to your hombrew dad success. If you are off homebrewing at a time your spouse expected you to be available to be with your children and family, you will be creating resentment toward your hobby, thus making it harder to continue brewing down the road. Discuss with your spouse your intentions for homebrew days - do you expect your spouse to watch the kids all day Saturday so you can brew, drink and relax uninterrupted for 8 to 10 hours? (...this plan may not go over so easily) Or do you plan to brew while the kids are asleep? Do you plan to try to brew once a month, or weekly? Regardless of your plans and intentions, you will need to be on the same page with your spouse in terms of how much time you are taking away from the family to brew, especially if your spouse has to cover for you or if you will be sacrificing other family activities. You may consider trading time slots - volunteer to watch the kids all day the following weekend so your spouse can enjoy one of her hobbies.
If you can involve your kids in such a way as to accomplish your brew day and take the kids off of your spouse’s hands for a while, that may be the ultimate bonus. Tyler U of @grindstonebrew reports his home run strategy : “My kids are usually up at 7 so I get out of bed with them, and let mom sleep in (she loves that). The kids help me mash in and then I make them waffles. Kids are happy, Dad is happy, Mom is happy.” (More on including your kids in the brew process later).

Tyler U of @grindstonebrew mashes in with his daughter before breakfast.
Planning and Strategies
There are a number of ways you can alter your brewing planning, process, strategy, and actual styles of beer to fit your family’s schedule.
Electric Brewing
One downside to propane brewing is that, for safety reasons, you must be present at all times while your flame is on. If you switch some or all of your brewhouse to electric power, you can have a little more flexibility to walk away while the boil is going, or more critically, set up a timer to start your sparge water before your allotted brew time. I use a simple electric kettle (Kegland Digiboil) which does not have a timer, but I am able to use an inline timer that we use for the Christmas lights, to turn on the kettle at e.g. 4am for my 6am brew. Other more advanced electric kettles and all-in-one systems (e.g. Grainfather, Robobrew) have built in timers.
BIAB or No-Sparge Brewing
If you have been used to traditional all grain brewing with a sparge step, you may consider scaling back to brew-in-a-bag (BIAB) or no sparge brewing to cut down the overall time requirement for your brew day. Both methods, while less efficient, eliminate the continuous sparge step which can take up to an hour. BIAB offers one less vessel to clean, but may require an extra hand or pulley for large grain bags. The no sparge method by contrast doesn’t require any changes in equipment - you will set up your mash as normal, add your remaining sparge water to the mash tun at the end of your mash, and lauter your full wort volume all at once. Interestingly, while these two methods are very similar, a Brulosophy experiment comparing the two found there can be slight but noticeable flavor differences.
Early Morning Brew Day
If your kids get up on the later side (or your spouse can cover the first couple hours they are awake), you may like the early morning brew day. Starting at around 5am, you might be able to complete your brew day before your kids are finished breakfast. Brewing in the morning also comes with less temptation to sip and sample beers during your brew day, which can keep you on task, limit mistakes, and help you to be done asap.
Overnight Mash
One way to break up your brew day is by employing an overnight mash. Coupled with your electric brewing equipment, you’ll now be ready to sparge at 5am or maybe sleep in a little longer. In theory, a longer mash will result in a thinner bodied beer, possibly higher OG and lower OG. However, these differences may be imperceptible, as exhibited by this Brulosophy experiment.
Extract Brewing
Most of us started on extract brewing so this is no shocker. Extract brews can really cut down the time required for your brew day - you can even consider boiling for as little as 15 minutes for certain (low bitterness) styles. My humble opinion is that certain beers are more easily accomplished with extract than others, particularly dark or simple beers. It goes without saying that extract brewing can be limiting for certain styles requiring certain grains or adjuncts (e.g. flaked oats). Even your base malt can be compromised depending on the extracts you are able to find (for example, if you are hoping to brew a single malt wheat beer, you will find that many wheat malt extracts are only about 65% wheat malt).
Sour Beers
I have to admit, I have never brewed a sour beer. But! Kettle sour brew process can split up your brew day similar to the overnight mash technique. On day one, you mash and sparge to create your wort. Next, you will drop the temperature into the specified range, and add your lactobacillus of choice. 24 to 48 hours later, you will resume your brew day as normal.
Late Night Brewing
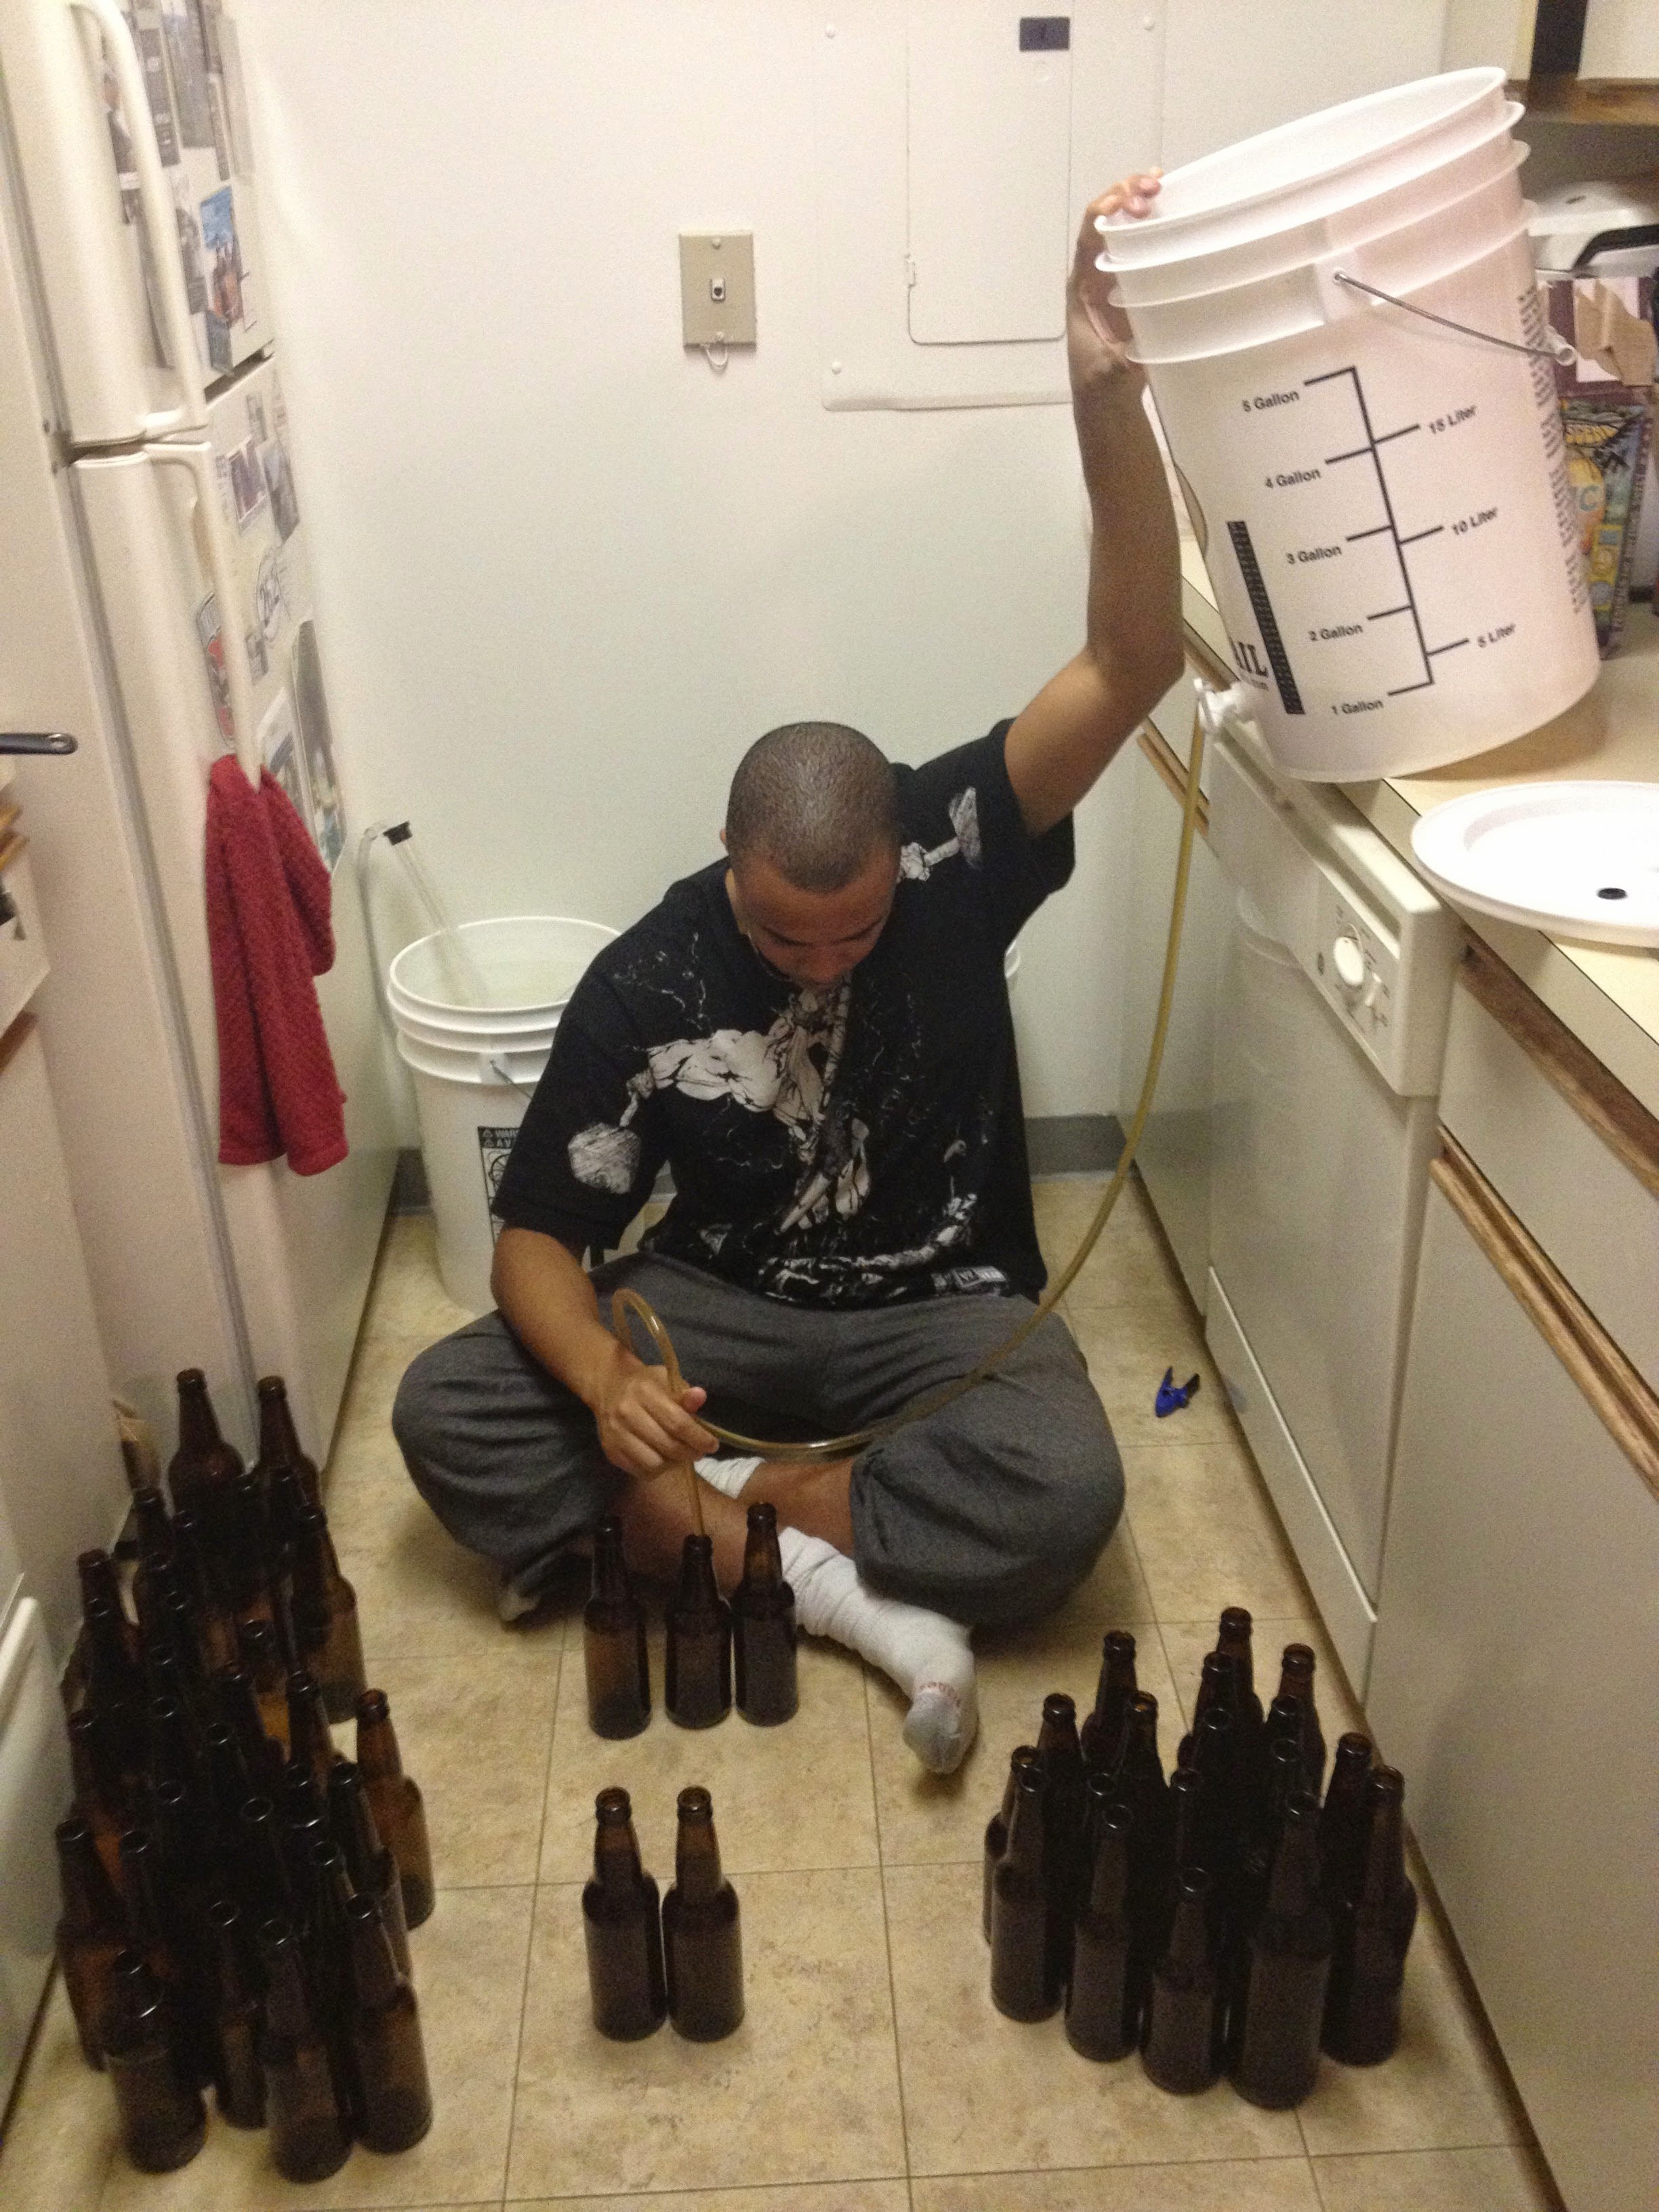
The late night brew session is my bread and butter. And could be for you as well if you are at all night hawk. Very simply, brew your beer after your kids have gone to bed. Typically my brew day, start to finish, can take 5 or 6 hours. Putting my kids to bed by 8pm, I can be done at 2am. This can be doable especially if you can get a good night sleep the night before and/or if your kids go to bed earlier.

A buddy stops by to sample some brews and take in the smells of a late night brew session.
On the other hand, the all-nighters can start to take a toll or suck some of the fun out of brew night if you know you are going to be wrecked the next day (at one time I was doing two brews per night session to try to reduce my brewing frequency, but those turned out to be too brutal). To combat this, I’ve started to straddle my evening activities with brew activities. (Like many, since the coronavirus pandemic, I work from home, which makes this more feasible). Many nights I can be done brewing by 10 or 11pm :
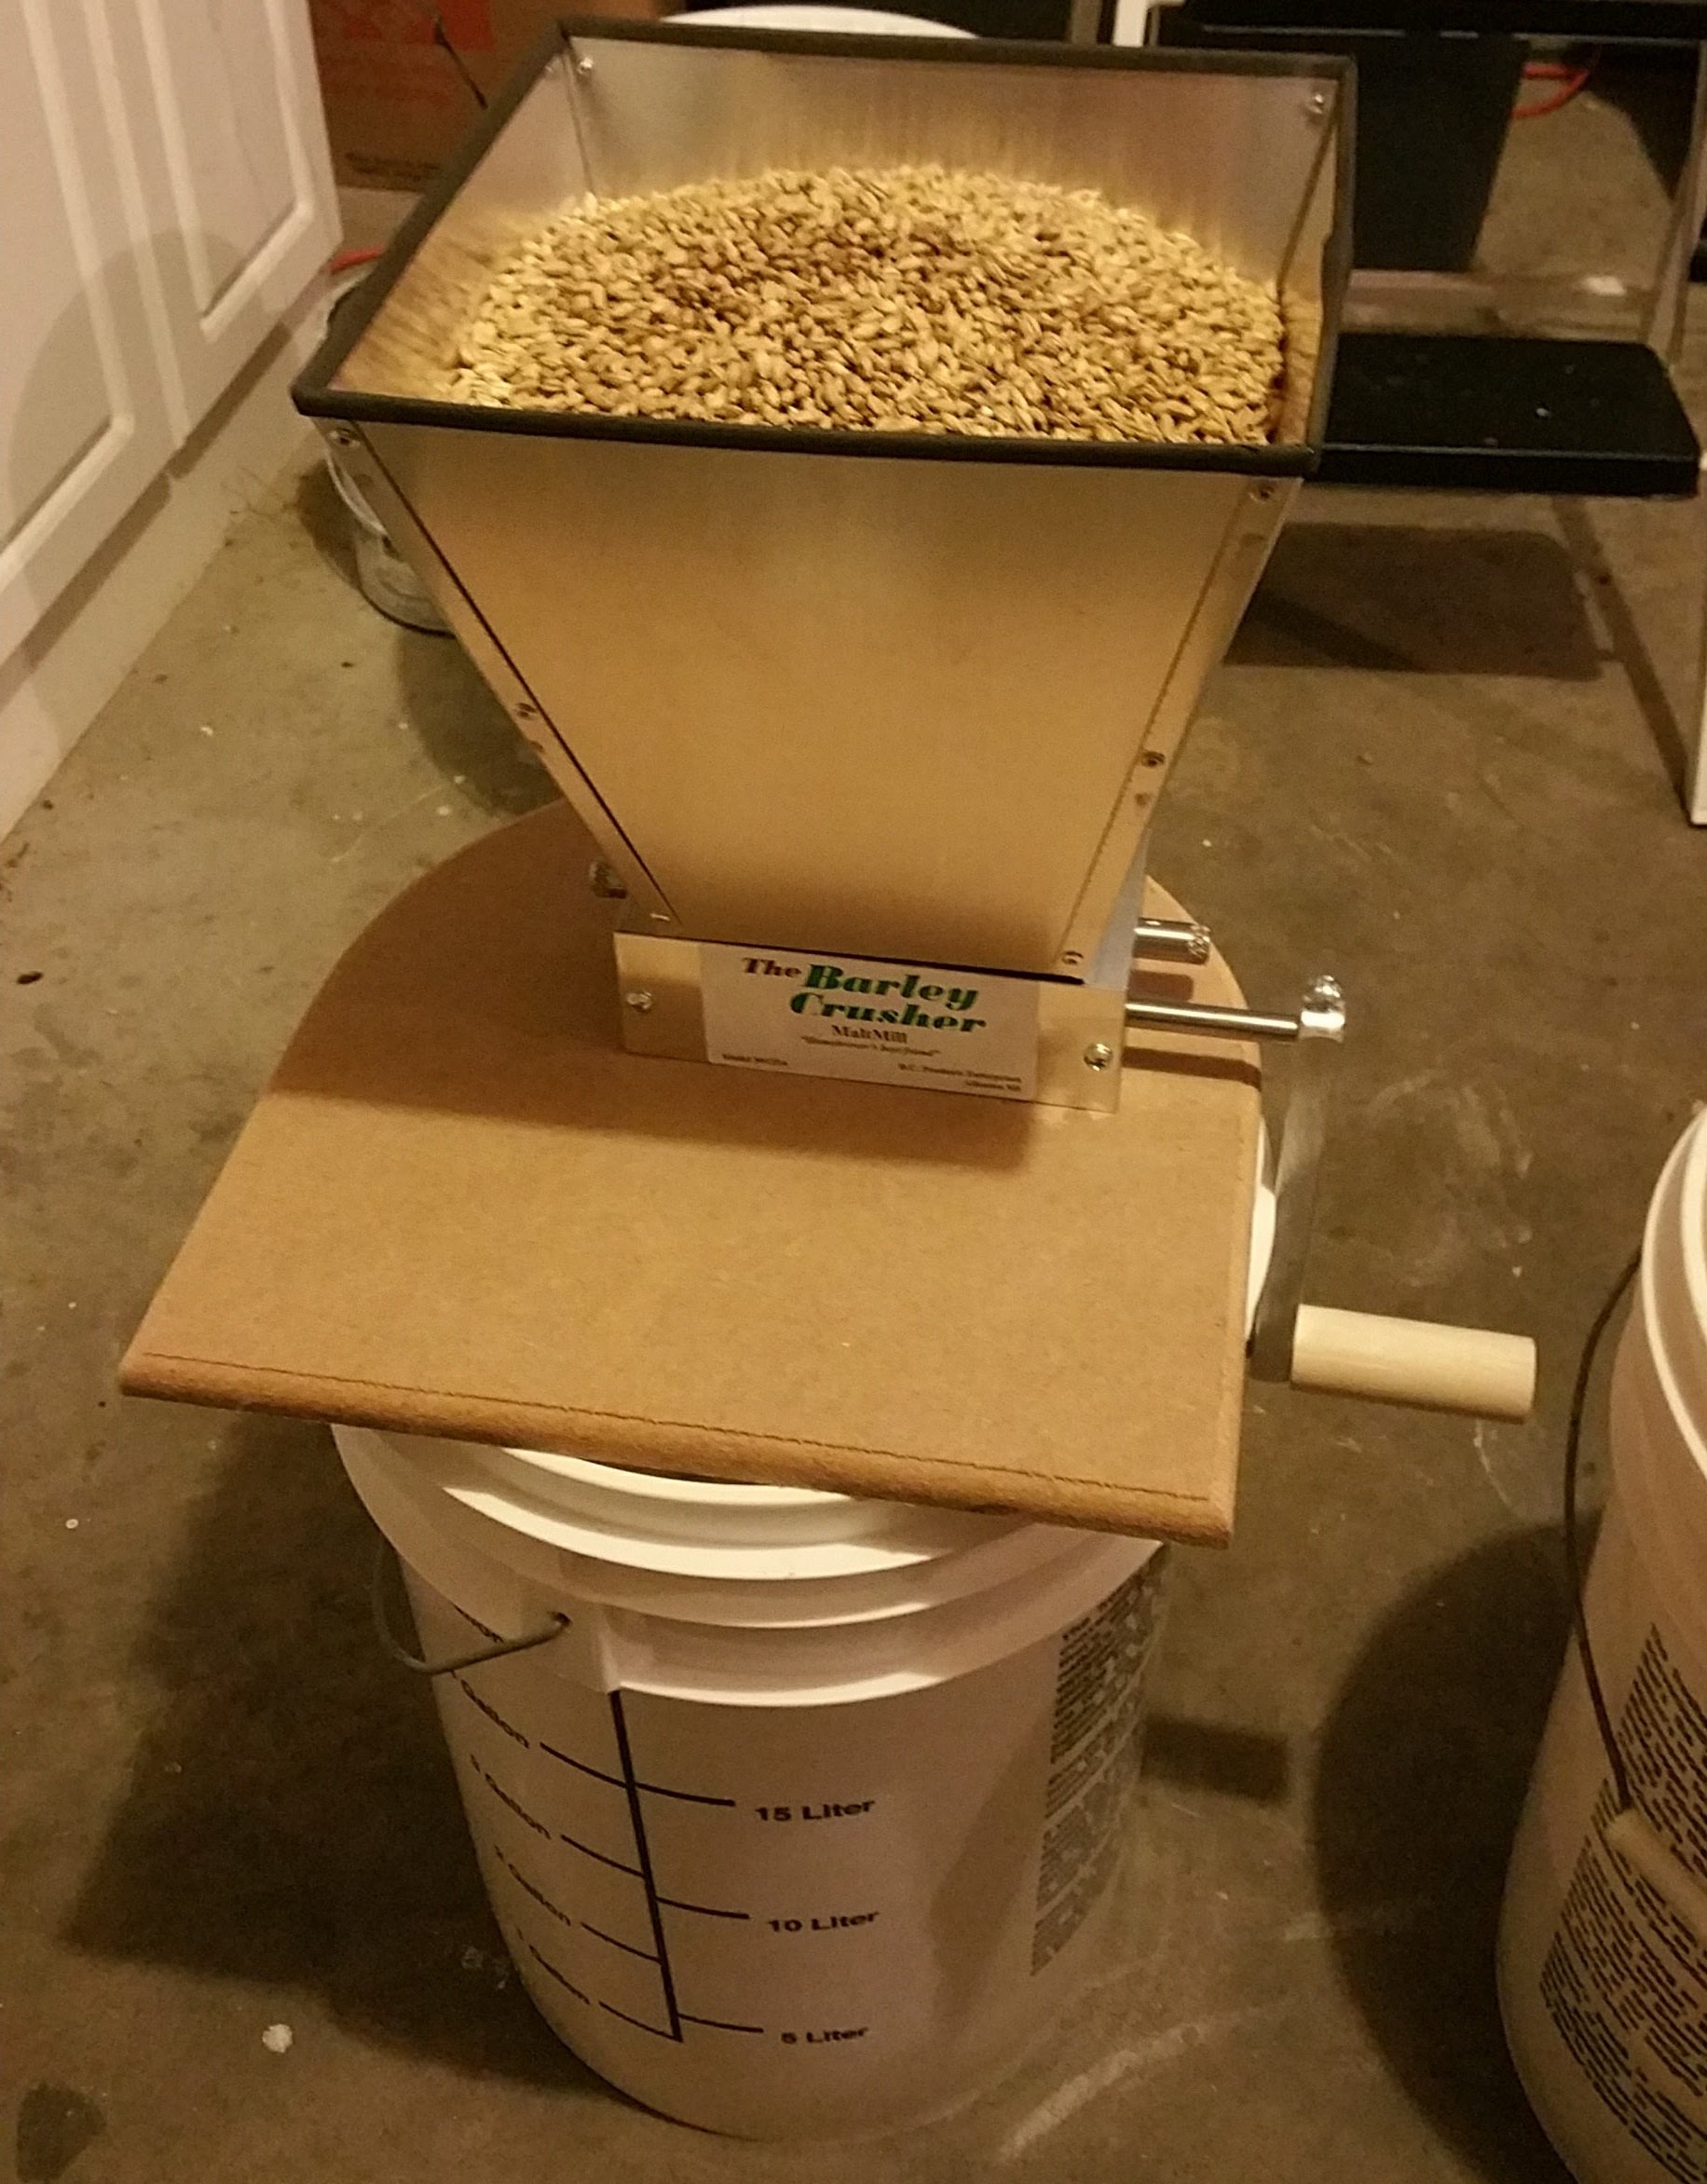
(night before) - measure and crush grains, clean equipment, collect water
2:30pm - electric kettle timer starts heating water
4:30pm - take a brief ~10 minute break from work to start the mash
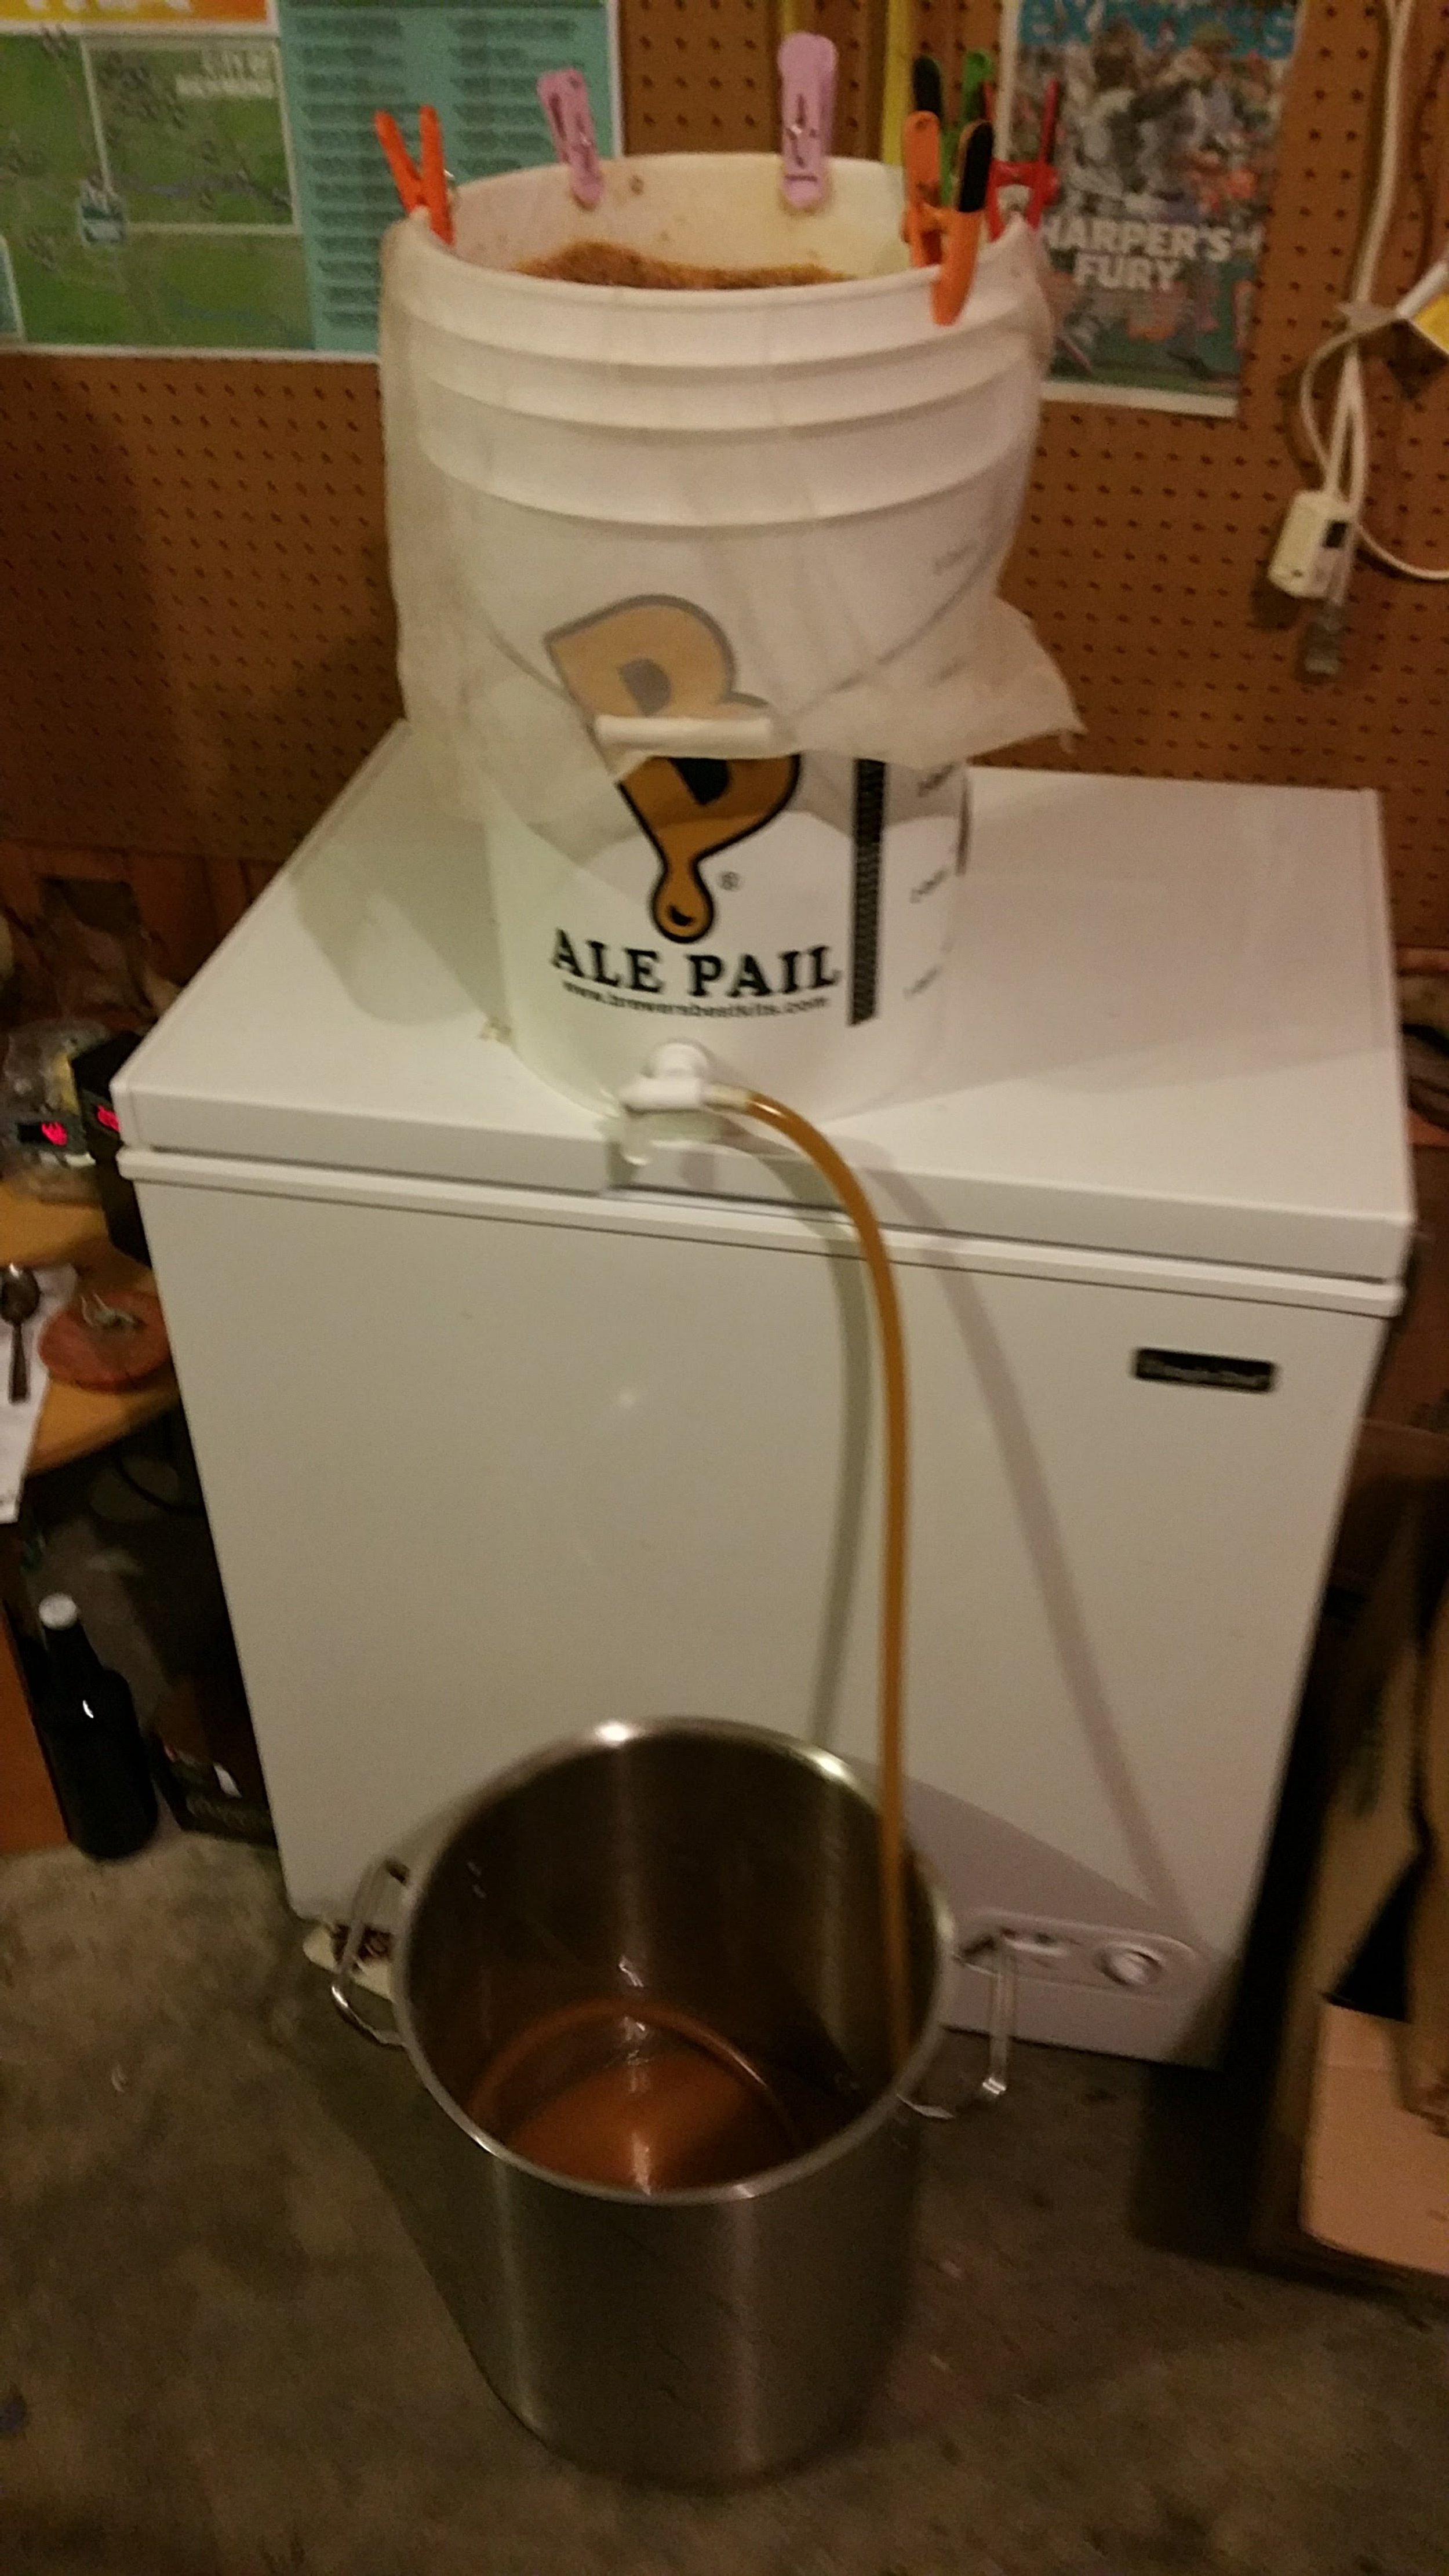
5:30pm - get off from work, begin the sparge. Put on some cartoons in the brewery for my toddler while wifey makes dinner.
6:30pm - break for family dinner and bedtimes. Set the electric kettle to hold wort at 190 degrees.
8:00 pm - kids in bed, resume heating wort…
8:15 pm - boil begins. Clean mash tun and misc equipment during the boil to save time later.
9:15 pm - end boil, begin wort chilling
9:45 pm - end chill - transfer to fermenter, pitch yeast, start cleaning
10:15pm - finished cleaning, have a victory beer, done for the night.
In this youtube vid I walk through my weeknight brew session, piggybacking on work and evening family activities.
PTO / Childcare Day
If you really enjoy relaxing, and having a couple responsibility-free brews during your brew day, you may try to arrange a (however rare) kid-free brew day. Occasionally I will take a vacation day from work on a day they are all in school or childcare. Alternatively, you can arrange to send the kids to the grandparents house for a day, if that is an option. Leading up to your brew day, try to knock out as many chores and errands as possible - brew day can start to feel not so guilt-free if you are ignoring the kids toilet that is broken or that the lawn looks like a jungle.
Homebrew Moms
Let’s not forget about the moms! Depending on the dynamic of your family, a majority of this article may apply equally to homebrew moms and dads, especially for children of toddler age and older. “I think the main thing for me is having a supportive husband...he doesn’t particularly enjoy the brewing process but helps out when needed. Usually wrangling the kiddo or doing some of the heavy lifting” says @norskebrewer.

Elena Pizano of @elenabrewsbeer has spent her pregnancy and newborn’s early months upgrading equipment, designing new recipes, and planning her next brew day.
But, newborns and babies in general can command more time and energy from mom than dad. Elena Pizano of @elenabrewsbeer is a mother of a 2 month old who is still in the planning stage of her first postpartum brew day, but has in the meantime been enjoying the hobby in other ways. “My baby is exclusively breast-feeding so he eats (and naps) every two hours during the day. I try to dedicate one of those two hour intervals per day to brewing in some way, whether its research, recipe development, cleaning, upgrading equipment, buying ingredients, brew day planning, etc.”
Newborns - (Tips for Soon-to-be and Brand New Homebrew Dads)
If you and your spouse are expecting a baby in the coming months or you currently have a newborn in the house, here are a couple things to keep in mind.
Depending on the dynamic of your family, you may want to plan or prepare for at least a temporary shutdown of your homebrewing operations. Newborns can sleep up to 18 hours a day, but these hours seemingly come in the most annoyingly short and unpredictable spurts. Even if your spouse is taking the brunt of the nursing / bottle feeding, likely you will need to be available to help with diaper changing, cooking and cleaning, rocking the babe to sleep, general house chores, and really any/everything else. It will also prove valuable to your family dynamic and bond with your newborn to be the most available in the first several weeks of life. Take time away from work if you can.
But, that doesn't mean that delicious homebrew cannot be had during this time. The “nesting instinct” is a phenomenon in which pregnant women experience a burst of energy in the weeks leading up to the birth: you may notice your spouse feverishly preparing the nursery, buying clothes, doing laundry, boiling bottles, etc. (hint: pitch in!) As a homebrew dad, you may (choose to) experience a similar burst in brewing energy. If your time permits, it can be useful to pump out a flurry of homebrew batches before your little one arrives. Having ample finished batches ready will be convenient during the first couple weeks and months of your newborn's life, and also by brewing in a flurry may lessen your longing to brew for a while once your hands are full with diapers and spit up towels.
Involving Your Kids at Different Ages
My father is what you would call a car nut or gear head. As a child I was initially impartial to the hobby. Why would a 6 year old care about cars when he won’t be able to drive for at least another 10 years? Regardless, my dad always had me by his side while working on the cars, going to car shows, at the race track, etc. He started buying me model car kits as an age appropriate way to relate to the hobby. All of this grew into a deep appreciation for his hobby, and to this day we have bond and connection over anything muscle car related.
It can be the same way with your homebrew hobby (or any other hobbies you have). In all likelihood it won’t matter that they are helping you create a drink in which they cannot partake - the important thing is that they are spending time with you and learning a craft, which can be valuable exercise and bonding experience.
Kids involvement in homebrew activities can look different based on your kids’ age :
Infants
If the weather is appropriate, and always minding safety, you can invite your baby to the hangout. If I am in a lull during mash or boil stages of the brew, I’ve been known to load up the babe into the car seat or stroller, and entertain him/her for a bit to give mom a break. Of course you will want mom on standby in case baby starts getting fussy during a critical moment of the brew day.

My first brew day as a father. I kept my 3 week old daughter outside with me as much as possible to give mom a break.
[Side story : My daughter and I have developed a bit of a homebrewing related tradition with regards to the homebrew shop. When she was an infant, I made it a habit to bring her along on any trips to the homebrew shop - babies love car naps and moms love having a break. My homebrew shop (shout out to Final Gravity Brewing Company in Richmond VA!) doubles as a nanobrewery, so I would stop in for a beer after I collected my supplies from the shop. When she was small, she would sleep through the entire trip. As she got older, I would pack a snack and we’d have a little happy hour together. I also discovered an elementary school down the street from the shop, so sometimes we will get the goods, grab a beer/snack, and hit the playground afterwards.]

My kid is always in tow for homebrew shop stops.
Toddlers
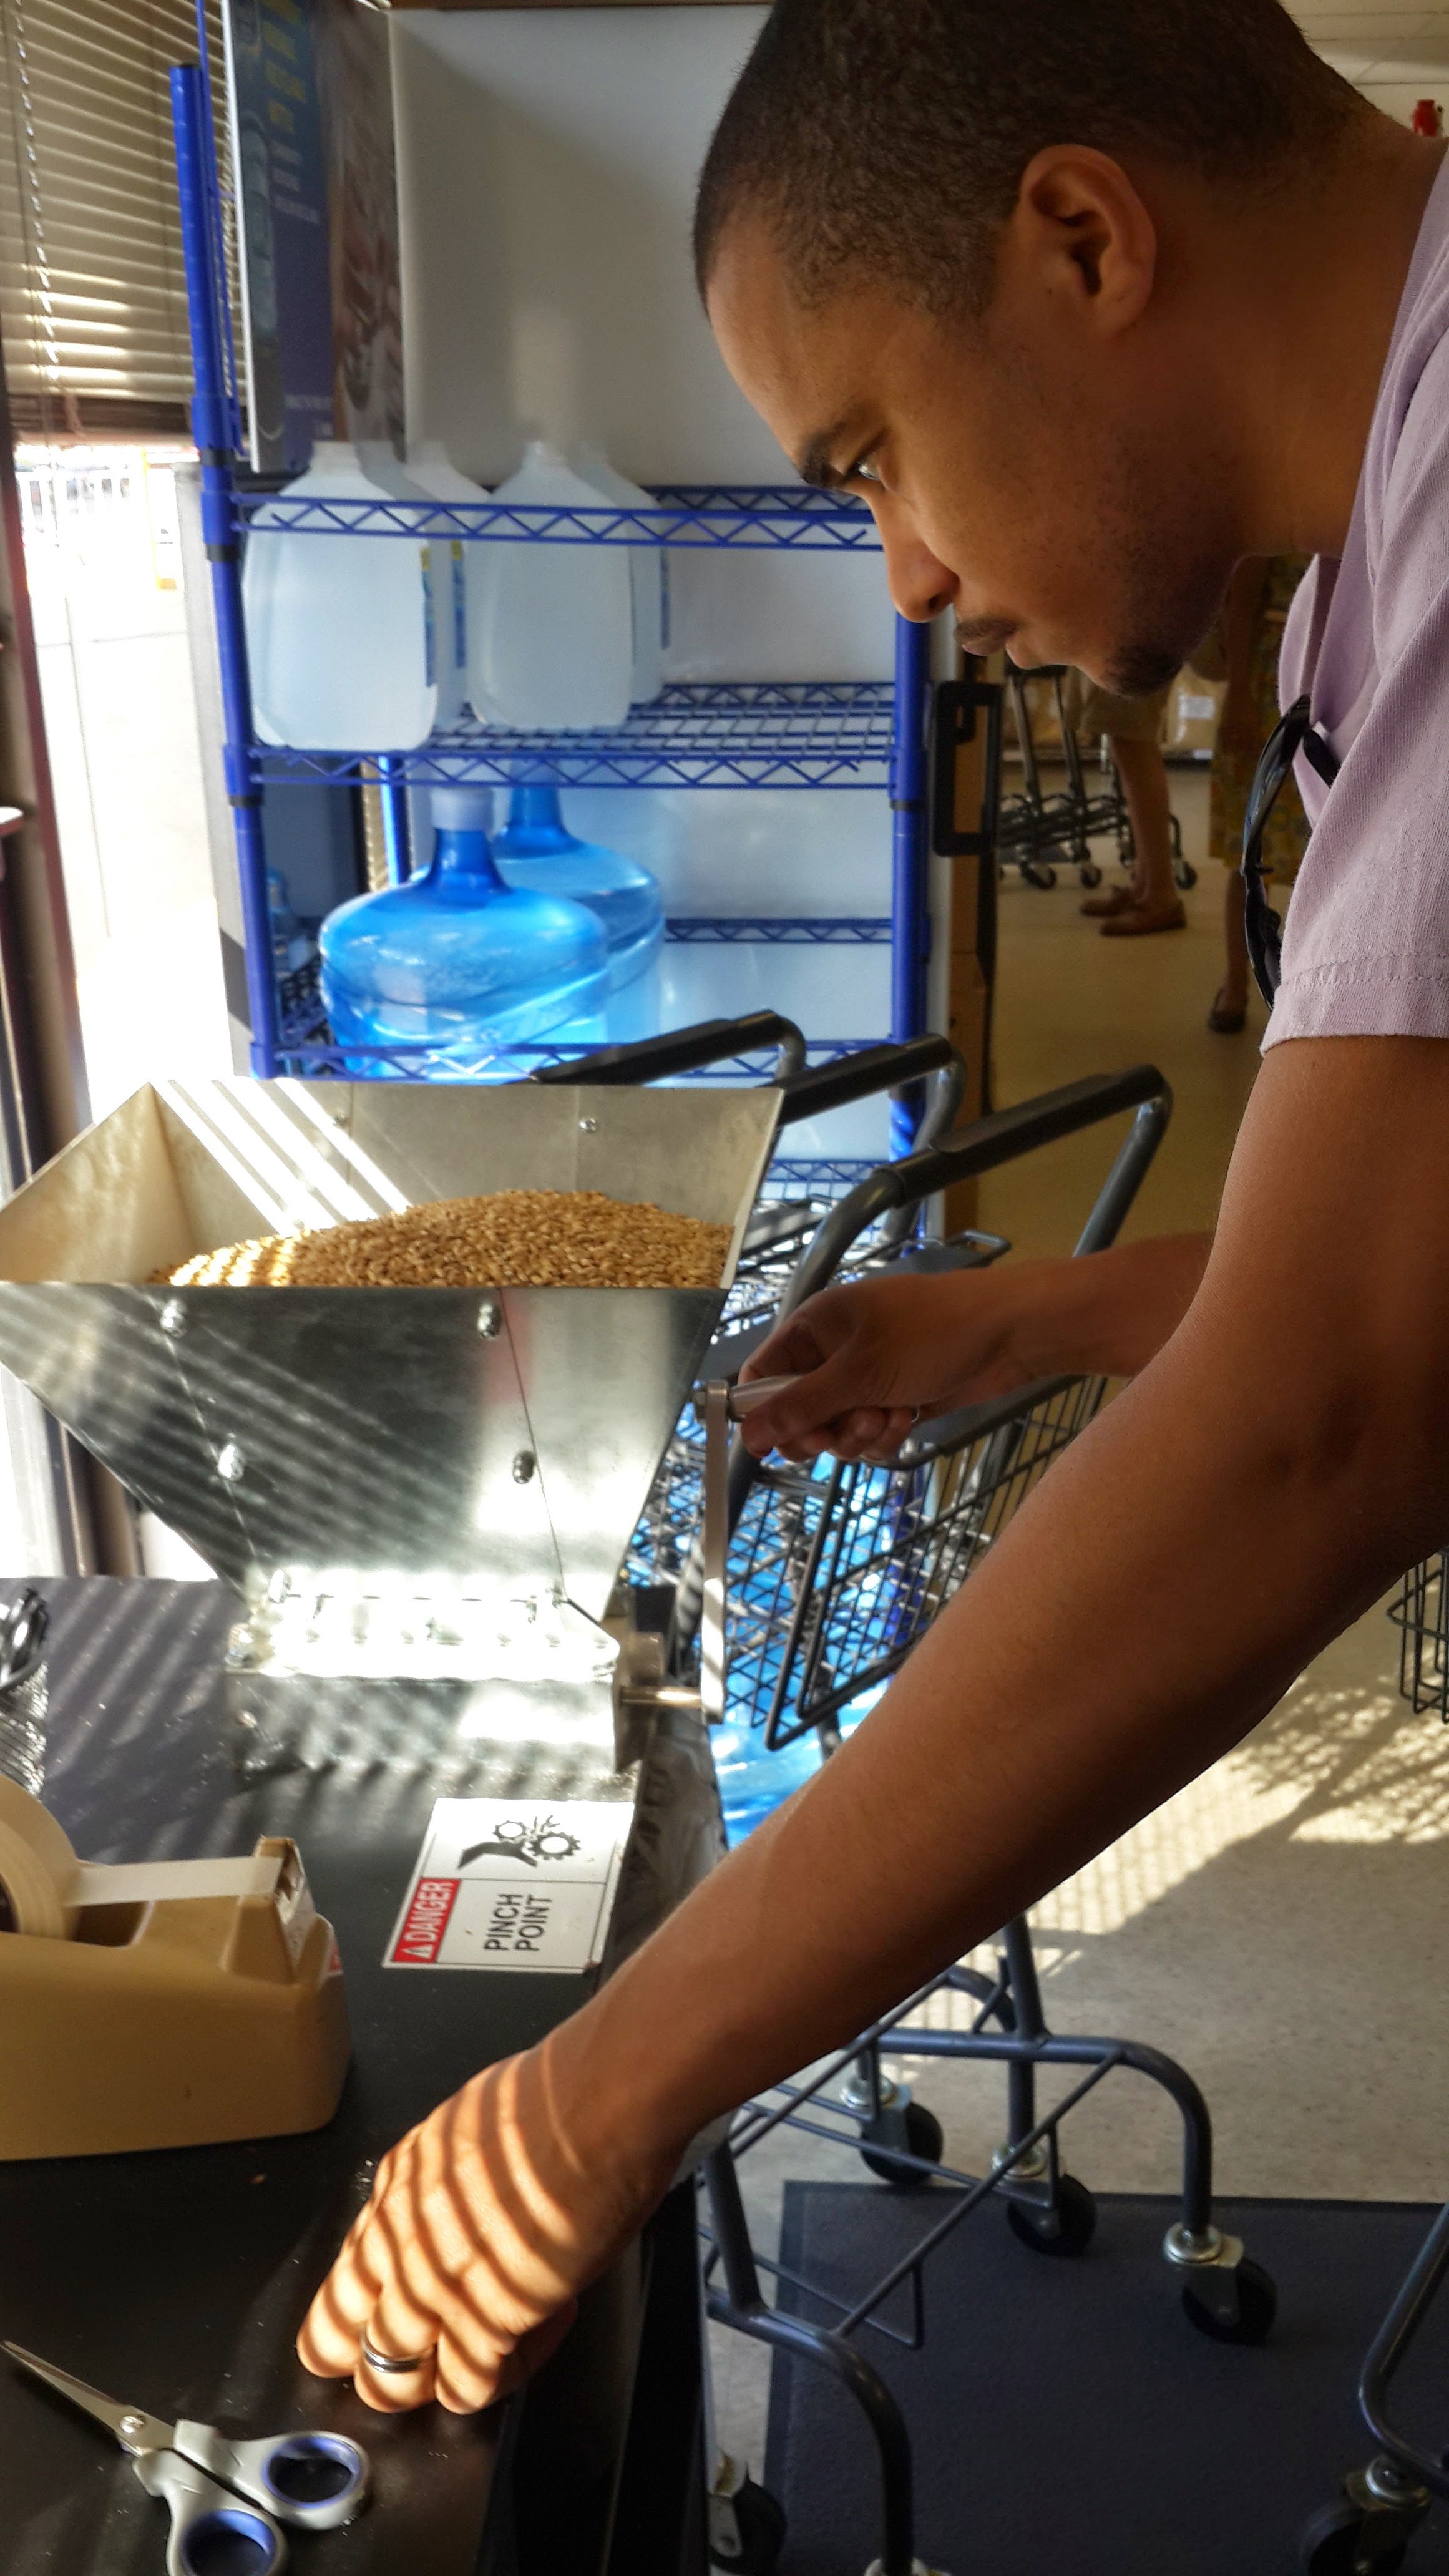
Once your kid is 2 or 3 years old, they may enjoy helping out with safe brewhouse chores, or easily be entertained while you knock out certain stages of your brew. Mine have been known to scrub pots and such (maybe on a prep day), or help stir the mash (if not too splashy). Many times I have loaded up the garage TV with a kids show and served spent grains while I sparge.
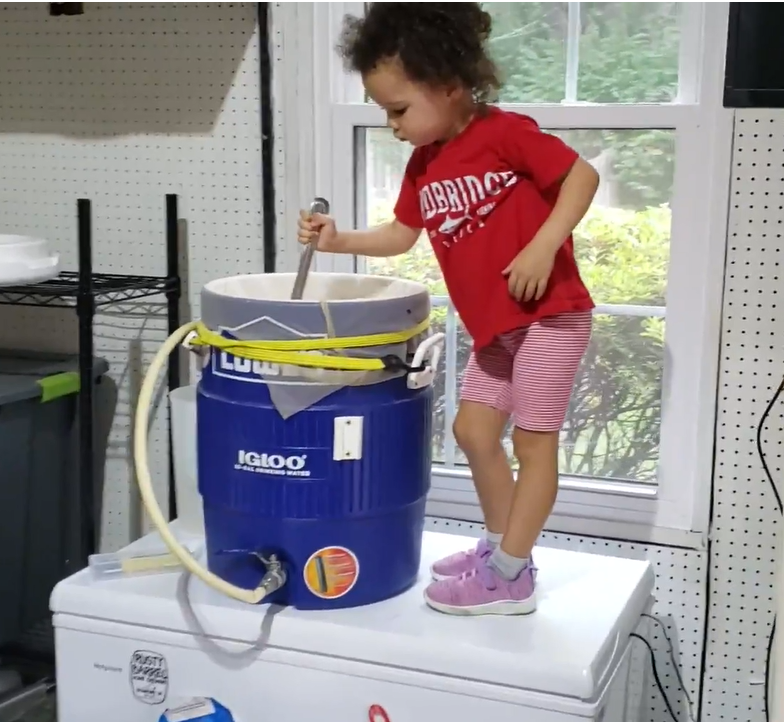
Toddlers and small kids love mashing in and tasting grains.
Younger and Older Kids
As your kids get a little older, they will be more prime to learning about the process of brewing. Following a recipe, making precise pH or grain bill measurements, or keeping track of timing hop additions can be fun responsibilities for your kid. It can be much like cooking with Grandma (or Mom, or you). If you are a science wiz, you can start to dig into the biology and chemistry of brewing. Learning science from dad can be a fun complement to what they’re learning at school. “I describe yeast as bugs that eat sugar and fart [carbon dioxide]” - they seem to think that is pretty funny” says Johnny D of @what_the_duck_brewing.
Something for the Kids to Taste
If you are looking for a way to implement the homebrewing concept and resulting product in a kid friendly way, you can try brewing a batch of root beer, soda, or non-alcoholic seltzer. Some dads have a dedicated soda tap on their keezers for this purpose. If you are trying to limit sugary drinks for your kid, you can try brewing kombucha as well. My daughter loved the funky taste of plain kombucha, and we had fun creating flavored infusions.
And Beyond…
By including and educating your kids about beer and the brewing process, (like my Dad and I with muscle cars) you may instill in them lifelong appreciation for the craft, and your hobby. Ken Mattingly had been a homebrew dad for over 24 years before deciding to live out every homebrewer’s dream of opening a brewery (Old Louisville Brewery in Louisville, KY). During his homebrewing years, his daughters Kat and Kels of @thebrewersdaughters grew up with an appreciation for craft beer and brewing, and now run their own craft beer blog.

Ken Mattingly, decades old homebrew dad and now head brewer at Old Louisville Brewery, is sandwiched by his craft beer blogging daughters Kels and Kat (“@thebrewersdaughters”).
Kels : “A big part of it is, [Dad] was willing to talk about it and explain it to us, and was engaged with us about what was going on,”.
Kat : “By the time I was around 5 to 7, we were able to go to Liquor Barn with Dad and help grind the grain,”
Ken : “It was a family outing when we went out to get ingredients,”
Kat : “As we got older, it was like ‘Dang this is something cool and important that Dad is doing...we need to give him time to do it... we’re going to stay out of his hair, leave him alone and let him do this.’” says Kat.
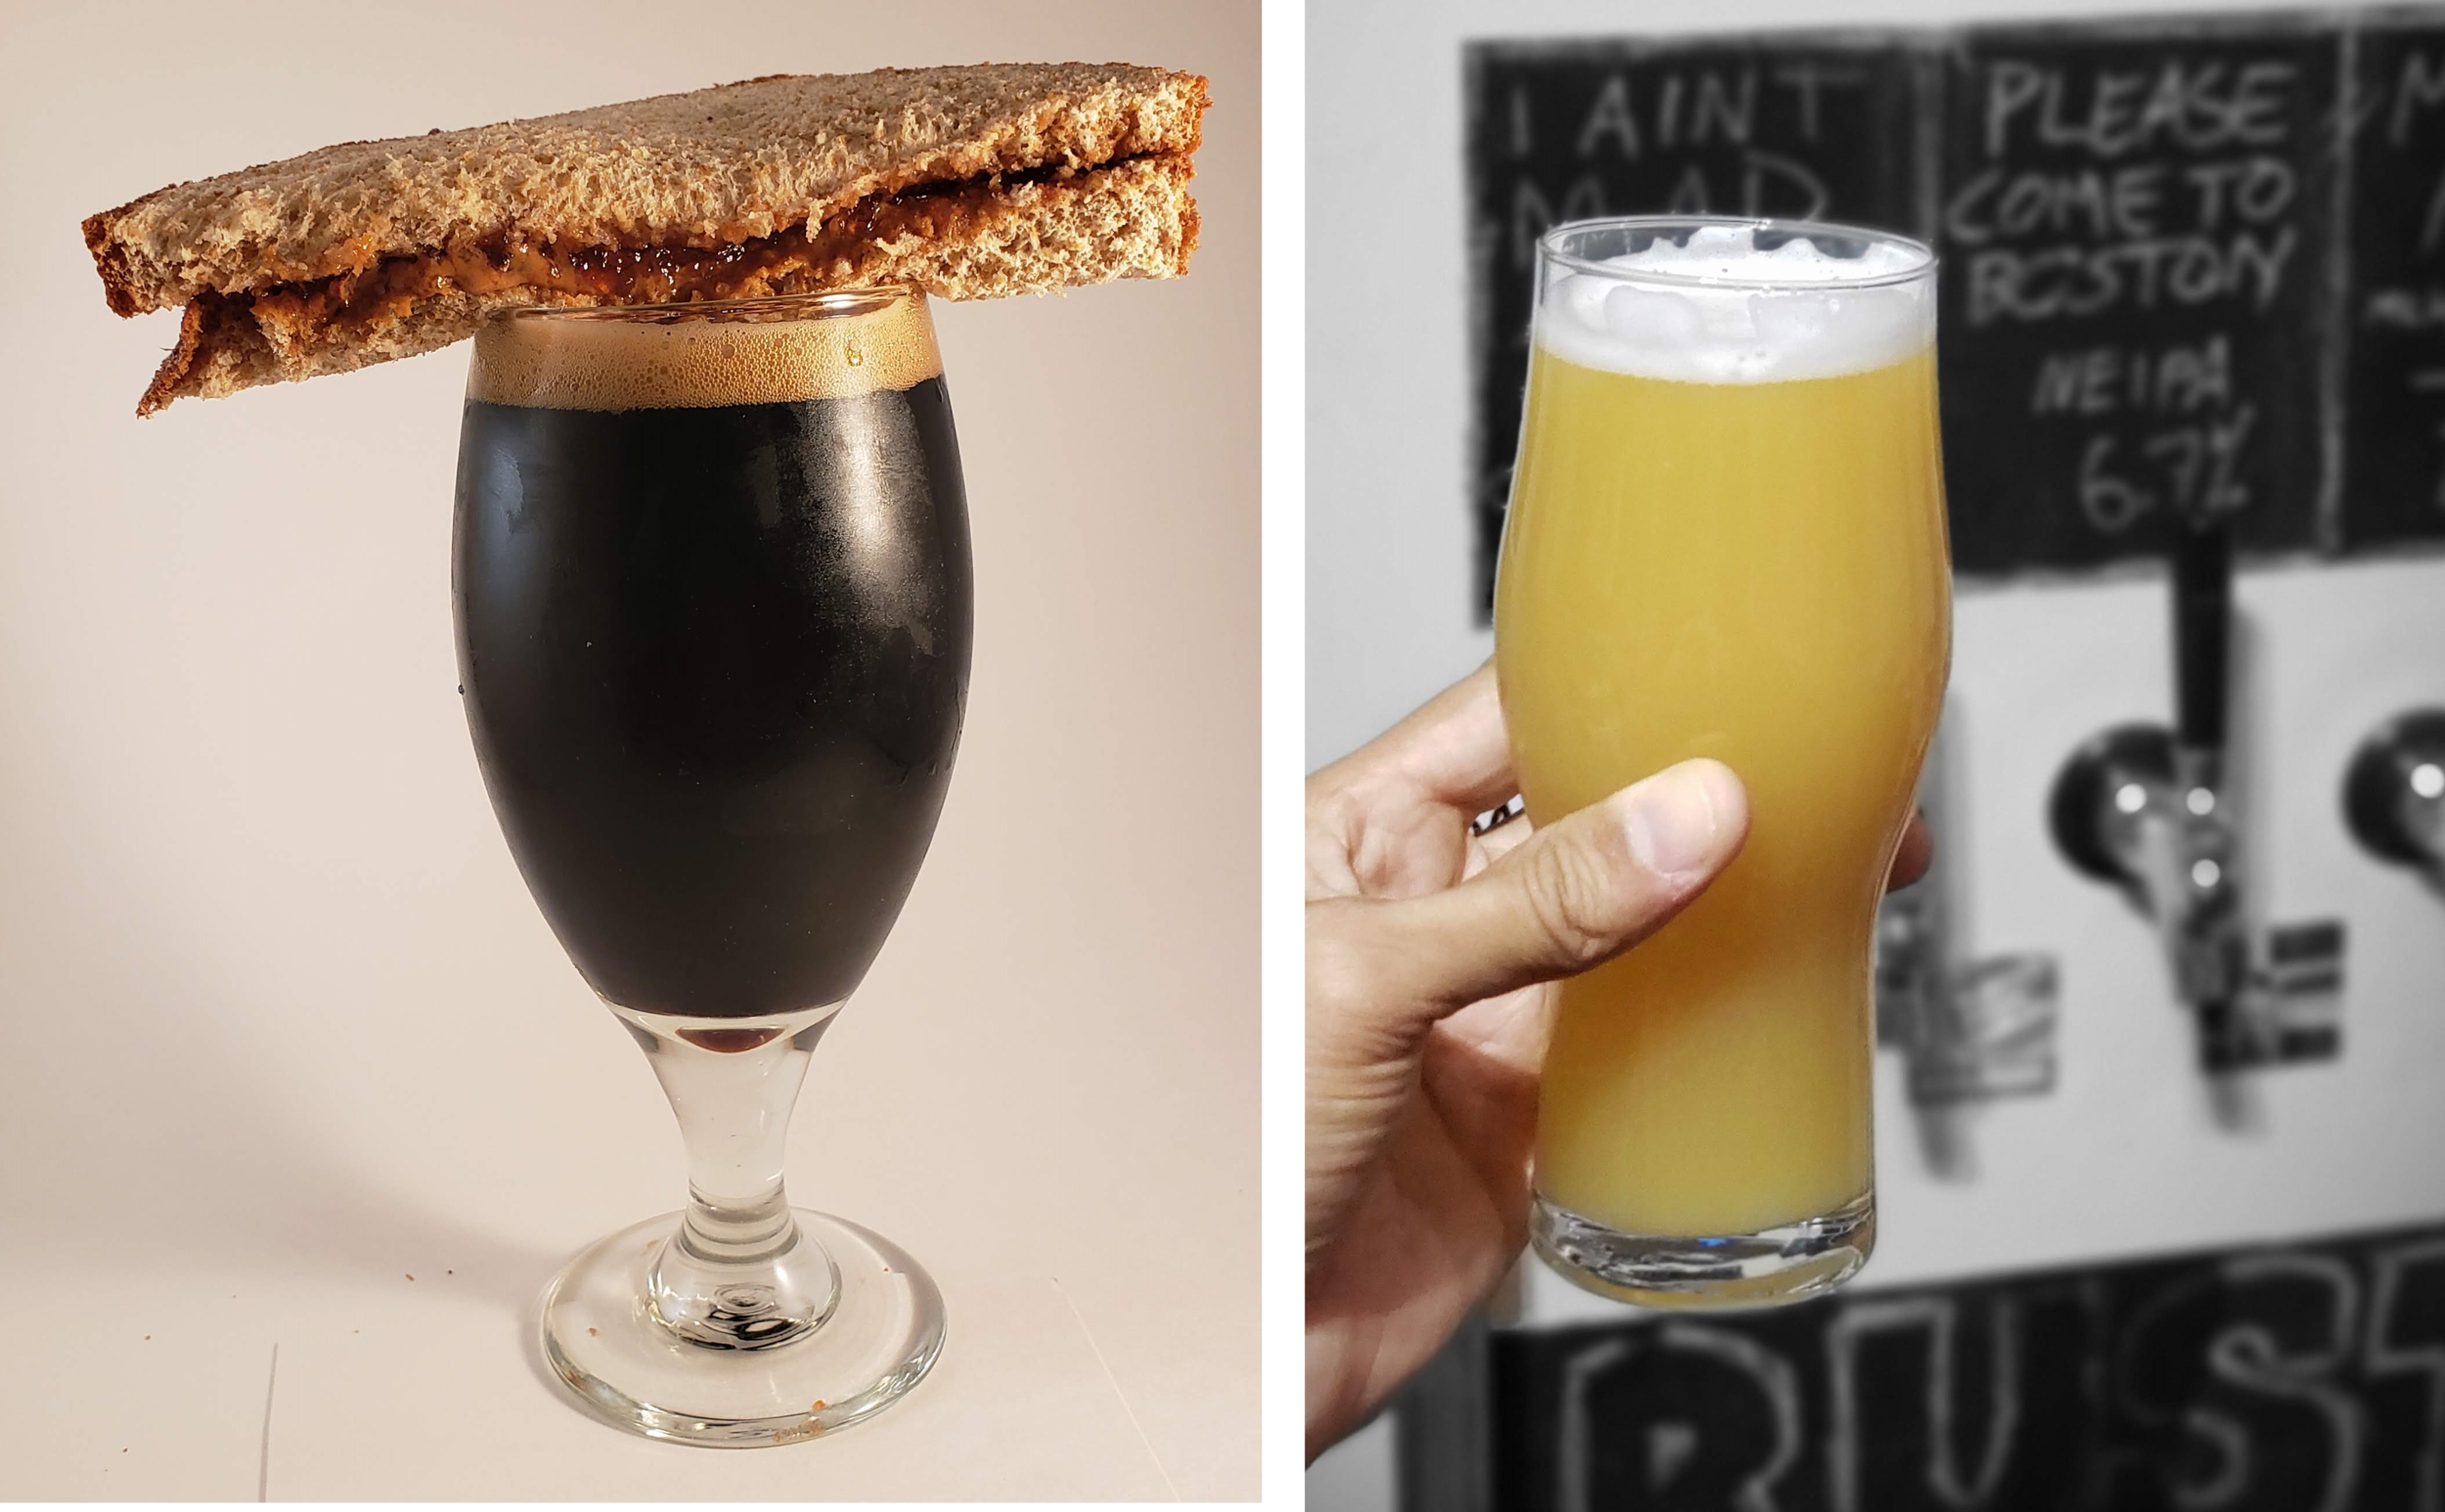
Kels: “As we say on any podcast we’ve ever been on, the smell of our childhood was hops. Waking up in the morning smelling the hops, smelling the grain, I would wake up and and say ‘(sniff) Dad’s brewing today!’ And it became a normal part of our life that we enjoyed. And Dad would always whip me up a sandwich for lunch, which was super nice.”
Get Creative
Once you are comfortable with your brewing system, and the dynamic and routine of your family, you can piece the two together in your own custom way. Open a spreadsheet or notepad to plan out how long your brew day takes and how it can fit into your day with the family. Start by jotting down the time slots you will be with your family, then see if and how you can fill in your brew tasks around that. In researching this blog post, I heard from homebrew dads with many different customized strategies.
“Splitting up the mash and boil between two different naps is a win...I’ll typically mash in right before [the kids] are supposed to be up. The youngest is awake for 3 hours, so then I’ll mash out and boil as soon as they go down [for nap] again” says expert homebrew dad Stuart Dooley.
If you are willing to interrupt your sleep to get a jump start on brew day, it has been done : “I heat the strike water and dough in….set temp and mash for a few hours while I go back to sleep” says Scott of @bad_batch_brewing.
Rusty Vs. Hardywood
For years I have been trying to clone Hardywood’s “Belgian Singel”.
When I first started getting into craft beer, being from Virginia it wasn’t long until I ran across this beer. Founded in 2011, Hardywood is one of the older and more well established breweries in the Richmond area and throughout the state. I found most of Hardywood’s early lineup to be unique, classic, simple, and interesting. They’ve been around before the hazy IPA / fruited sour / pastry stout craze - although they’ve been making a popular Gingerbread imperial milk stout seemingly since day one.
“Belgian Singel”, Hardywood’s flagship beer, is of course a Belgian Single, which is also known as Belgian Blonde ale - a “lighter” version of the more popular Belgian Tripel. I say “lighter” because it is indeed lower in gravity and ABV, while still clocking in somewhere between 6 - 7.5% (Hardywood’s example is 6.2%). This beer was likely my first encounter with any Belgian style brews, especially being readily available, local, more affordable and less intimidating than say, Chimay or Westmalle.
2015 : Attempt 1
Naturally, as a homebrewer, I’ve always wondered “Can I brew that?” In 2015 I gave my first crack at it - after a moderately thorough web search, I found no real insight on a clone recipe (although there were several hits on Gingerbread Stout clone attempts). I reached out the brewery with a couple messages asking for hints, but no response. Can’t blame them. I also asked the guys at the homebrew shop in DC; no help there (I can’t remember if they hadn’t heard of the beer or maybe were unfamiliar with the style as well? Looking back, I’m now surprised that that was a complete dead end). The only thing close in my repertoire up to that point was a “Tea & Toast” Belgian blonde ale brewed with tea that I’d brewed from a recipe in Brooklyn Brewshop’s Beer Making Book. I thought I would start with that. As far as altering the recipe towards Hardywood Singel, the only notes my young palette could come up with on the target beer was faint lemon and wood. My plan was to infuse some lemon peel in secondary.
By the time the beer finished fermenting, I’d come up with a different plan for the beer - I split the batch three ways for three different infusions, (none of which being my original lemon idea). I called it “Blinde” : I intended to serve the beer to family at the beach house, quizzing them to see if they could guess the infusions.

Blinde : A Belgian Blonde brewed with ??? (artwork by runnerteal)
2016 : Attempt 2
The following year I kicked the tires on this recipe again, making some minor adjustments. This time I had in mind nailing the clone brew and serving it at the company Christmas party. Excerpt from my brew journal :
11/21/2016 : Bottled this last Thursday 11/17 and it seems to taste pretty spot on. Same recipe as the Blinde but I think it might come out a little lighter in color. Yay! Will it be closer to Hardywood Singel? Which is the whole reason why I started this recipe last year in the first place? My plan is to let it carb up nicely then cold crash it for a couple days before the trip to Bethesda (still not sure how I’m going to get it up there - drive it or Amtrak it?)
Well, the beer did not turn out any lighter, and worse, it developed a metallic taste and was under carbonated. I had to punt on taking it to work, and it sat in boxes on the garage floor for a pretty long time - I ignored it out of frustration.

“TrustMonkey” was a joke mascot for our cyber security shop. He donned the company Christmas party brew that never saw the light of day.
Six or eight months later, I needed the bottles for something else, so I opened a couple to taste before dumping the beer. The metallic taste had subsided almost completely, and the beer was now properly carbonated. I decided to let the brew live on, and drank a bottle every now and then, pondering my next approach. It had really improved but it certainly wasn’t good enough to serve to anyone besides myself.
2017 : Attempt 3
I admittedly did not give this third attempt a good shot for success. Center of the Universe, a local brewery, was running a wort-share / homebrew contest - they invited local homebrewers into the brewery to help mash and produce a big batch of wort which they divided up into 5 gallon buckets that brewers could take home to brew with. Samples of the finished beers would be returned to the brewery a month or so later for the homebrew contest, winner getting to collab with the pro’s to scale up their recipe for commercial production. The only details divulged ahead of time was that the wort was going to be “about” 1.050. My plan for this : belgian blonde. Looking back, I should’ve guessed that the wort would’ve been heavily two-row base malt, and not the Belgian preferred pilsner malt, but I figured a really classy belgian blonde might stand out in the contest lineup, amongst the inevitable IPAs and stouts with crazy infusions. I had Belgian blonde on my todo list anyway, it was 20 bucks for wort and a plastic fermenter, so I just went for it.
Well, that particular weekend turned out to be a bit hectic. Our first child was still an infant at the time so I was still learning that a brew day could no longer simply happen at any time now that I was a dad. Dealing with the little one all morning, I missed the brew day at the brewery but was able to swing by later to pick up the wort bucket. When I got home I threw it into the fridge for two days until I was able to brew. Brew day and fermentation went pretty smoothly. When it was time to open the bottles, the batch again turned up with a metallic taste! The recipe had little to do with its predecessor but possibly my process and cleanliness was lacking (although I’ve only ever had this issue on these two Belgian blondes). Certainly storing unboiled wort for two days before brewing didn’t help. Months later, the metallic taste again subsided and I again begrudgingly drank the bottles in frustration.
2020 : Attempt 4
Three years passed. In January 2020, after listening to a podcast about Belgian and Trappist beers, I set out to brew one of each of the Belgian styles throughout the year, culminating in a grand tasting with family at Thanksgiving and/or Christmas. First on my list, that pesky Belgian blonde. I actually started with the failed 2017 recipe, swapped out the two-row for pilsner malt, and simplified a couple other items in the grain bill and hop schedule. This brew was the first of my blondes that would not be bottle conditioned - I carbonated it in the keg and filled cans with my shiny new Oktober canning machine.
Turns out I did not have my canning game quite dialed in so the cans all turned out under carbonated. The beer was really much too dark, and overly sweet as well.
2021 : Attempt 5
Ok, new year! During the 2020 pandemic I was able to spend a bit more time reading, learning, and brewing, fine tuning my process along the way. I decided it was time to finally give a good attempt on this brew. I did another round of research and scrapped all previous versions of the beer. Inspired by a brew by the Mad Fermentationalist, I came up with a very simple implementation - pilsner malt, cane sugar, hallertau mittelfruh, and Wyeast 1214.
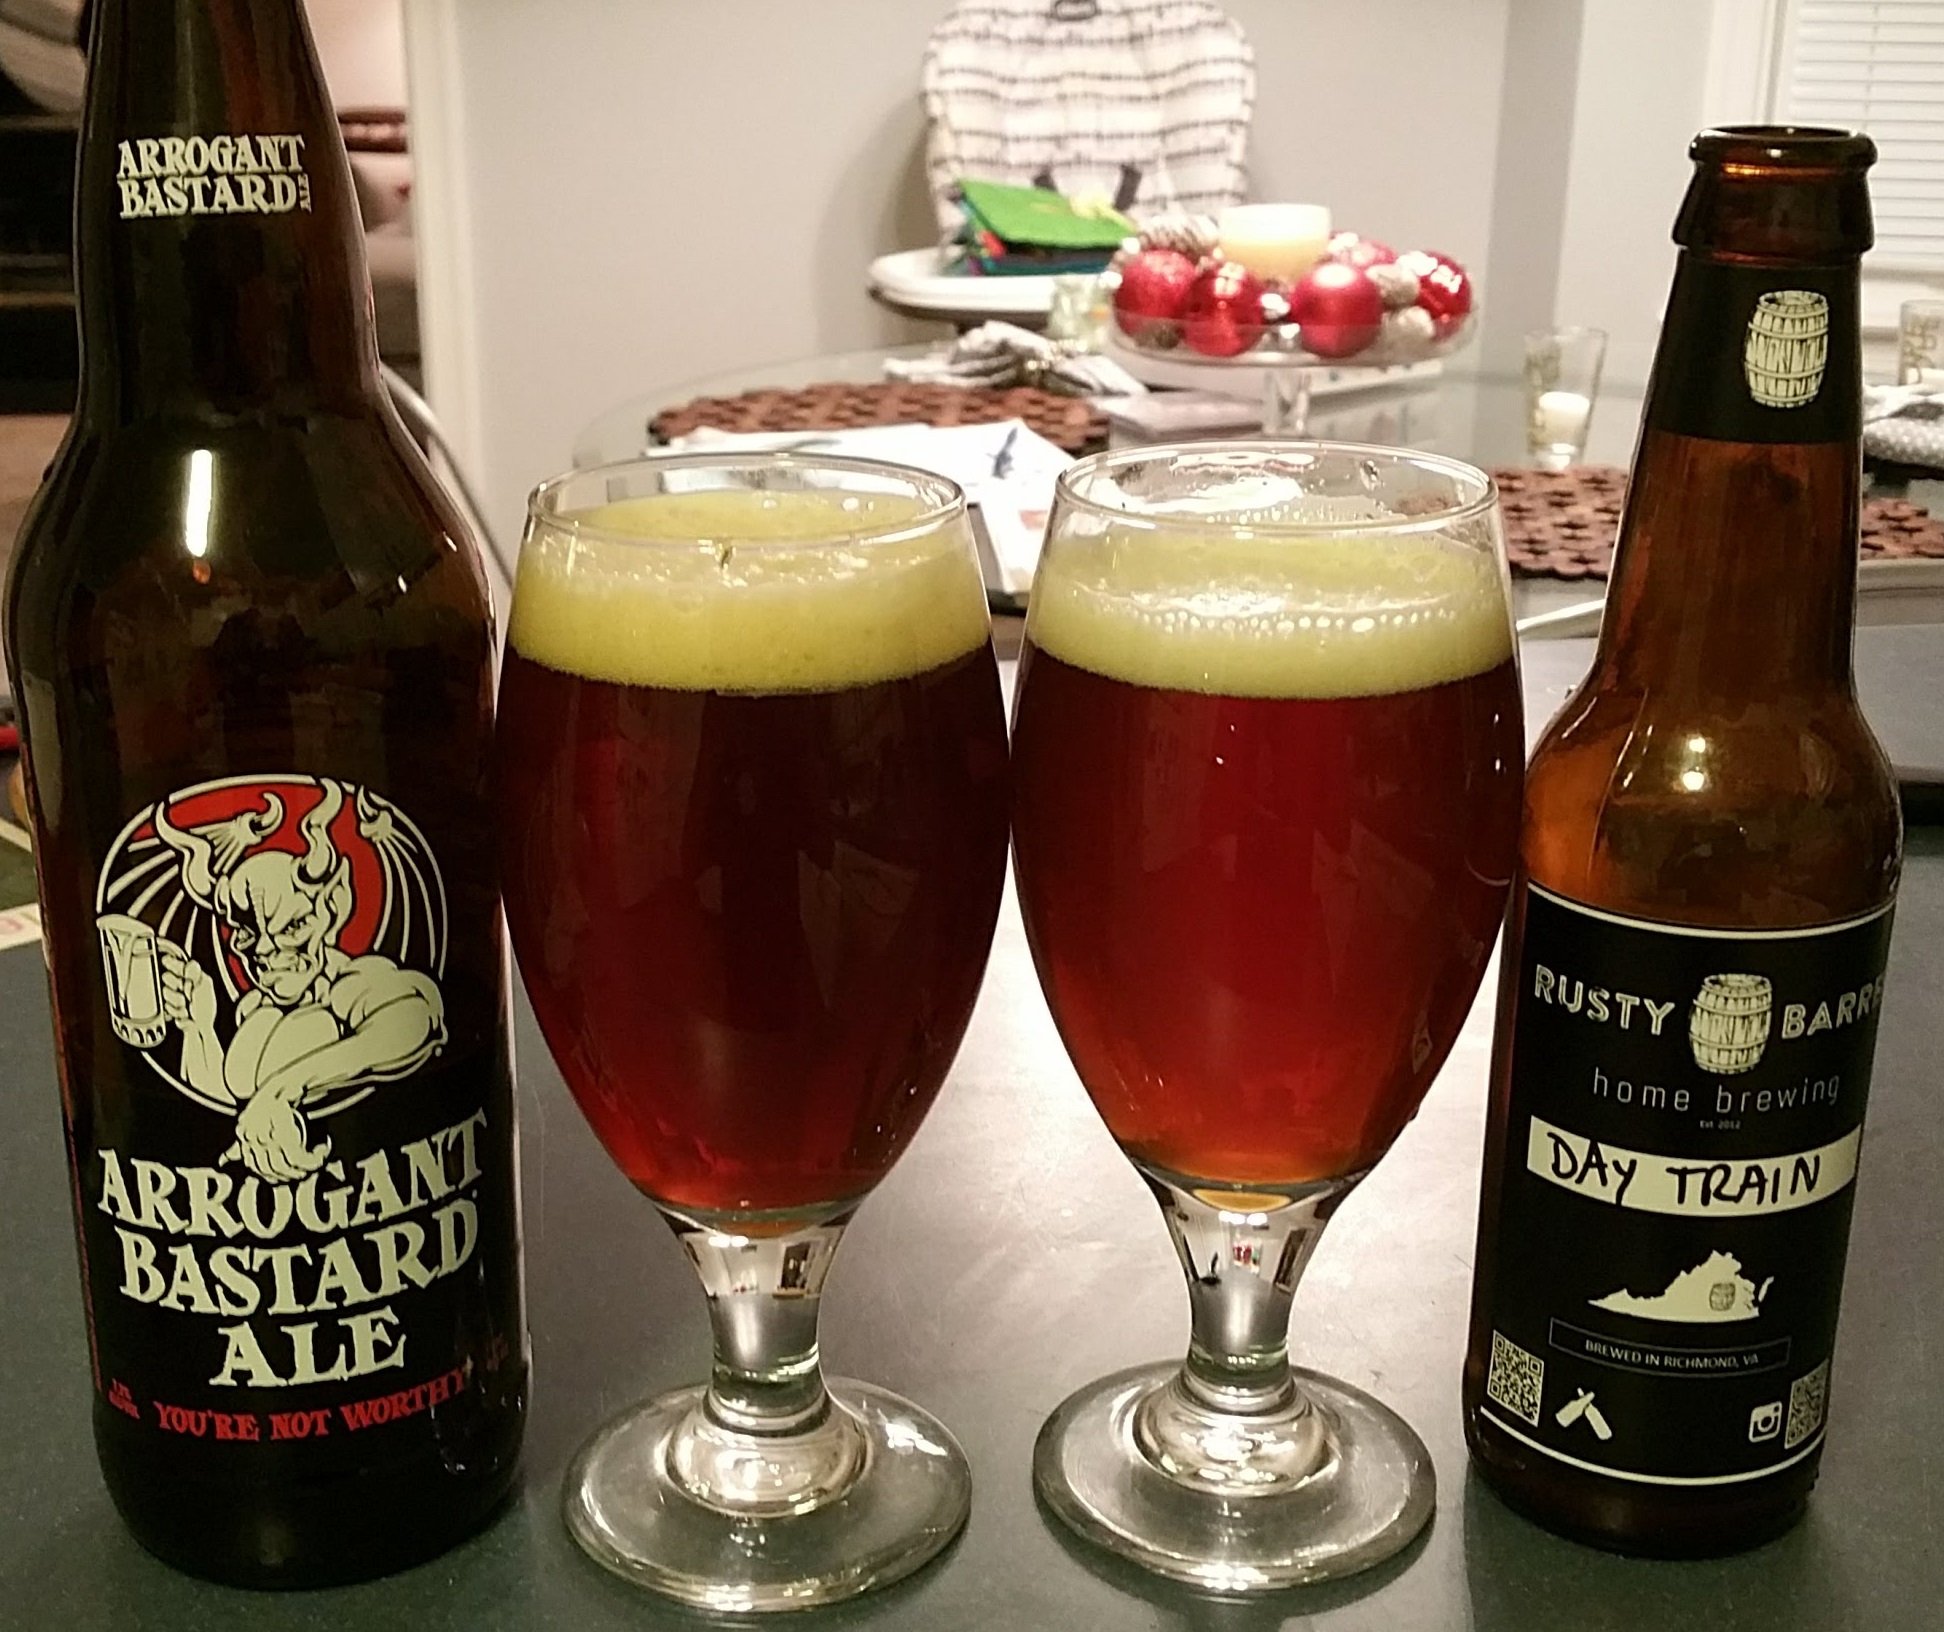
On brew day, I realized we already had a problem. The yeast smack pack had been activated the day prior but was not swelling at all. Up to this point I’ve batted 1.000 on these smack packs so I decided to disregard this issue…crossed my fingers, pitched the yeast and went to bed. In the morning, I peaked into the fermenter, no activity. RDWHAHB is the saying to remember in times like these….but it was 7am on a Tuesday during dry January! I was able to keep away for another 24 hours but the following morning there was still no activity. Something had to be done! My only option was to pitch some old, possibly dead Wyeast 3787 yeast cake I had jarred in the fridge from a previous batch of Tripel. 24 hours later, we had activity. I racked it to keg for carbonation and bottled it from the keg. Here is the final taste test / comparison with Hardywood Singel :
This time I was really pretty close, with some recognizable and fixable differences. The beer turned out a bit clearer than Hardywood’s - this was the first batch I gelatin fined. It also had only a very brief head. I purposely chose this simple recipe to focus on the main elements of the beer - the head can be corrected with proper selection of specialty malts (e.g. dextrine malt). The aroma, mouthfeel and overall taste of the beer is very close to Hardywood though! It has high fruity esters from the Belgian yeast, slightly sweet, but also relatively thin; crisp, slightly bitter and spicy. All these years later, I still get notes of lemon peel and wood (maybe cedar?) in the Singel. I am reading recently that of the noble hops, Saaz may lend some citrus and possibly some earthy woody notes. Next time I will try to add some into the flavoring addition.
After 6 years of striking out on this beer, I think I may have finally hit a single.
Recipe and stats on the beer can be found here.
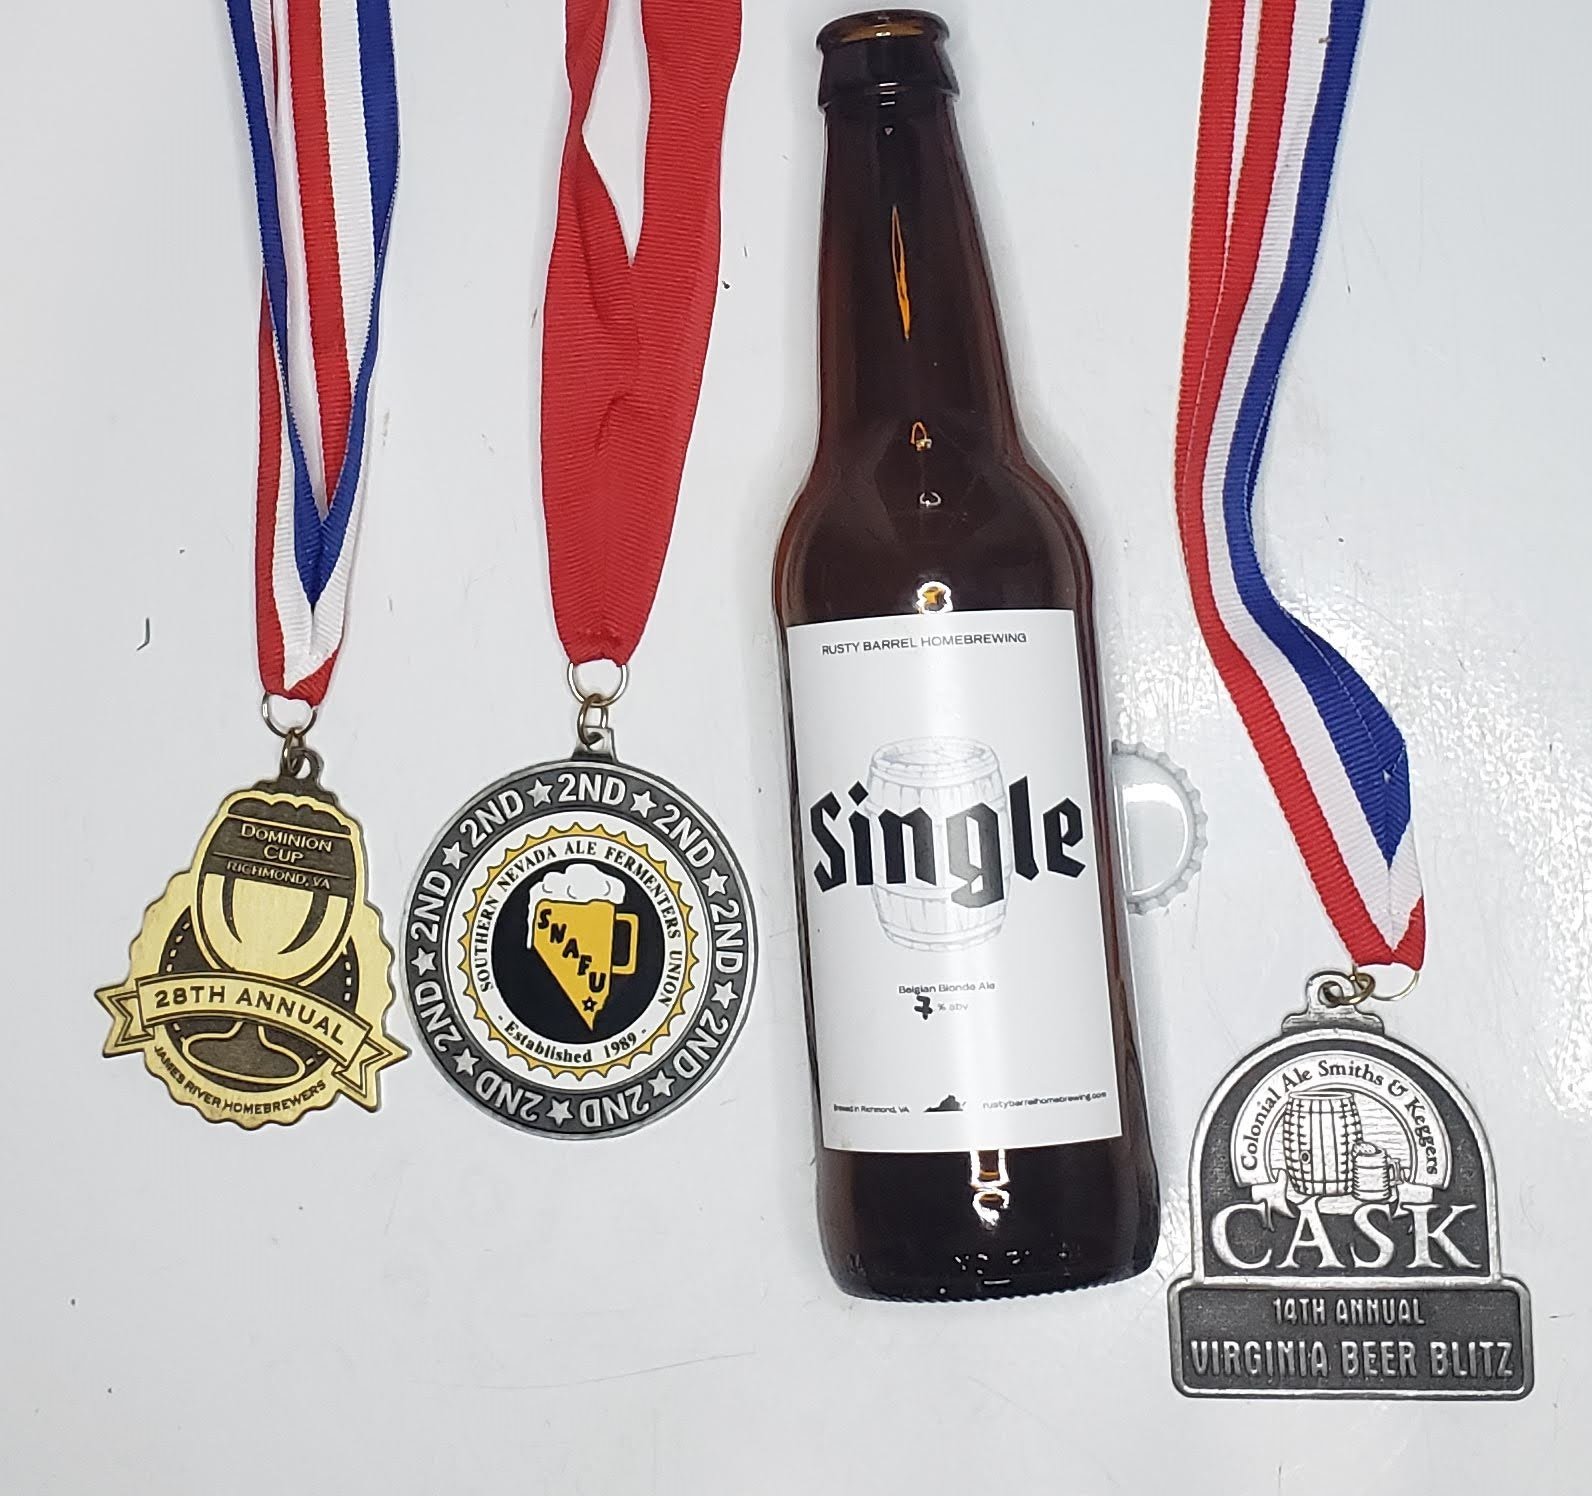
Update! In 2021 this beer brought home some hardware :
Gold medal at the 2021 Dominion Cup put on by James River Homebrewers in Richmond, VA
Silver medal at the 2021 SNAFU Winterfest in Las Vegas, NV.
Silver medal at the 2021 Virginia Beer Blitz put on The Colonial Ale Smiths & Keggers (CASK) in Hampton, VA.
